MY LOG CABIN MASTER BEDROOM RENOVATION
Greetings from Fawnskin, California, a charming little village on the shores of Big Bear Lake in the mountains of Southern California. It is here that I purchased an old log cabin that was built in 1932. I’ve been taking you with me on the journey of bringing this cabin into the 21st century, and today I’m going to share with you my log cabin master bedroom renovation.
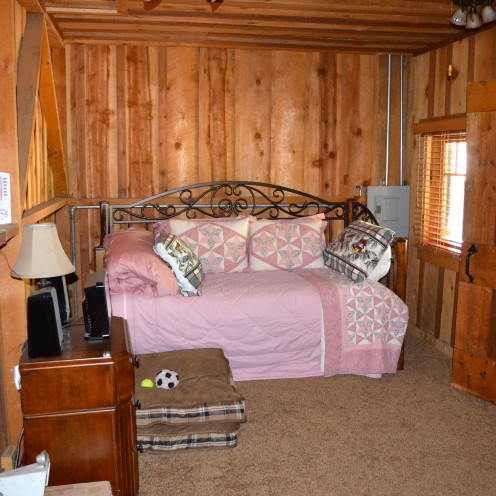
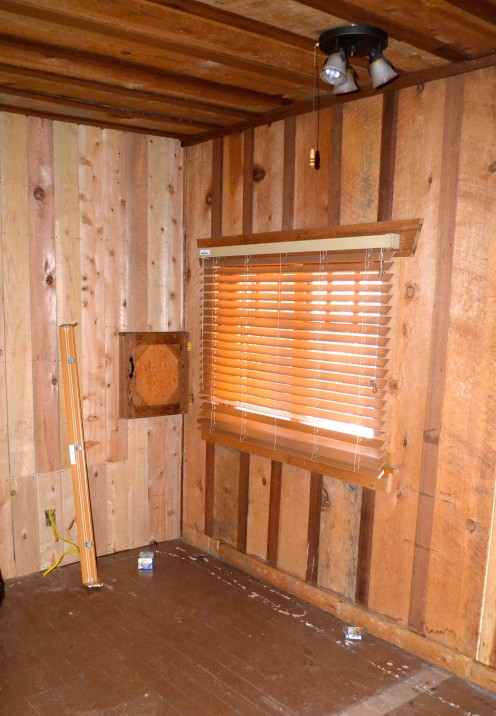
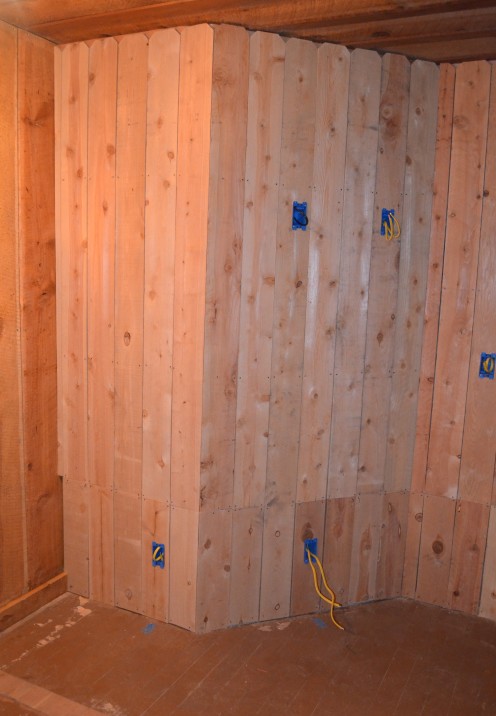
This is what the bedroom looked like when I purchased the cabin. Notice that the walls are simply framed and not finished. The electrical box and pipes were all exposed. And check out the dirty brown shag carpeting! The previous owners had a twin daybed in the room, however I needed it to become the master bedroom with a queen size bed. But the room had bigger problems than what you see here!
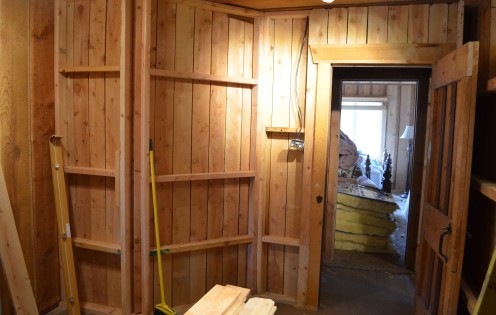
As you can see in the photo below, the bedroom had a door (on the right) that opened directly into the living room, and it had another door that opened directly into the 2nd bedroom. That meant that to get from the living room to the 2nd bedroom you had to enter into the master bedroom.
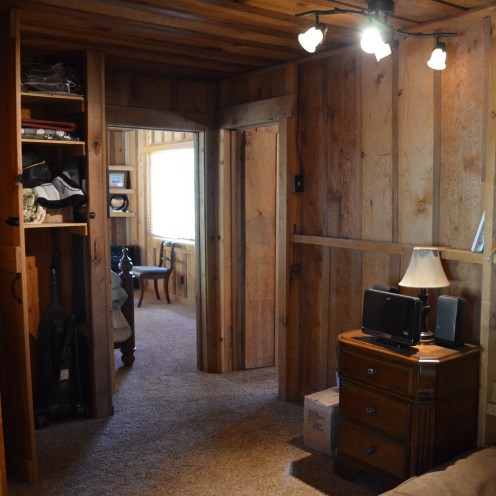
The other problem with this layout of rooms was the fact that the only way to get to the bathroom was through this bedroom. That meant that if you were in the living room and wanted to go to the bathroom, you’d have to enter this bedroom to do so. It also meant that if you got up in the middle of the night in the 2nd bedroom and wanted to go to the bathroom, you’d have to pass through this bedroom to do so. NOT A GOOD THING! See that door on the left in the photo below? That’s the door to the bathroom, which was inside what would become the Master Bedroom.
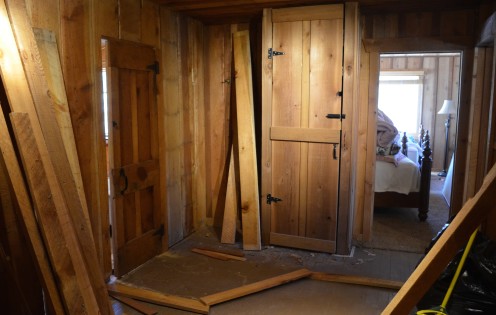
I had to rectify this problem in a way that would allow anyone to go to the bathroom without entering a bedroom first. So that meant building a hallway that would lead from the living room to the bathroom. The hallway would also have to have separate doors leading into each bedroom. To visualize the hallway I laid boards on the floor to outline where the hallway wall would be built.

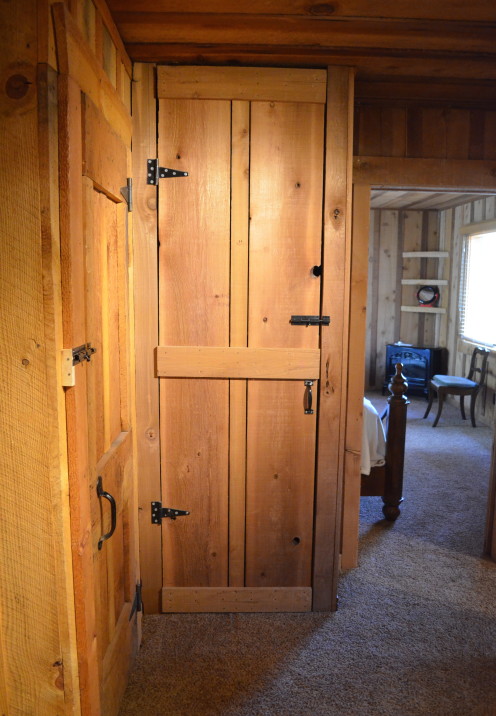
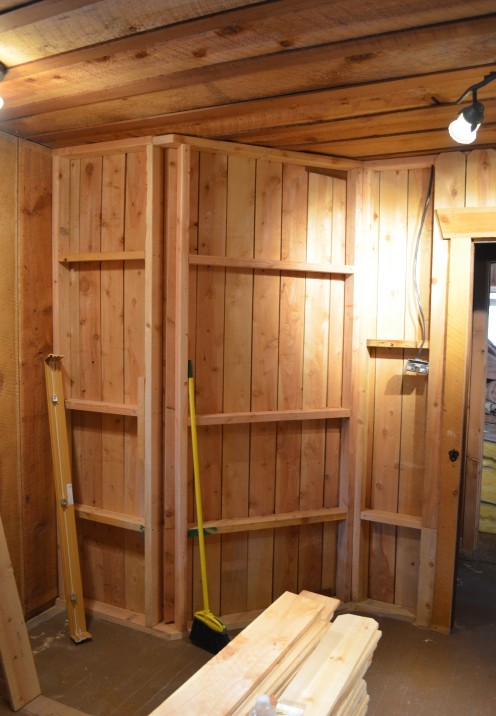
And then we built the wall as you can see in the photo below. Now there were separate doors leading into each bedroom off of the new hallway.
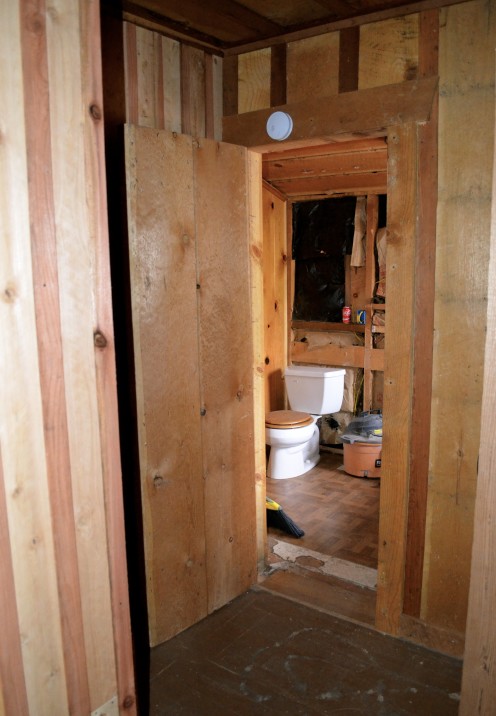
And the new hallway leads from the living room right into the bathroom. Privacy at last for each bedroom!
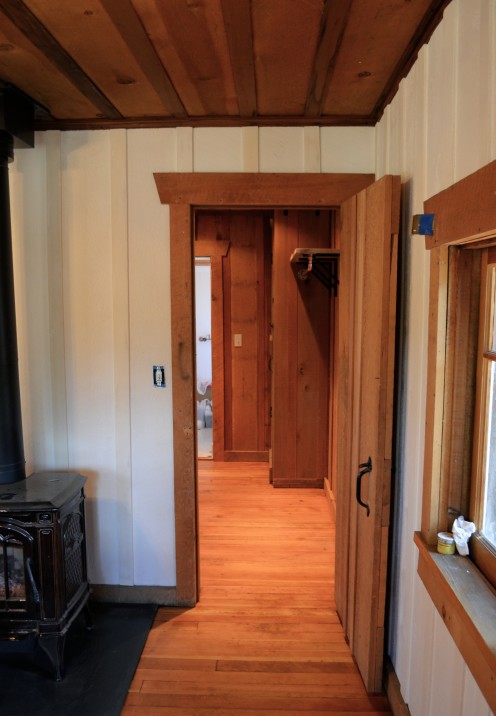
View from Living Room into Hallway
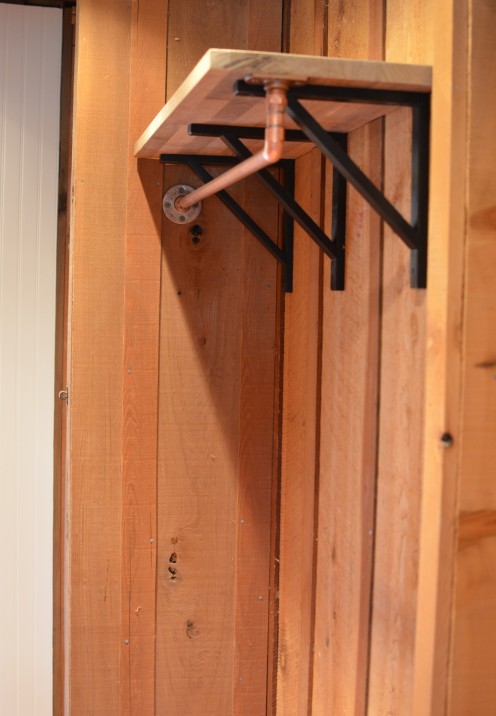
There was only one closet in the cabin and I decided I’d need to make that closet what we call in the rental home business, an “Owner’s Closet”. It’s a locking closet where I keep all of the cleaning supplies and backup linens, etc. So to provide space for hanging of clothes I came up with this system using shelf brackets from IKEA, leftover butcher block countertop material from the kitchen renovation, and copper pipe.
The next project was to frame in the walls in the master bedroom to hide the pipes, and build a cover to disguise the electrical box. In the process we also insulated all of the walls, making heat retention in the winter much more efficient. One of the roadblocks I ran into in building these new walls was the lack of rough hewn wood paneling to match the existing walls.
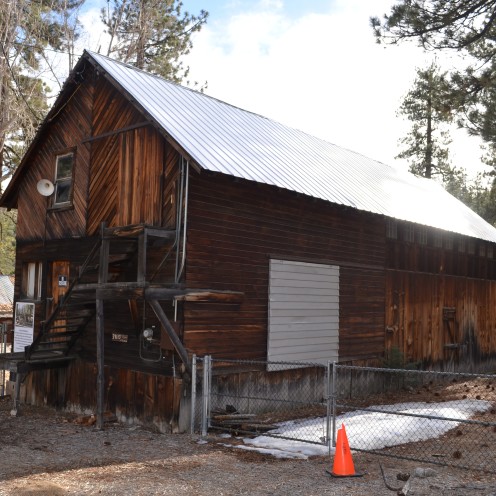
84 years ago when the cabin was built, the walls were framed in wood that was milled at this old sawmill that is located down the street from the cabin. They used trees cut from the property to build my log cabin. Since the sawmill closed years ago, getting this type of building material proved nearly impossible and very expensive.
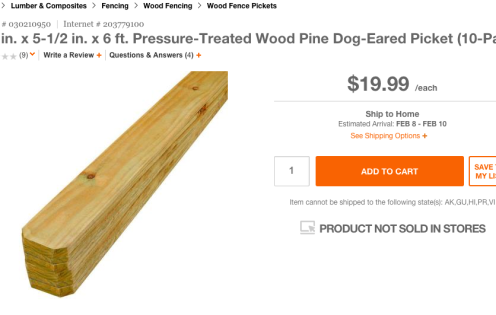
My solution was to use, of all things, rough hewn, dog eared picket fencing material. Each picket cost me less than $2.00 a piece, so it was much more inexpensive than having matching wood panels custom milled for the space.
But if you look closely at the photo below you can see that the fencing material was not long enough to cover the entire height of the 8 foot wall. So we had to add a small 2 foot section to the bottom of each piece of 6″ fence picket. The width of the fence material was also only about 1/2 the width of the wood paneling original to the cabin, but once it was all finished I was sure no one would ever notice unless I pointed it out. We also covered the dog eared portion of the pickets with a final piece of trim material.
I made the decision to paint the walls which camouflaged the irregularity in the wood even further. And we refinished the hardwood floors that had been hiding for years under ugly, wall-to-wall shag carpeting.
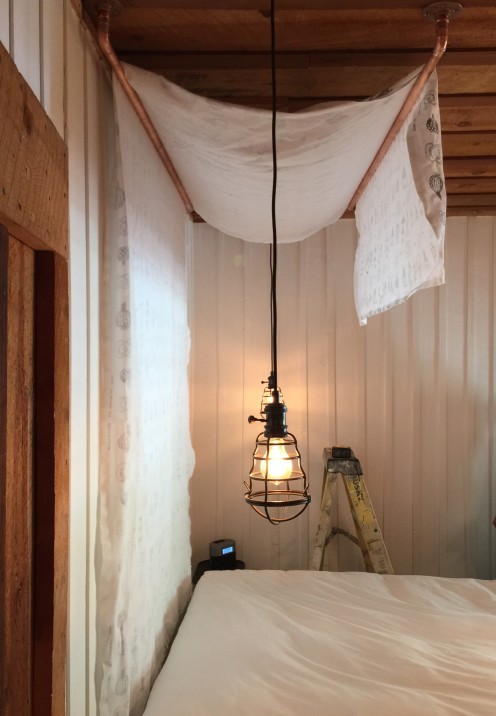
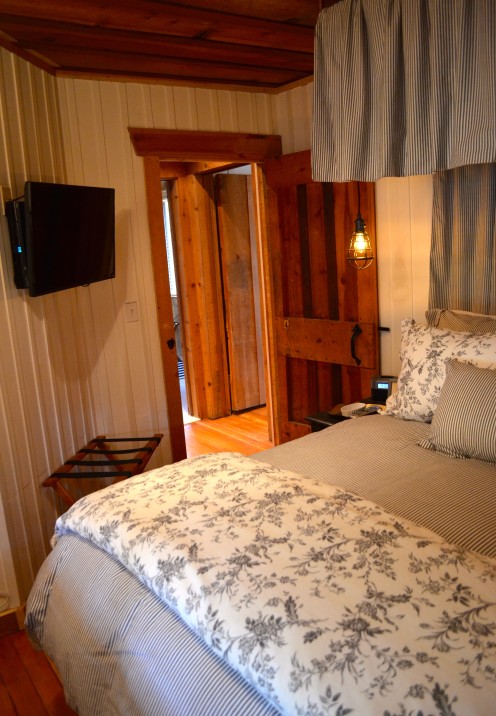
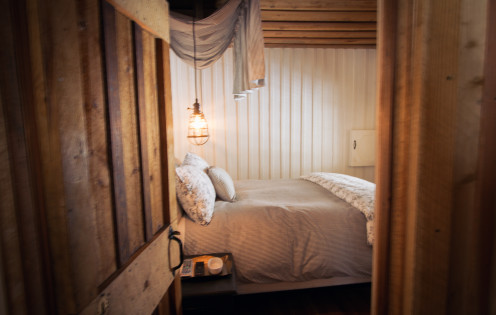
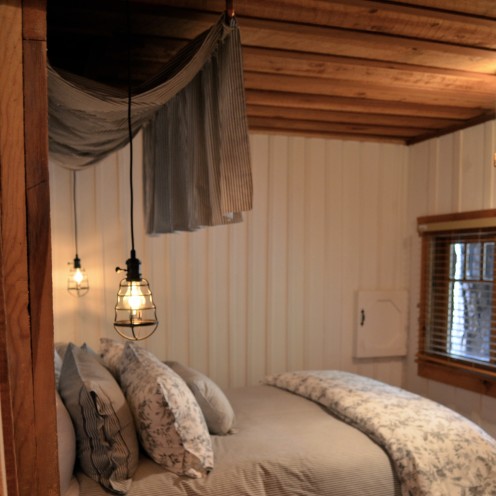
Finally it was time to decorate, my favorite part of any renovation! I love canopy beds and decided for this room I’d fashion one using the same copper piping I used throughout the cabin renovation. I decided to hang 2 strategically mounted pipes above the bed and drape it with a curtain. To determine where the the pipes would be situated I played around with a piece of fabric until I had it just right. I also added 2 cage lights on either side of the bed.
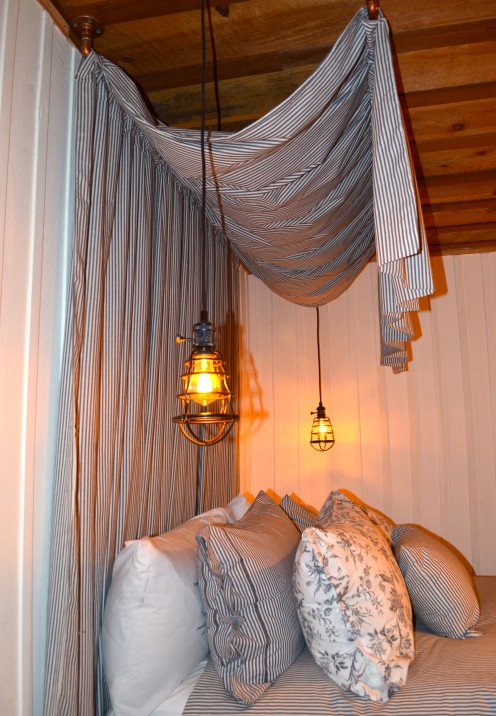
I selected bedding from IKEA and used an IKEA Duvet Cover as my curtain, sewing a channel through which I threaded the pipe. This way the canopy would stay in place and I could gather it a bit.
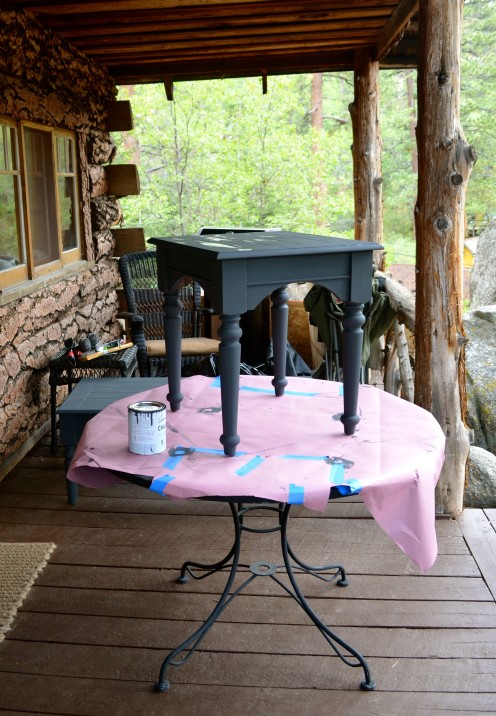
I painted an end table left behind by the previous owners with Annie Sloan Chalk Paint, turning it into a nightstand.
The master bedroom is now a warm, tranquil and inviting place to retire.
So let’s take one more look back to the BEFORE…
and the AFTER. What do you think?
So there you have it: MY LOG CABIN MASTER BEDROOM RENOVATION
If you’d like to stay in this Big Bear Lake, California cabin and enjoy this master bedroom yourself you can! See my vacation rental home listing here on VRBO.com/804397.

Want to see more of the cabin renovation? Click on the photos & links below:

- MY LOG CABIN LIVING ROOM RENOVATION
- MY LOG CABIN KITCHEN RENOVATION
- MY LOG CABIN BUNK ROOM RENOVATION
- MY LOG CABIN BATHROOM RENOVATION
Thanks for dropping in! Please share your thoughts! I’d love to hear from you! Just scroll all the way down to the comment box.
All opinions expressed in this post are my own. Unless otherwise credited, all photos are the original property of www.AfterOrangeCounty.com and may not be reproduced without specific permission. This post contains affiliate links and I will receive a small commission if you make a purchase after clicking on my link. Thank you for helping to make this blog possible.