SUPER MOIST & DELICIOUS BRINE-CURED ROAST TURKEY
I LOVE turkey!!
I cook turkey on a regular basis, but usually only prepare the whole bird once a year for Thanksgiving dinner. I really should think about cookin’ the whole kit & caboodle more often though, don’t ya think? It’s nutritious and low fat and delicious and really quite a lovely thing. And I happen to have a recipe for a darn good one that I am going to share with you. I tell ya, I have learned from experience that brining is the key to a delicious, moist and flavorful bird. In fact, I am a huge fan of brining in general. I brine chicken and pork chops and all sorts of assorted and sundry items. And, on occasion, when my youngest son is naughty, I have considered brining him because brining makes everything better. Well, maybe not everything, but try it this year with your Thanksgiving turkey and you’ll thank me. The recipe I have been using with great success for many years I have adapted from the one used at The Inn at Little Washington in Virginia.
As for what type of bird to buy, I’ll let that be your choice. I know there are folks that swear by organic and free range and kosher, etc., etc. and I’m sure there is value to that. But truthfully, I just pick up a good ole’ frozen Butterball bird at my local grocery store and call it good. I have tried the store brands and the organic birds from my local gourmet grocery store, but, frankly, my pallet can’t tell the difference. But my wallet can! So I just stick to Butterball ’cause I personally like them the best. I usually have a crowd at my Thanksgiving table and I love leftover turkey, so I always buy a big old sucker, 20+ pounds.
So, here’s what I do:
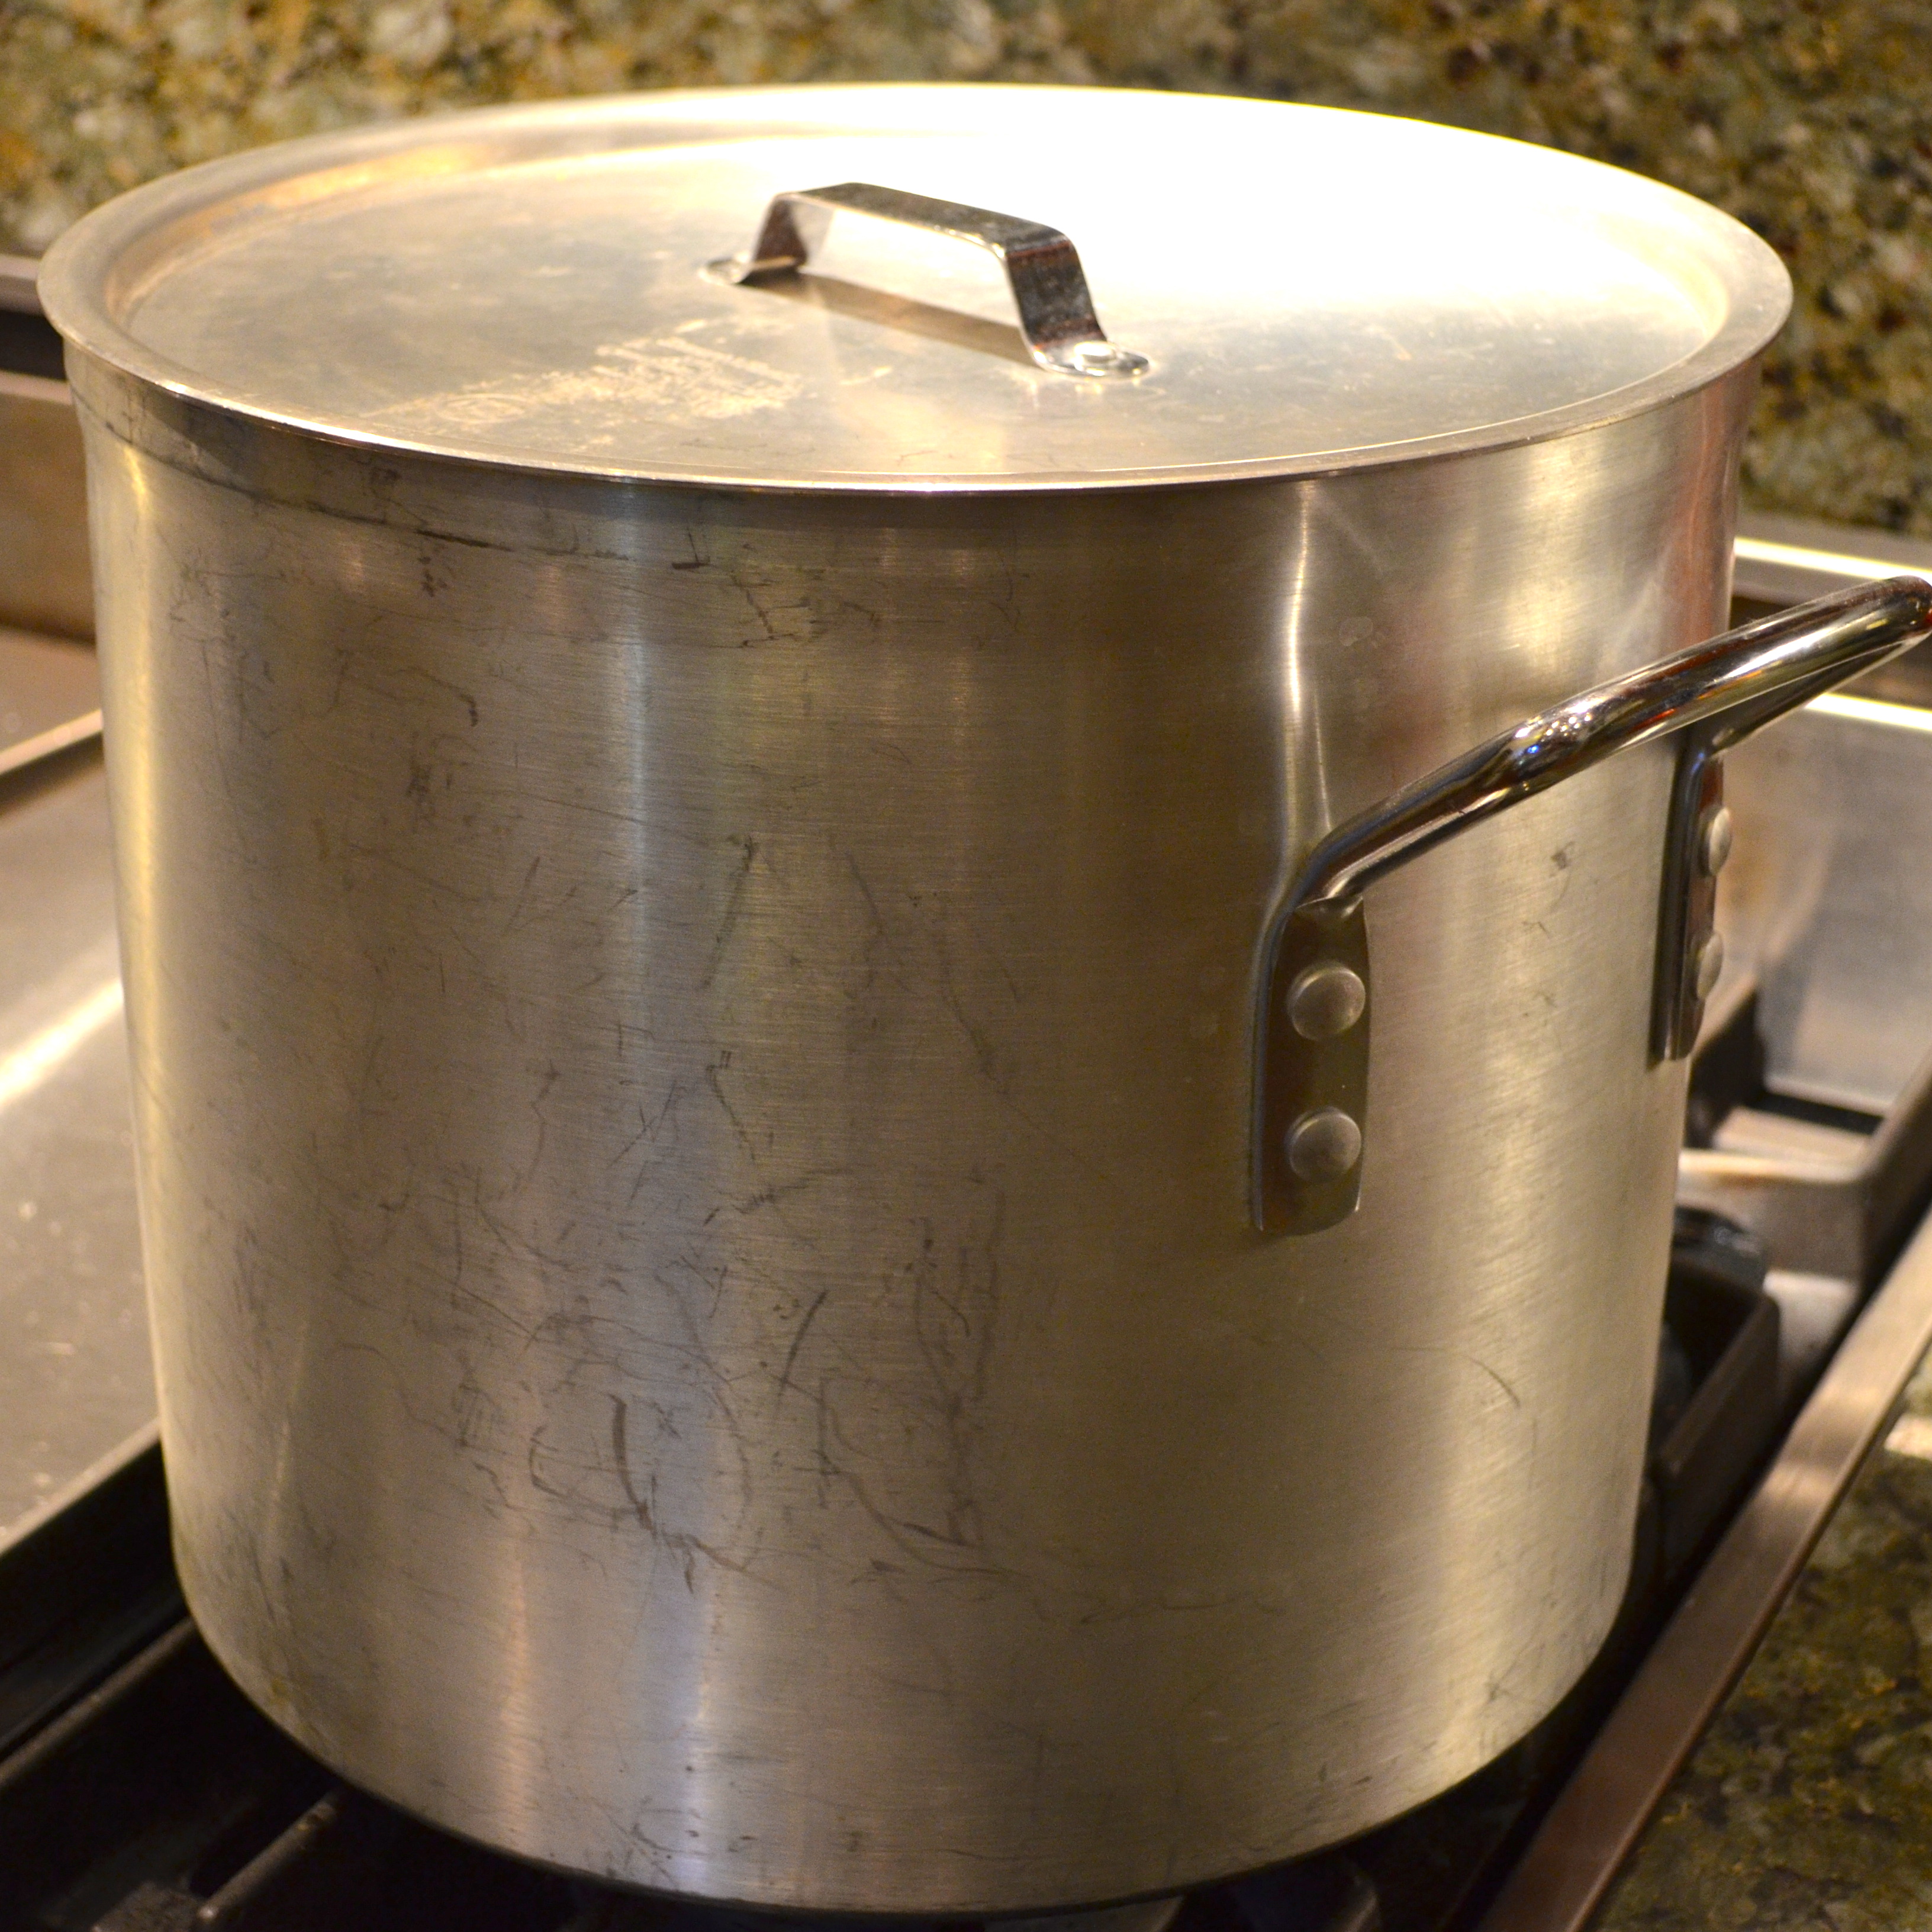
Get a BIG, GIANT 20 QUART STOCK POT. Get one like mine here. It measures 11 inches tall by 12 inches wide. If you don’t have a big old giant pot like mine, you can use an ice chest, or a bucket, or a trash can, but just make sure it is clean. It doesn’t have to be anything special, because in this case you will not be cooking in it, just brining in it.
If you bought a frozen turkey, you will need to safely thaw it out. That will take about 4 to 5 days in the refrigerator or about 8 to 10 hours in a cool, 40 degree water bath, depending on the size of your bird. So, do plan ahead and buy your turkey early, if it’s frozen that is. The proper care and thawing of your turkey is essential for safe eating, so follow the safe handling instructions on the bird carefully. I could tell you how to do it, but that will take another post on another day.
Next, remove the giblets from the thawed turkey and do whatever you darn-well-please with them. Some people like to make gravy with them, that would not be me. I am not a fan, so my turkey’s internal organs go in the trash. I am a fan of the neck, however, so I save it to use in my gravy.
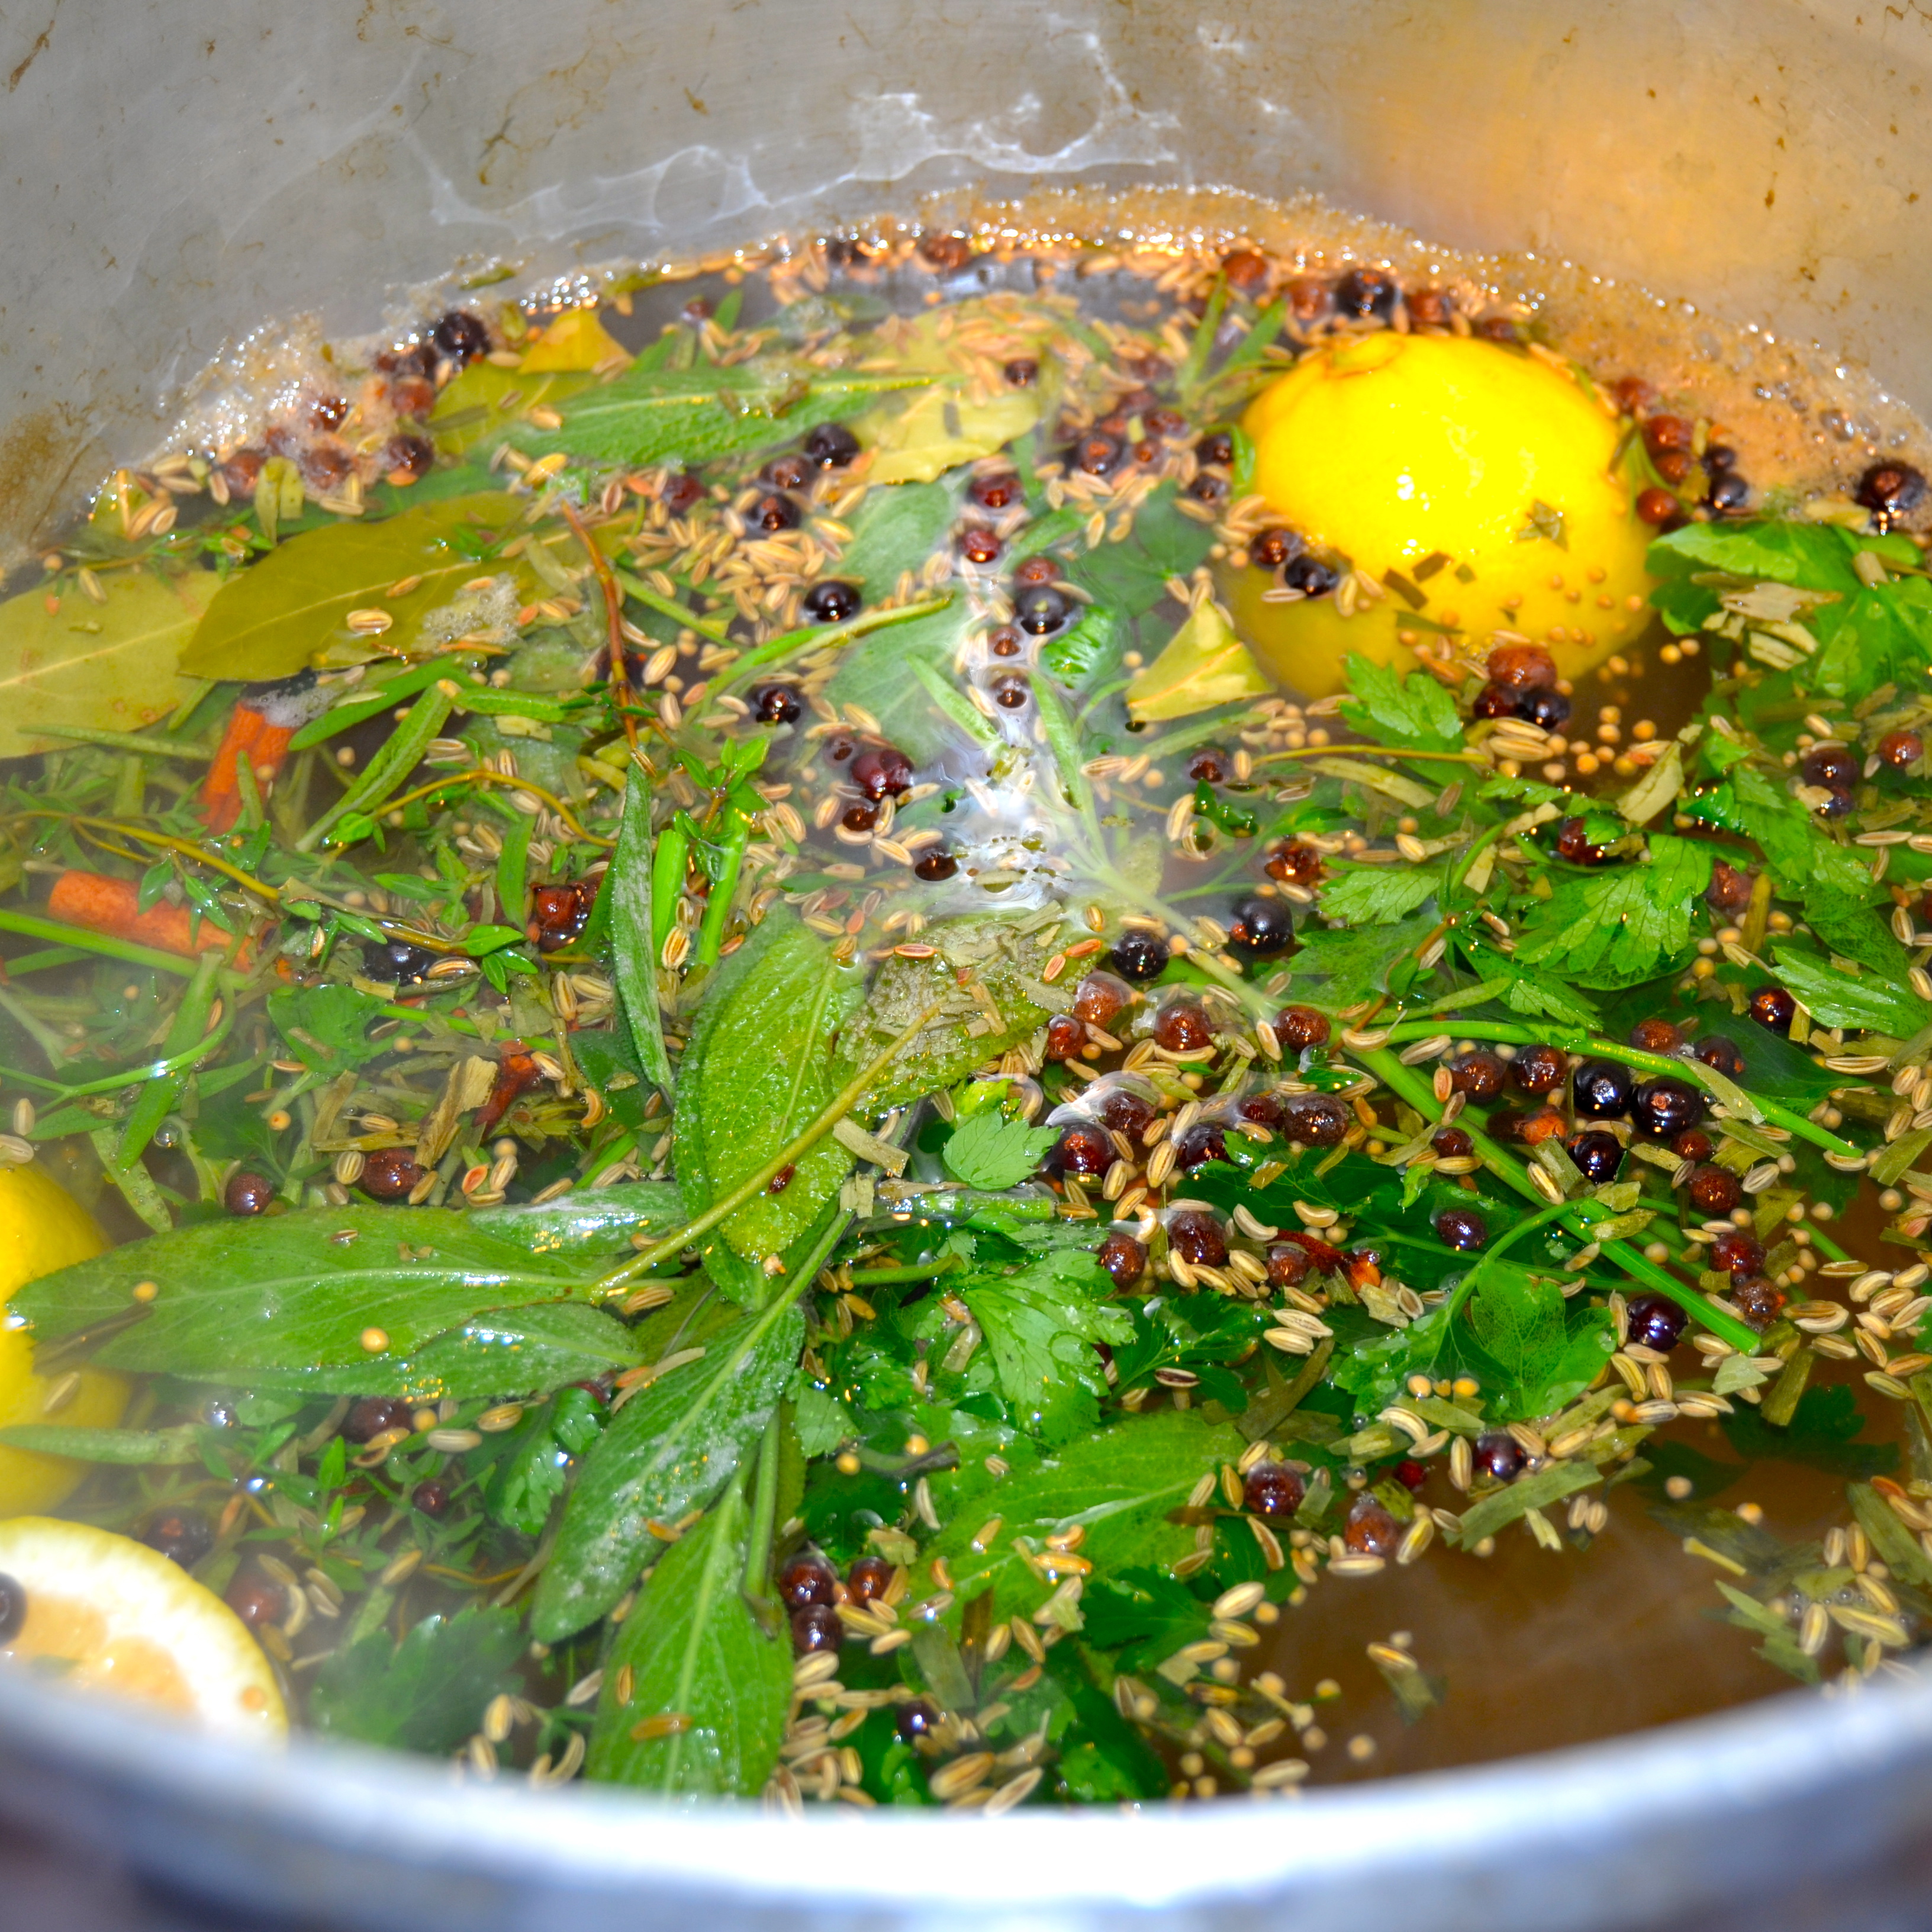
Next, you need to pull together all the ingredients for your brine. SEE THE RECIPE AT THE END OF THE POST. Into the big-ole-pot throw all of the brine ingredients, pouring the boiling water in last. Stir it around so the salt, sugar and honey dissolve in the boiling water. Then let the brine liquid cool to room temperature.
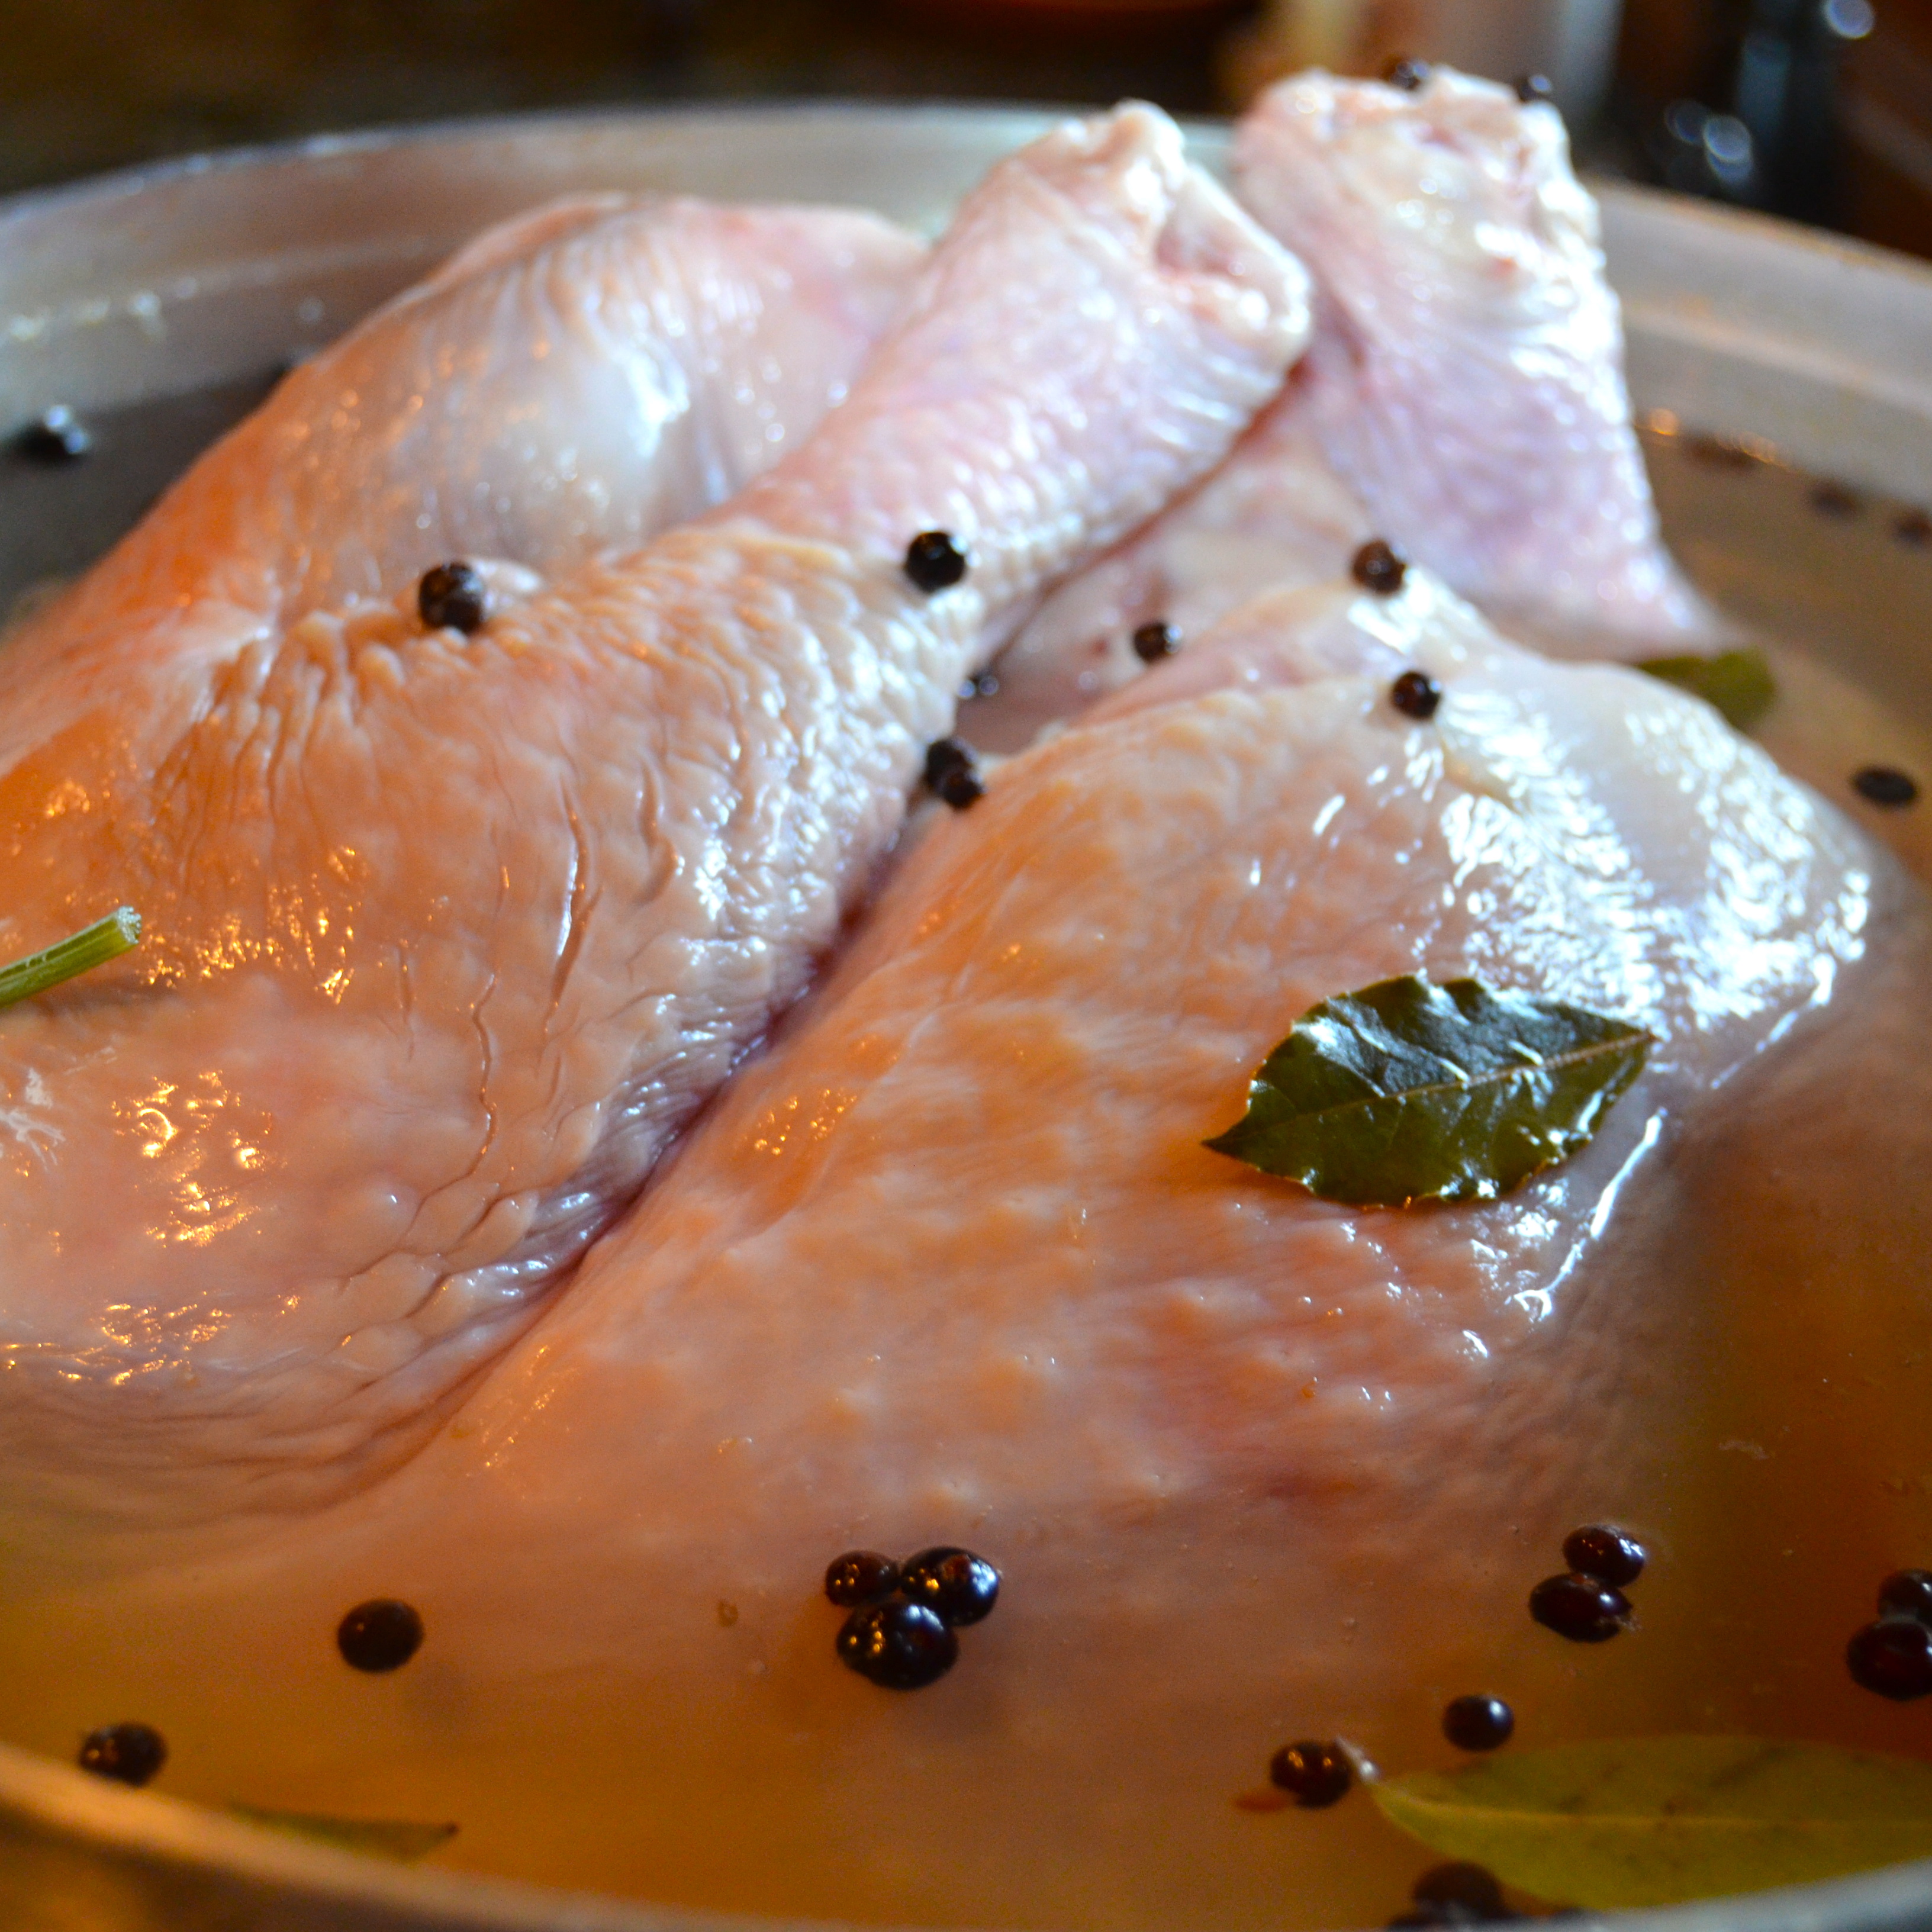
Once the brine has come to room temperature, add the thawed turkey to the pot and cover it with the lid.

The turkey will be buoyant in the brine and may push up against your lid. In this case, I use electrical tape to secure the lid to the pot. This also pushes the turkey down further into the brining liquid.
Now, if you are making your turkey in November and you live in the mountains like I do, it’s probably pretty cold outside. In fact, you might just have snow in your yard like I usually do.

So, perhaps your garage, like mine, is as cold as your refrigerator, around 35 degrees or below. If that is the case, you can do as I do and stick your big-ole’-pot out in your garage and let it be your refrigerator for the next 24 hours. I would only do this, however, if you are absolutely sure that your garage will maintain a steady temperature of 35 degrees or below. If, on the other hand you don’t want to risk giving your Thanksgiving guests food poisoning, it is an even better idea to now place the pot in your refrigerator where it will remain for the next 24 hours. I have a handy-dandy extra frig out in my garage that I use for this purpose because my other two refrigerators are chock full this time of year. I have to remove one of the shelves to allow the pot to fit. If neither your frig or your garage can handle your turkey, you can also put your brine pot in an ice chest with a drain, surround the pot with ice or snow, then close the lid. You may have to occasionally drain off melted ice and then add more ice to keep your brining liquid at no less than 40 degrees at all times. Check it periodically with a instant-read thermometer.
I like to let my bird brine for at least a full 24 hours, but I have been known to let it go for up to 2 days. Some people would argue that overnight is sufficient. I think 24 hours is the key to achieving a full flavored turkey. So, once you are ready to roast your turkey, carefully remove it from the brine and give it a good rinse under cold running water. Don’t forget to disinfect your sink and counters, as the brining liquid may be full of bacteria from your raw turkey.

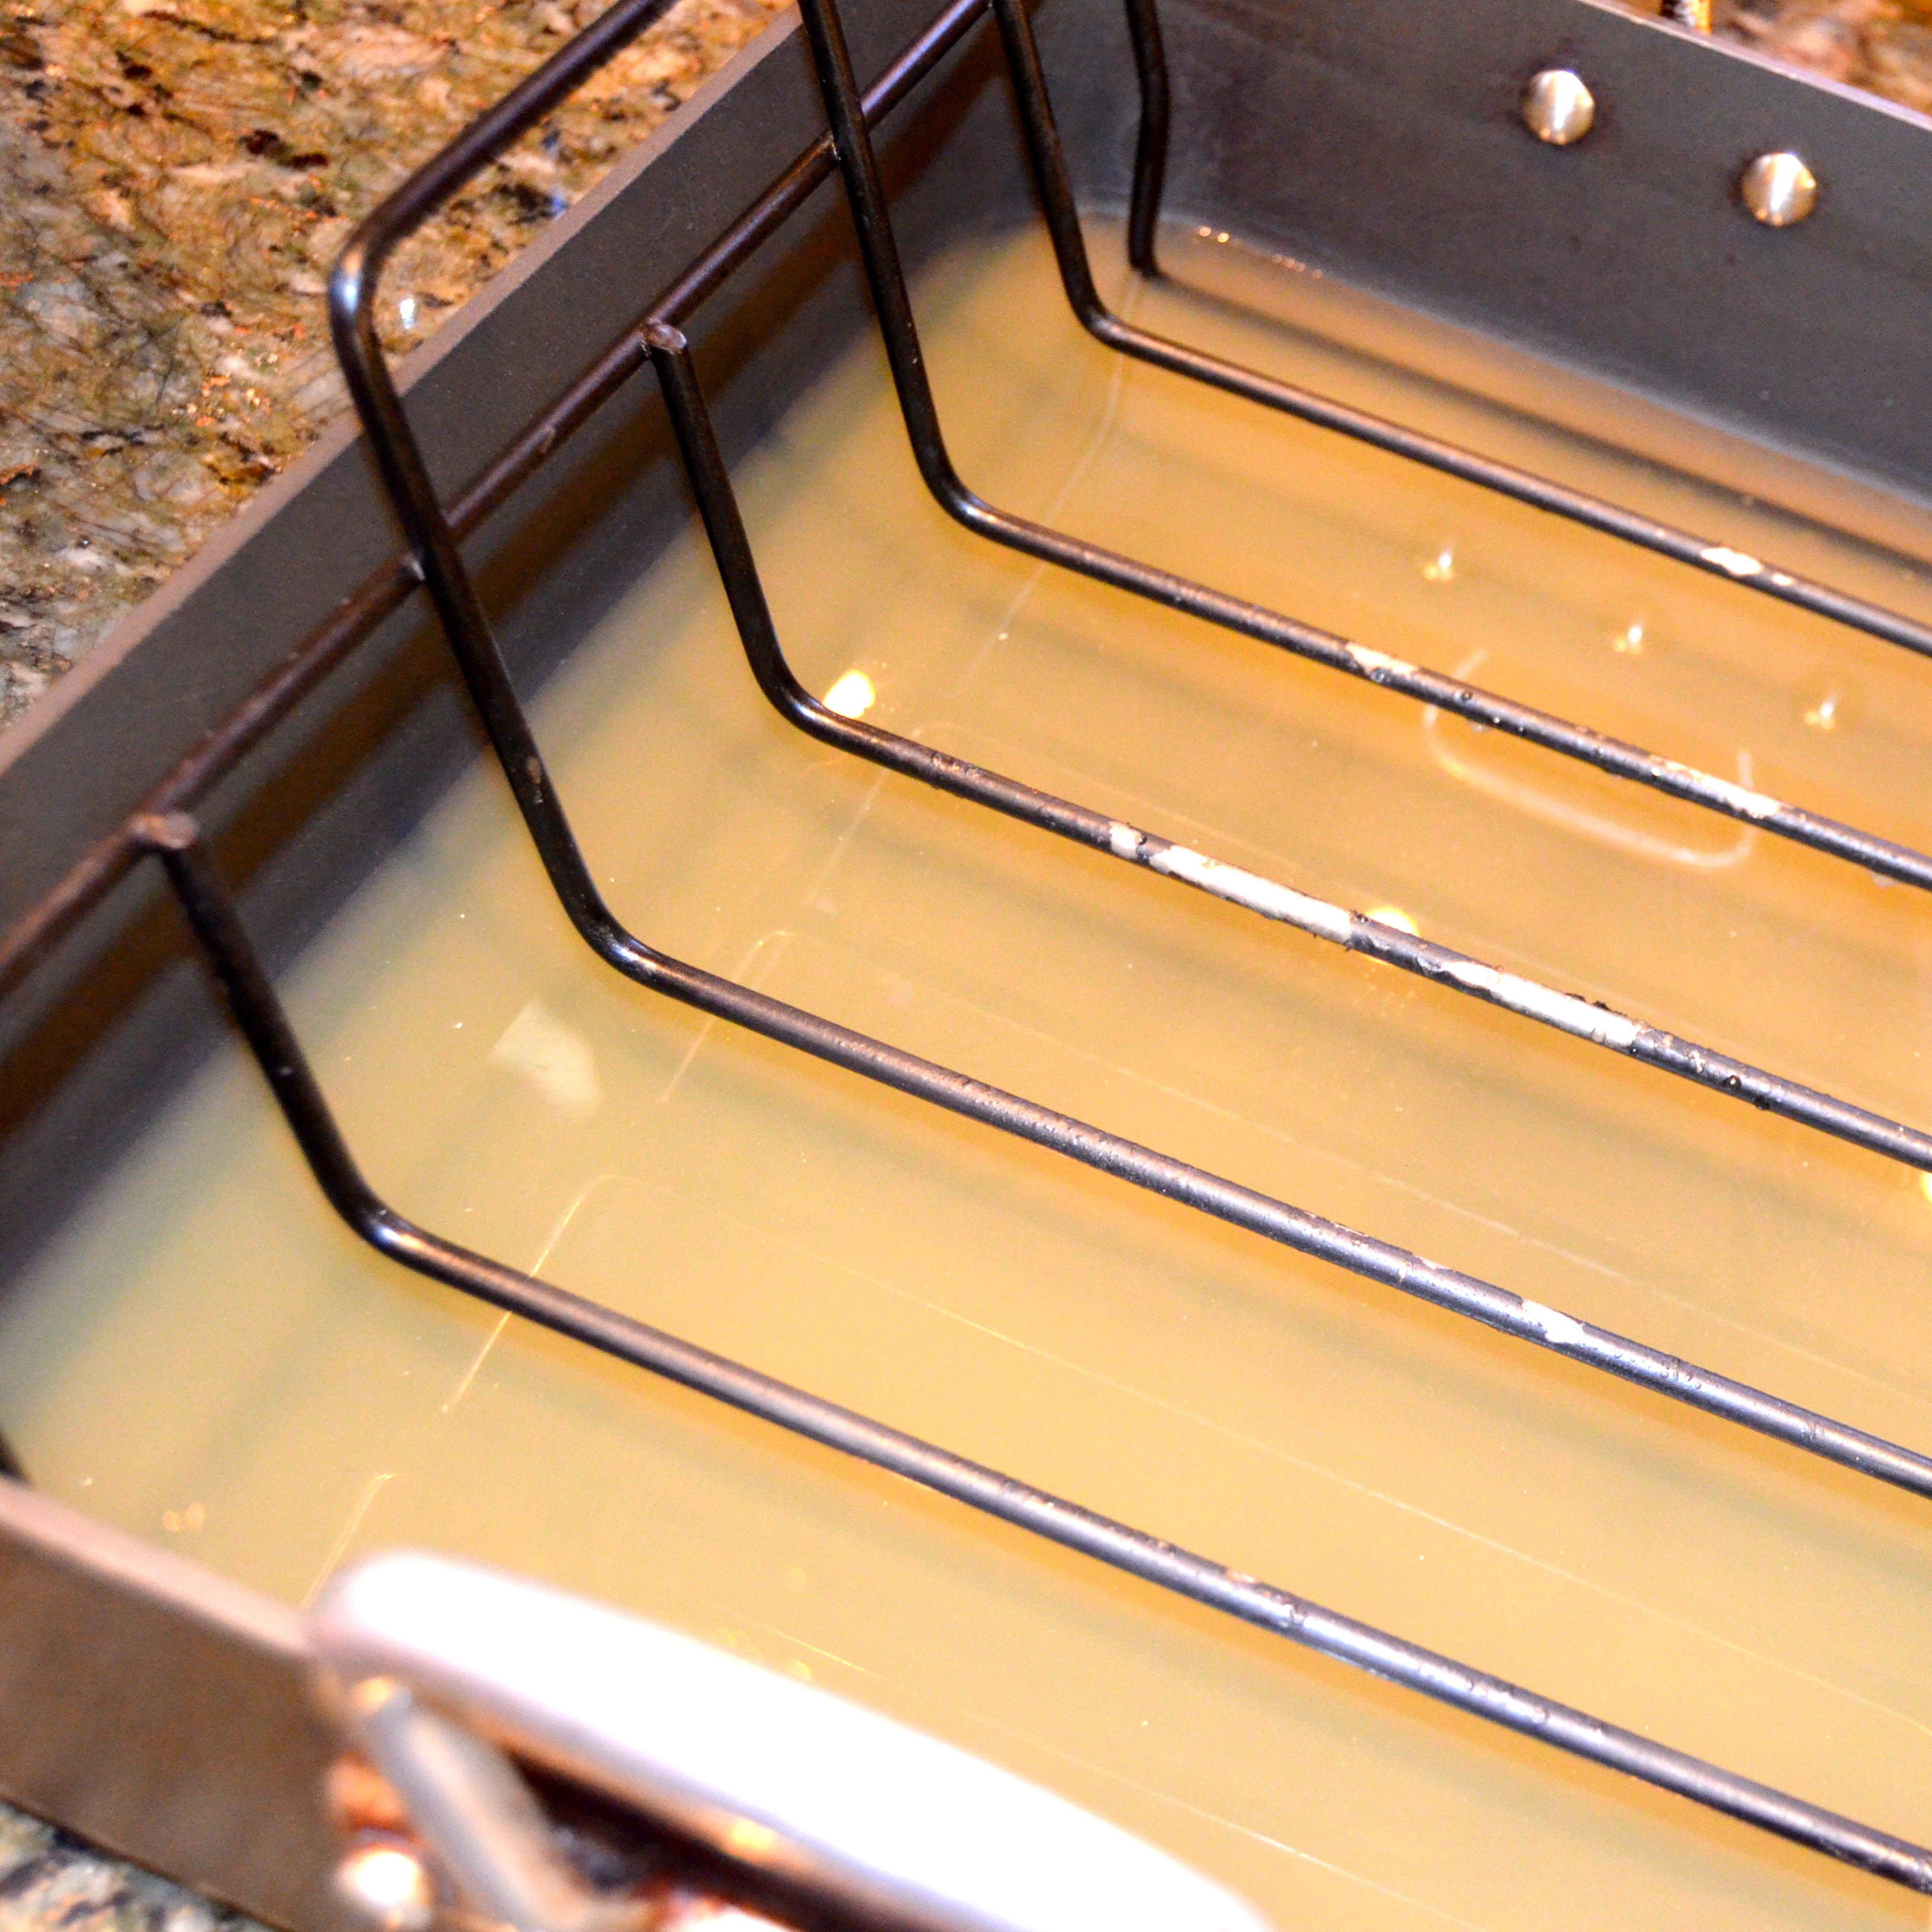
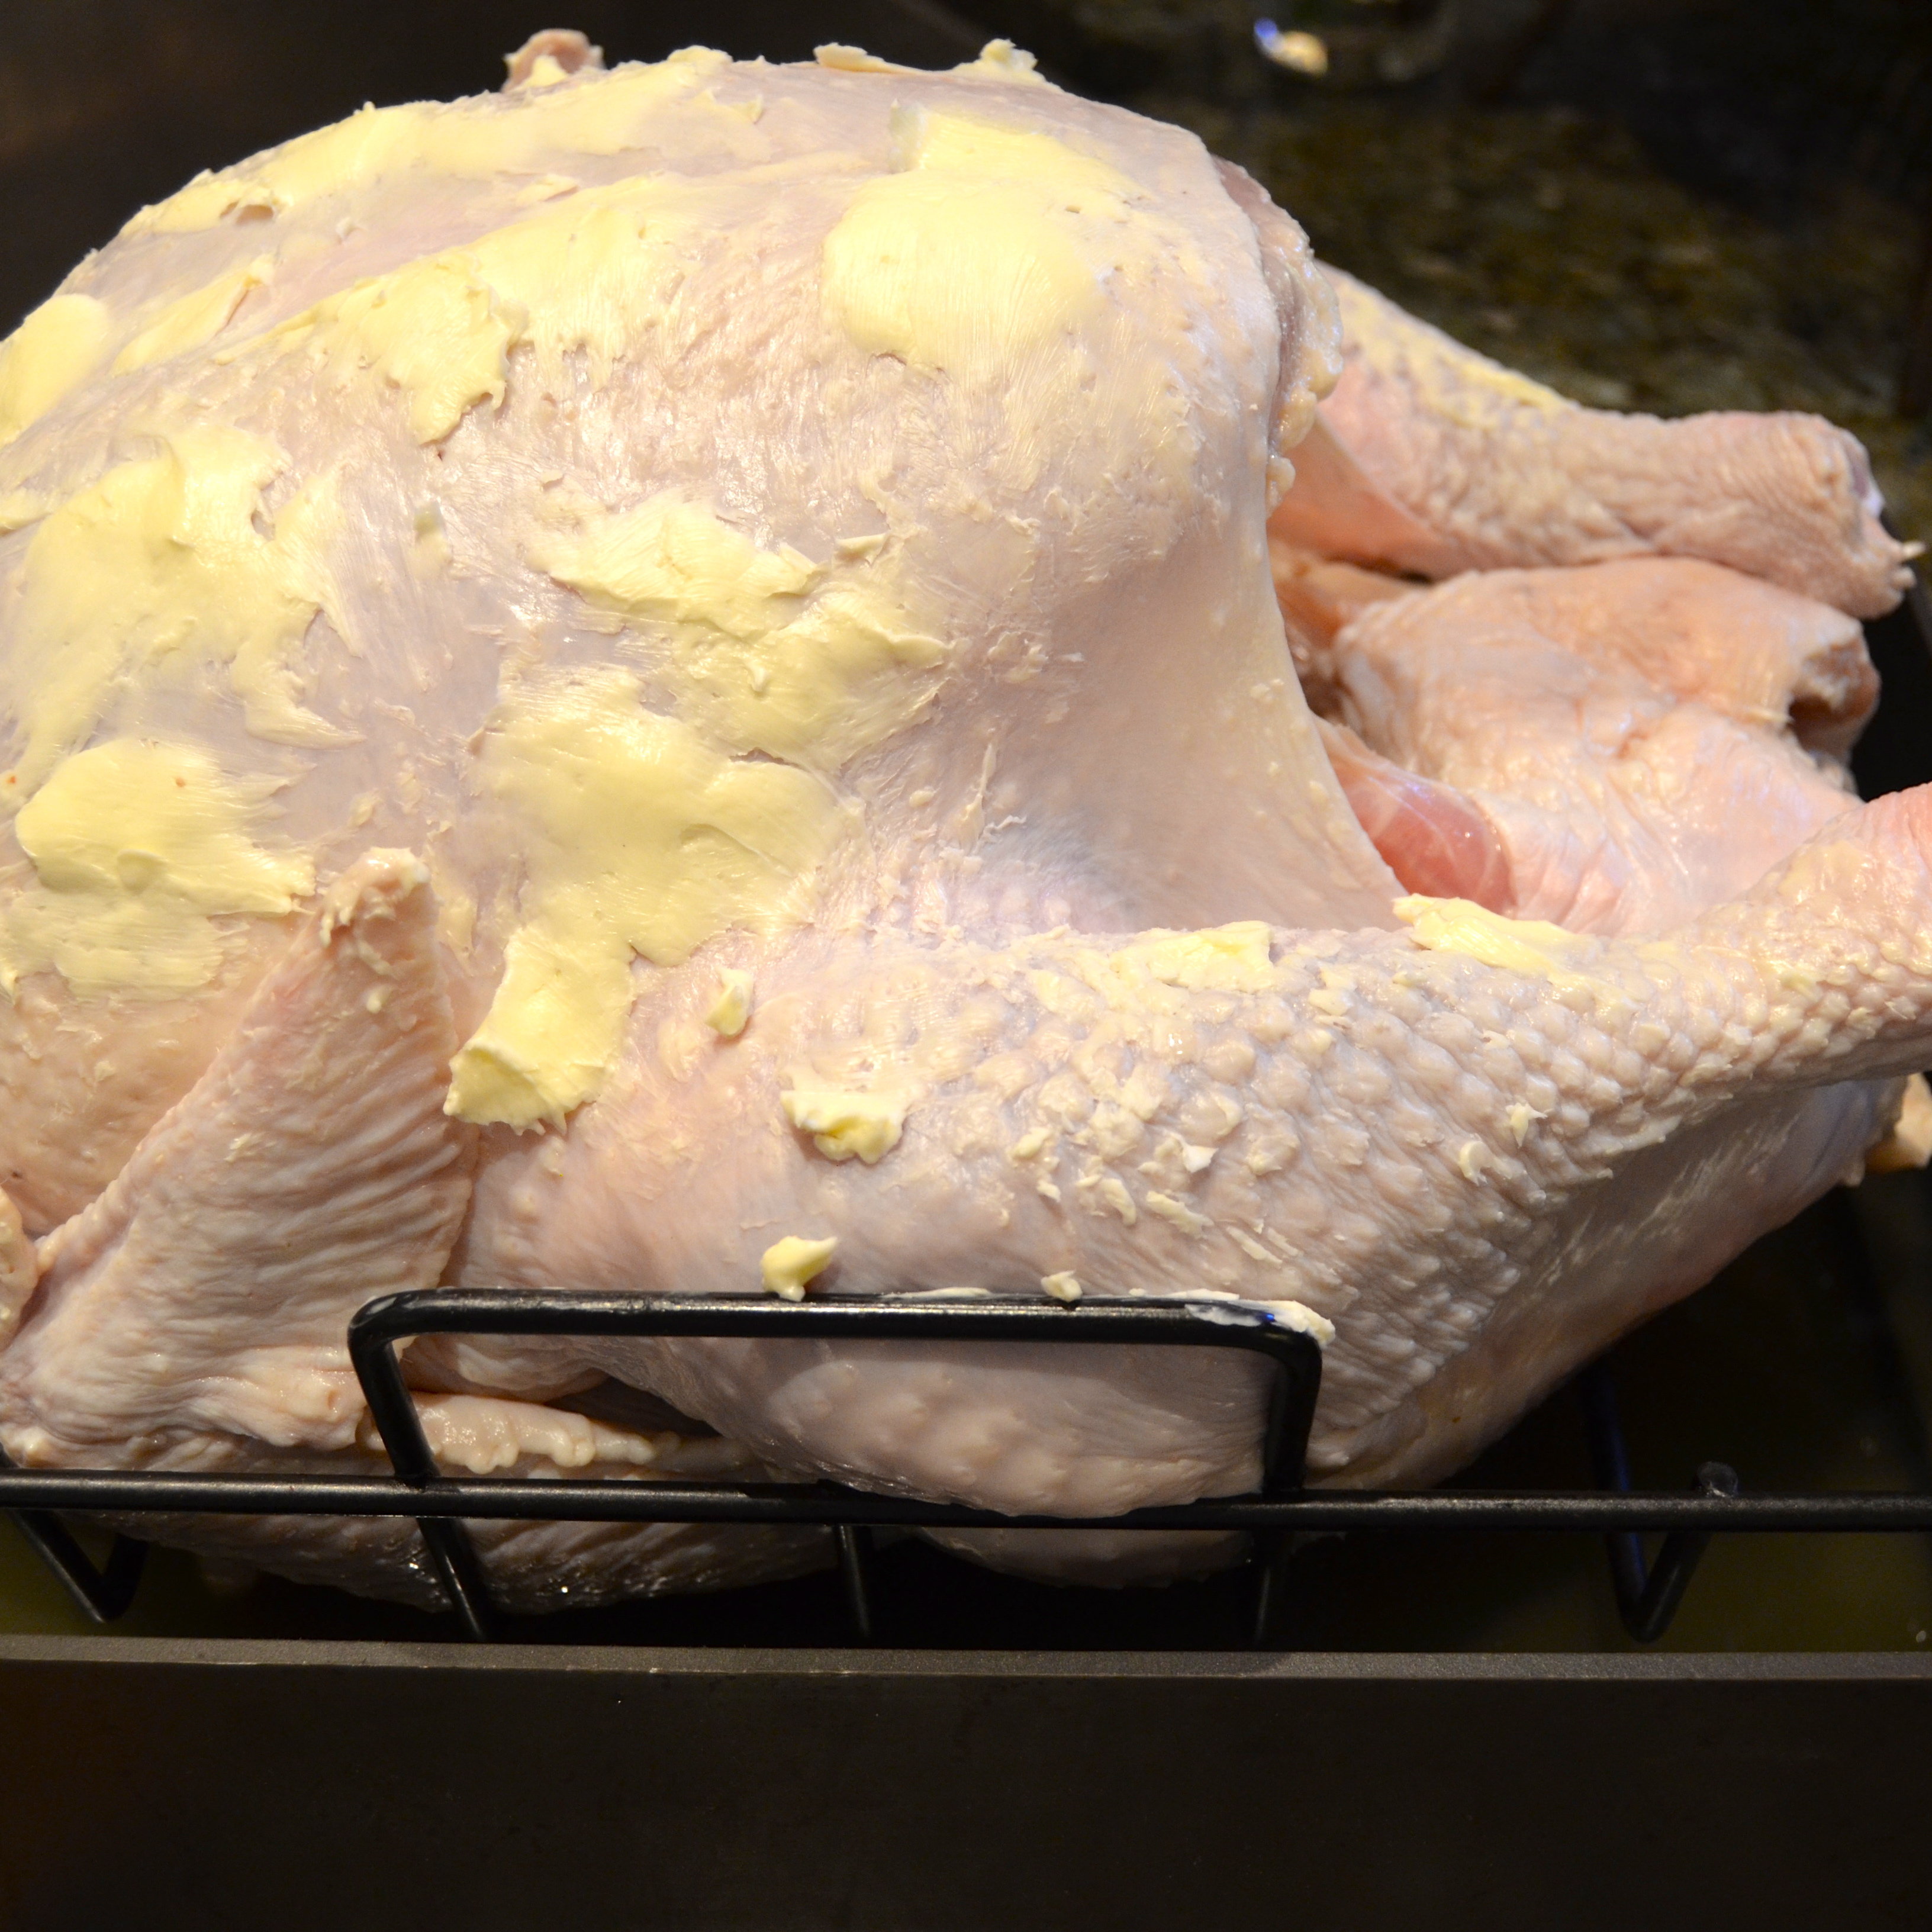
Next, pat the turkey completely dry with paper towels and place it, breast-side-up, on a wire rack housed in a large roasting pan.
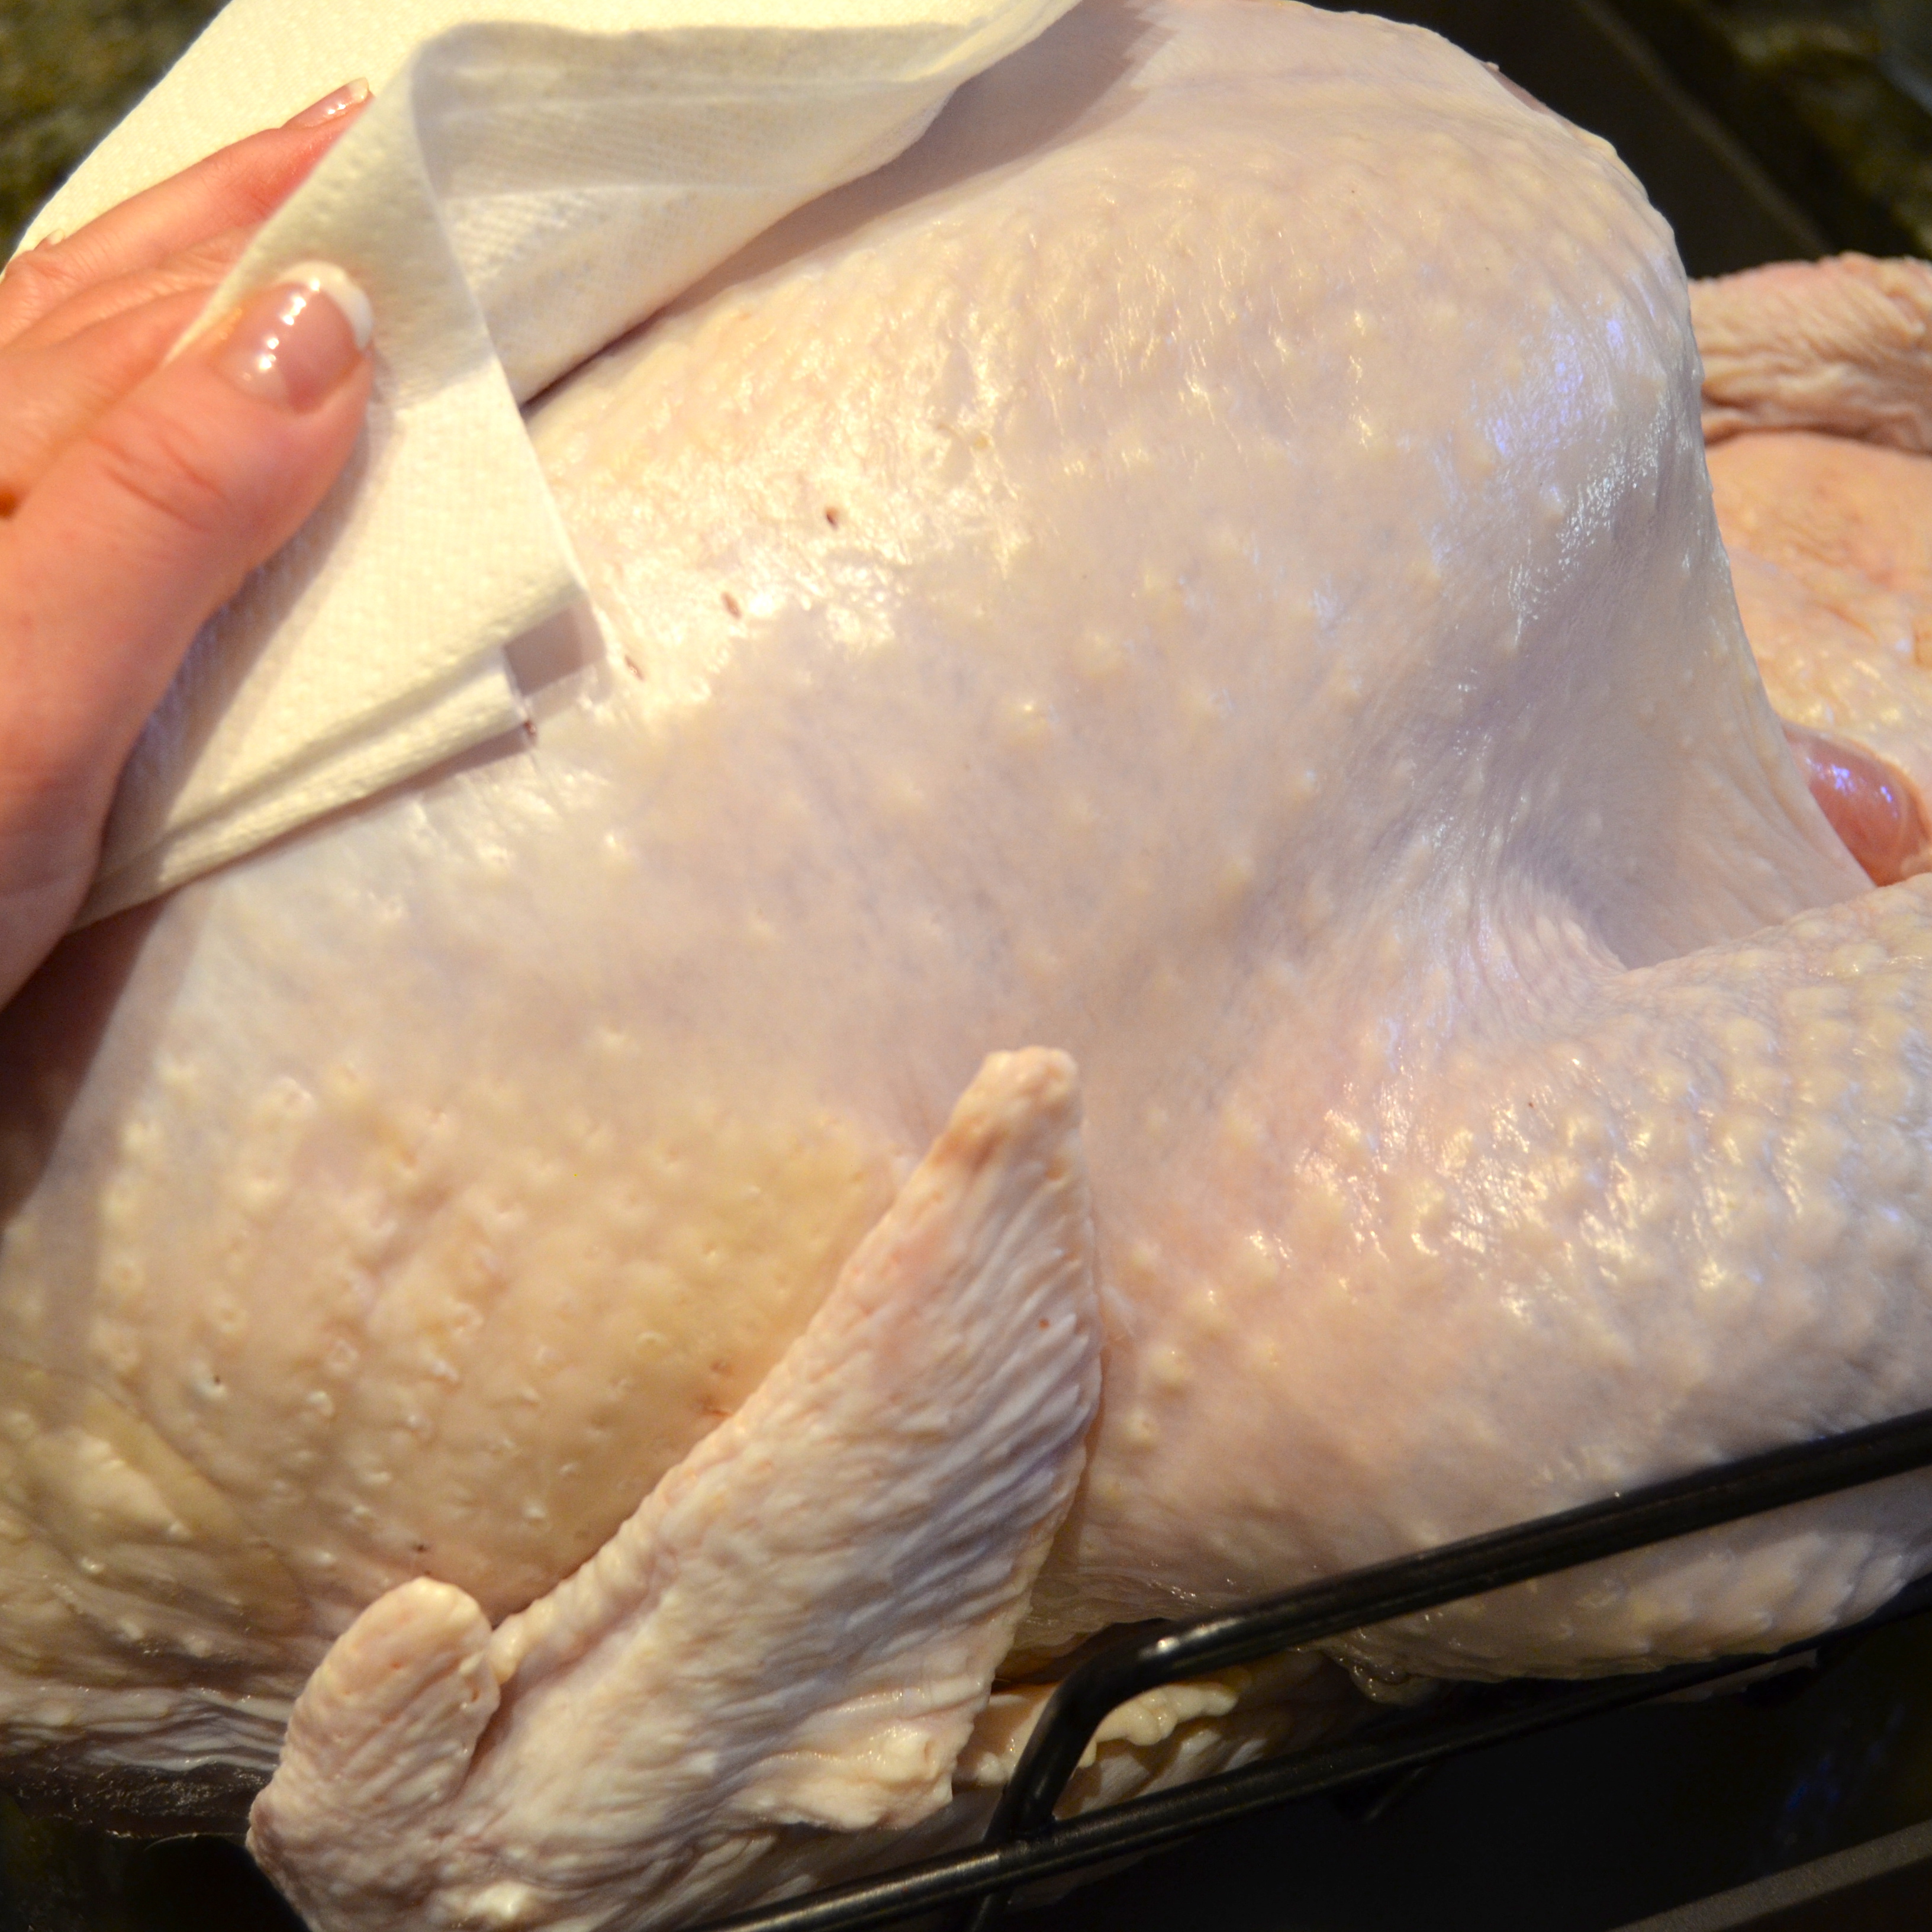
The rack will suspend the turkey off the bottom of the pan and keep it from sitting in its drippings, avoiding a soggy bottom. In preparation for roasting your bird, remove all but one rack from your oven and adjust the remaining rack to sit on the 2nd to the lowest rack in the oven. Now it’s time to preheat your oven to 325 degrees.
Now for the stuffing. In my humble opinion, I do not think that bread stuffing belongs inside the turkey cavity. Don’t get me wrong, I like stuffing, just not stuffing cooked inside a turkey. I call it “Dressing” and I will share with you my simple dressing recipe in a later post. My dressing gets cooked in a roasting pan all by itself. I am not an advocate of placing stuffing inside a turkey for two reasons; food safety and turkey results. As for food safety, the cavity of a turkey is ripe with bacteria that can cause food poisoning. To kill that bacteria the cavity needs to reach a temperature of 165 degrees. If your bird is stuffed with bread, it will take much longer to achieve that temperature and the result will be an overcooked, dry bird. Instead, I stuff my bird with fruit and vegetables. These items are not to eat but are there to add moisture and aromatic flavor to the turkey. Once the turkey is roasted, I discard these items before slicing the roast.
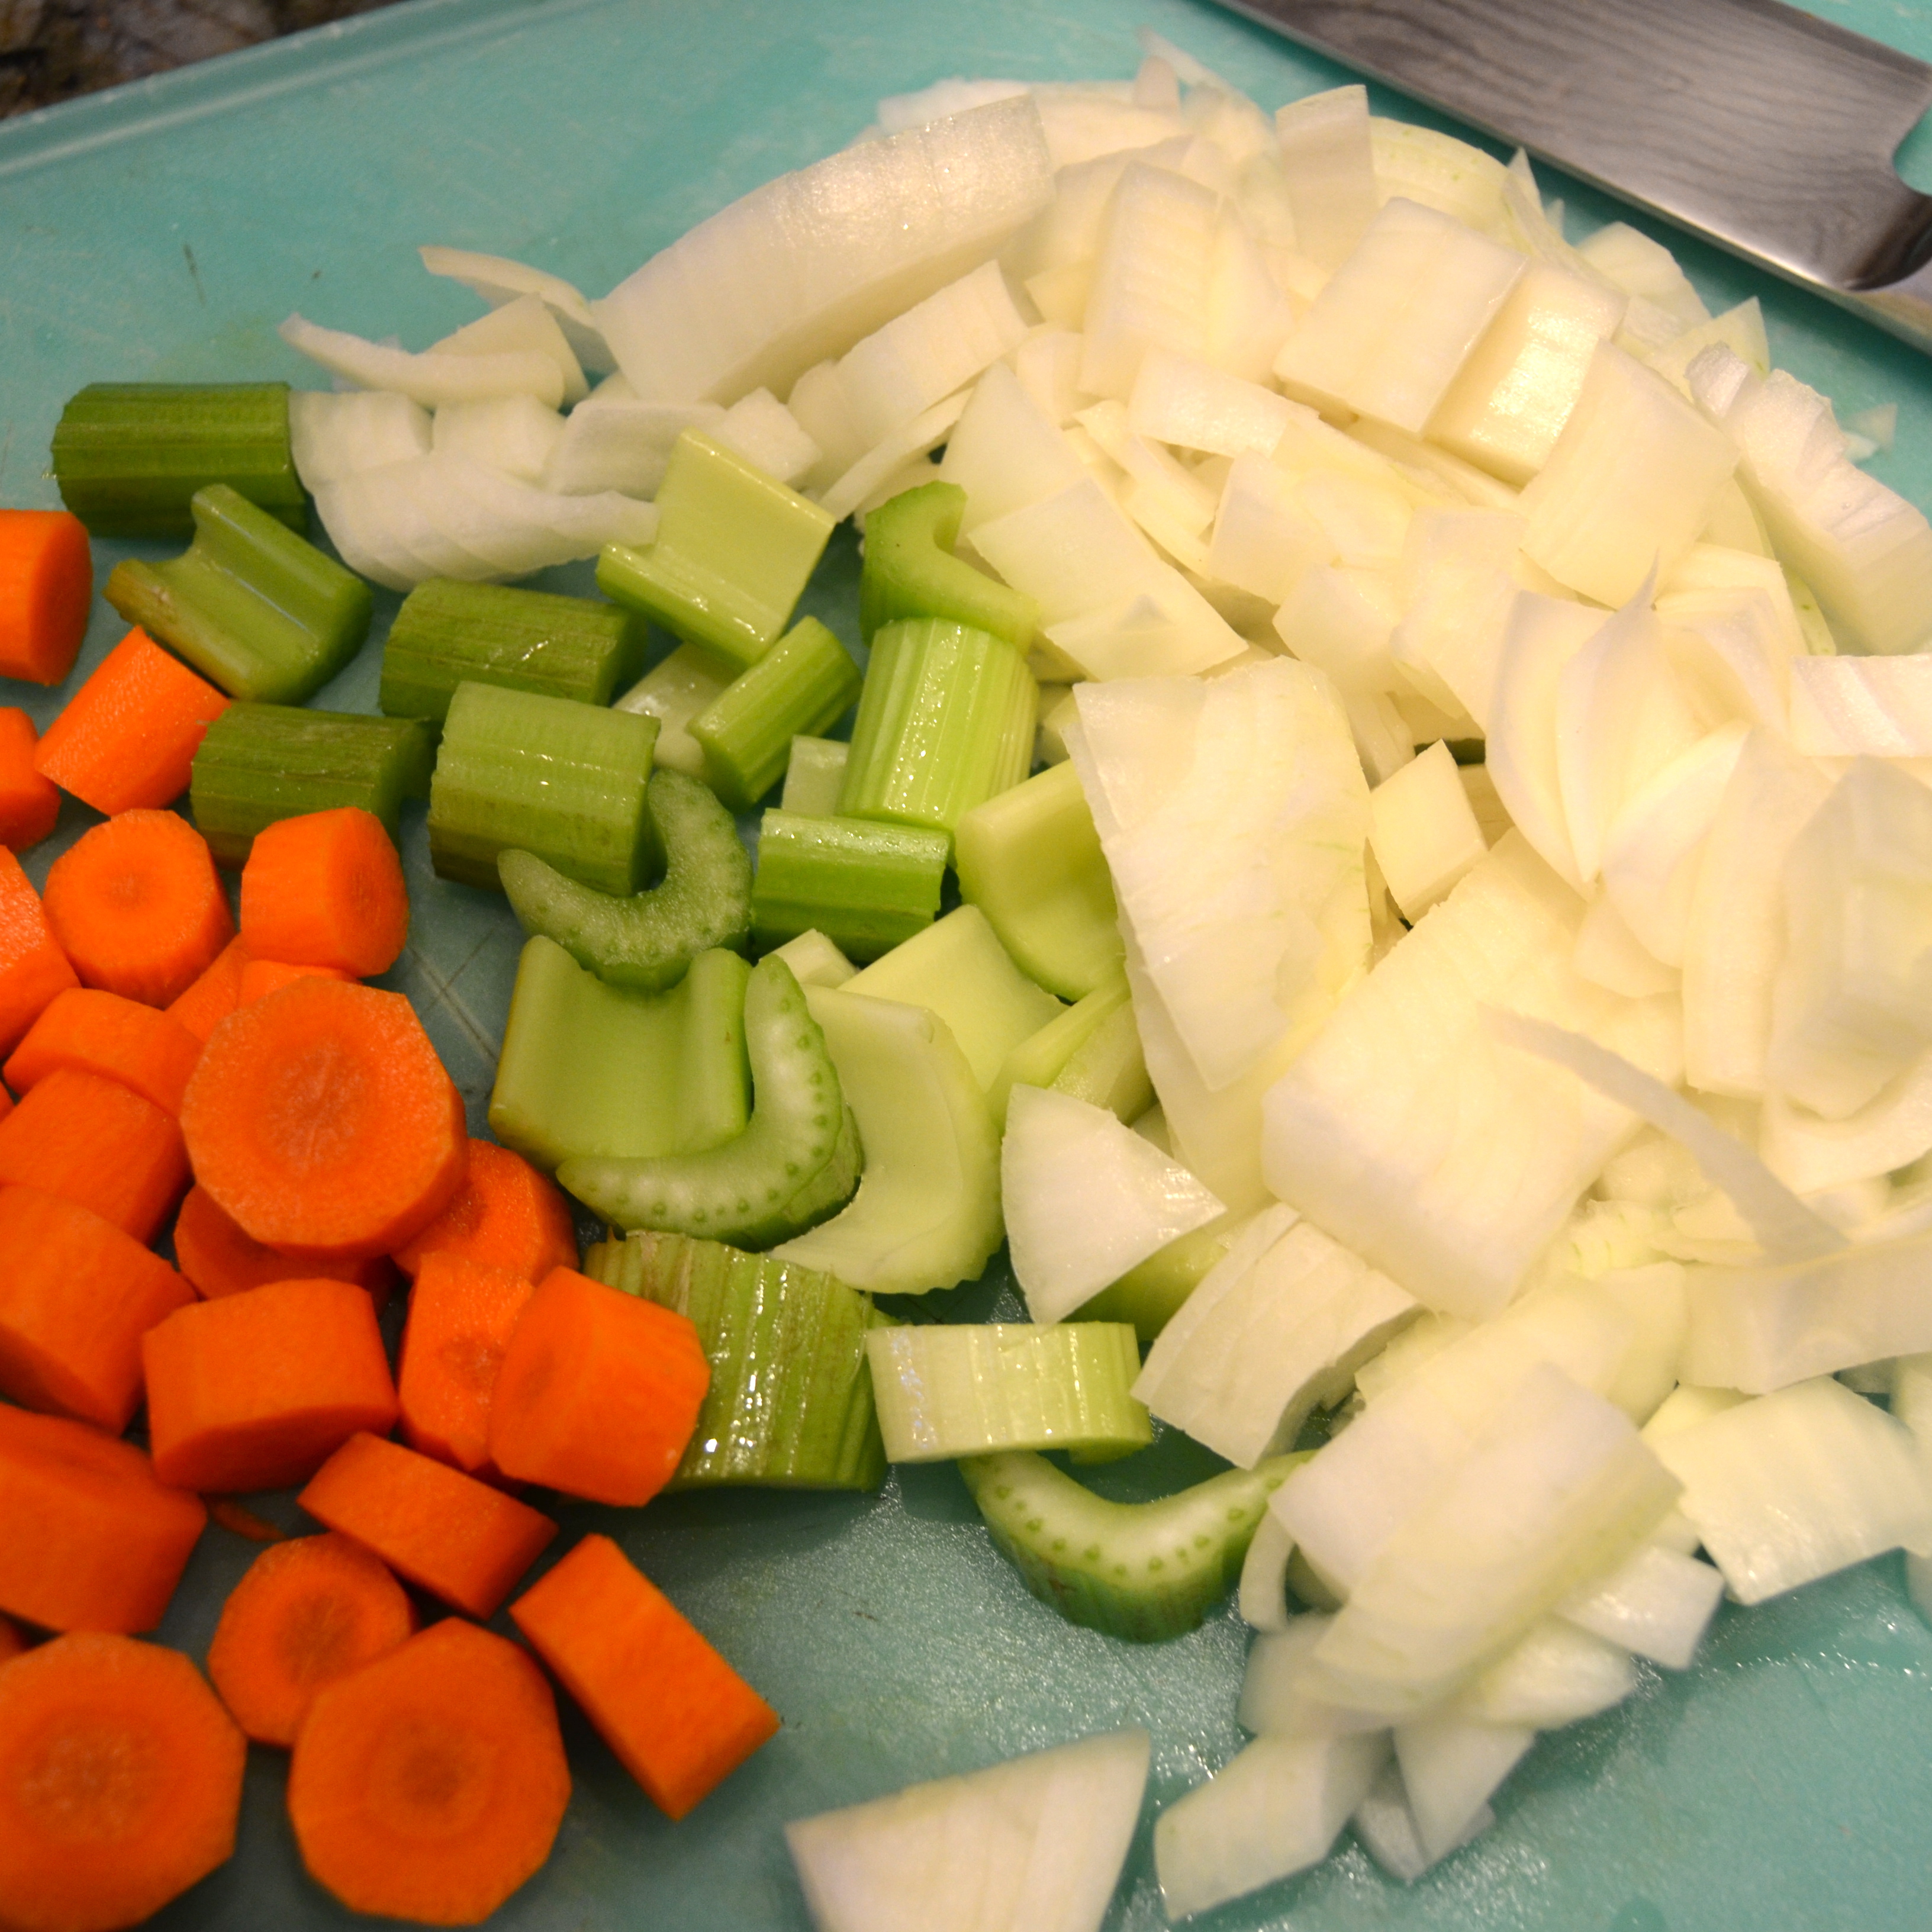
OK, lets get started. First, take an onion, a couple of celery stalks and 2 or 3 peeled carrots. Give them a good, rough chop.
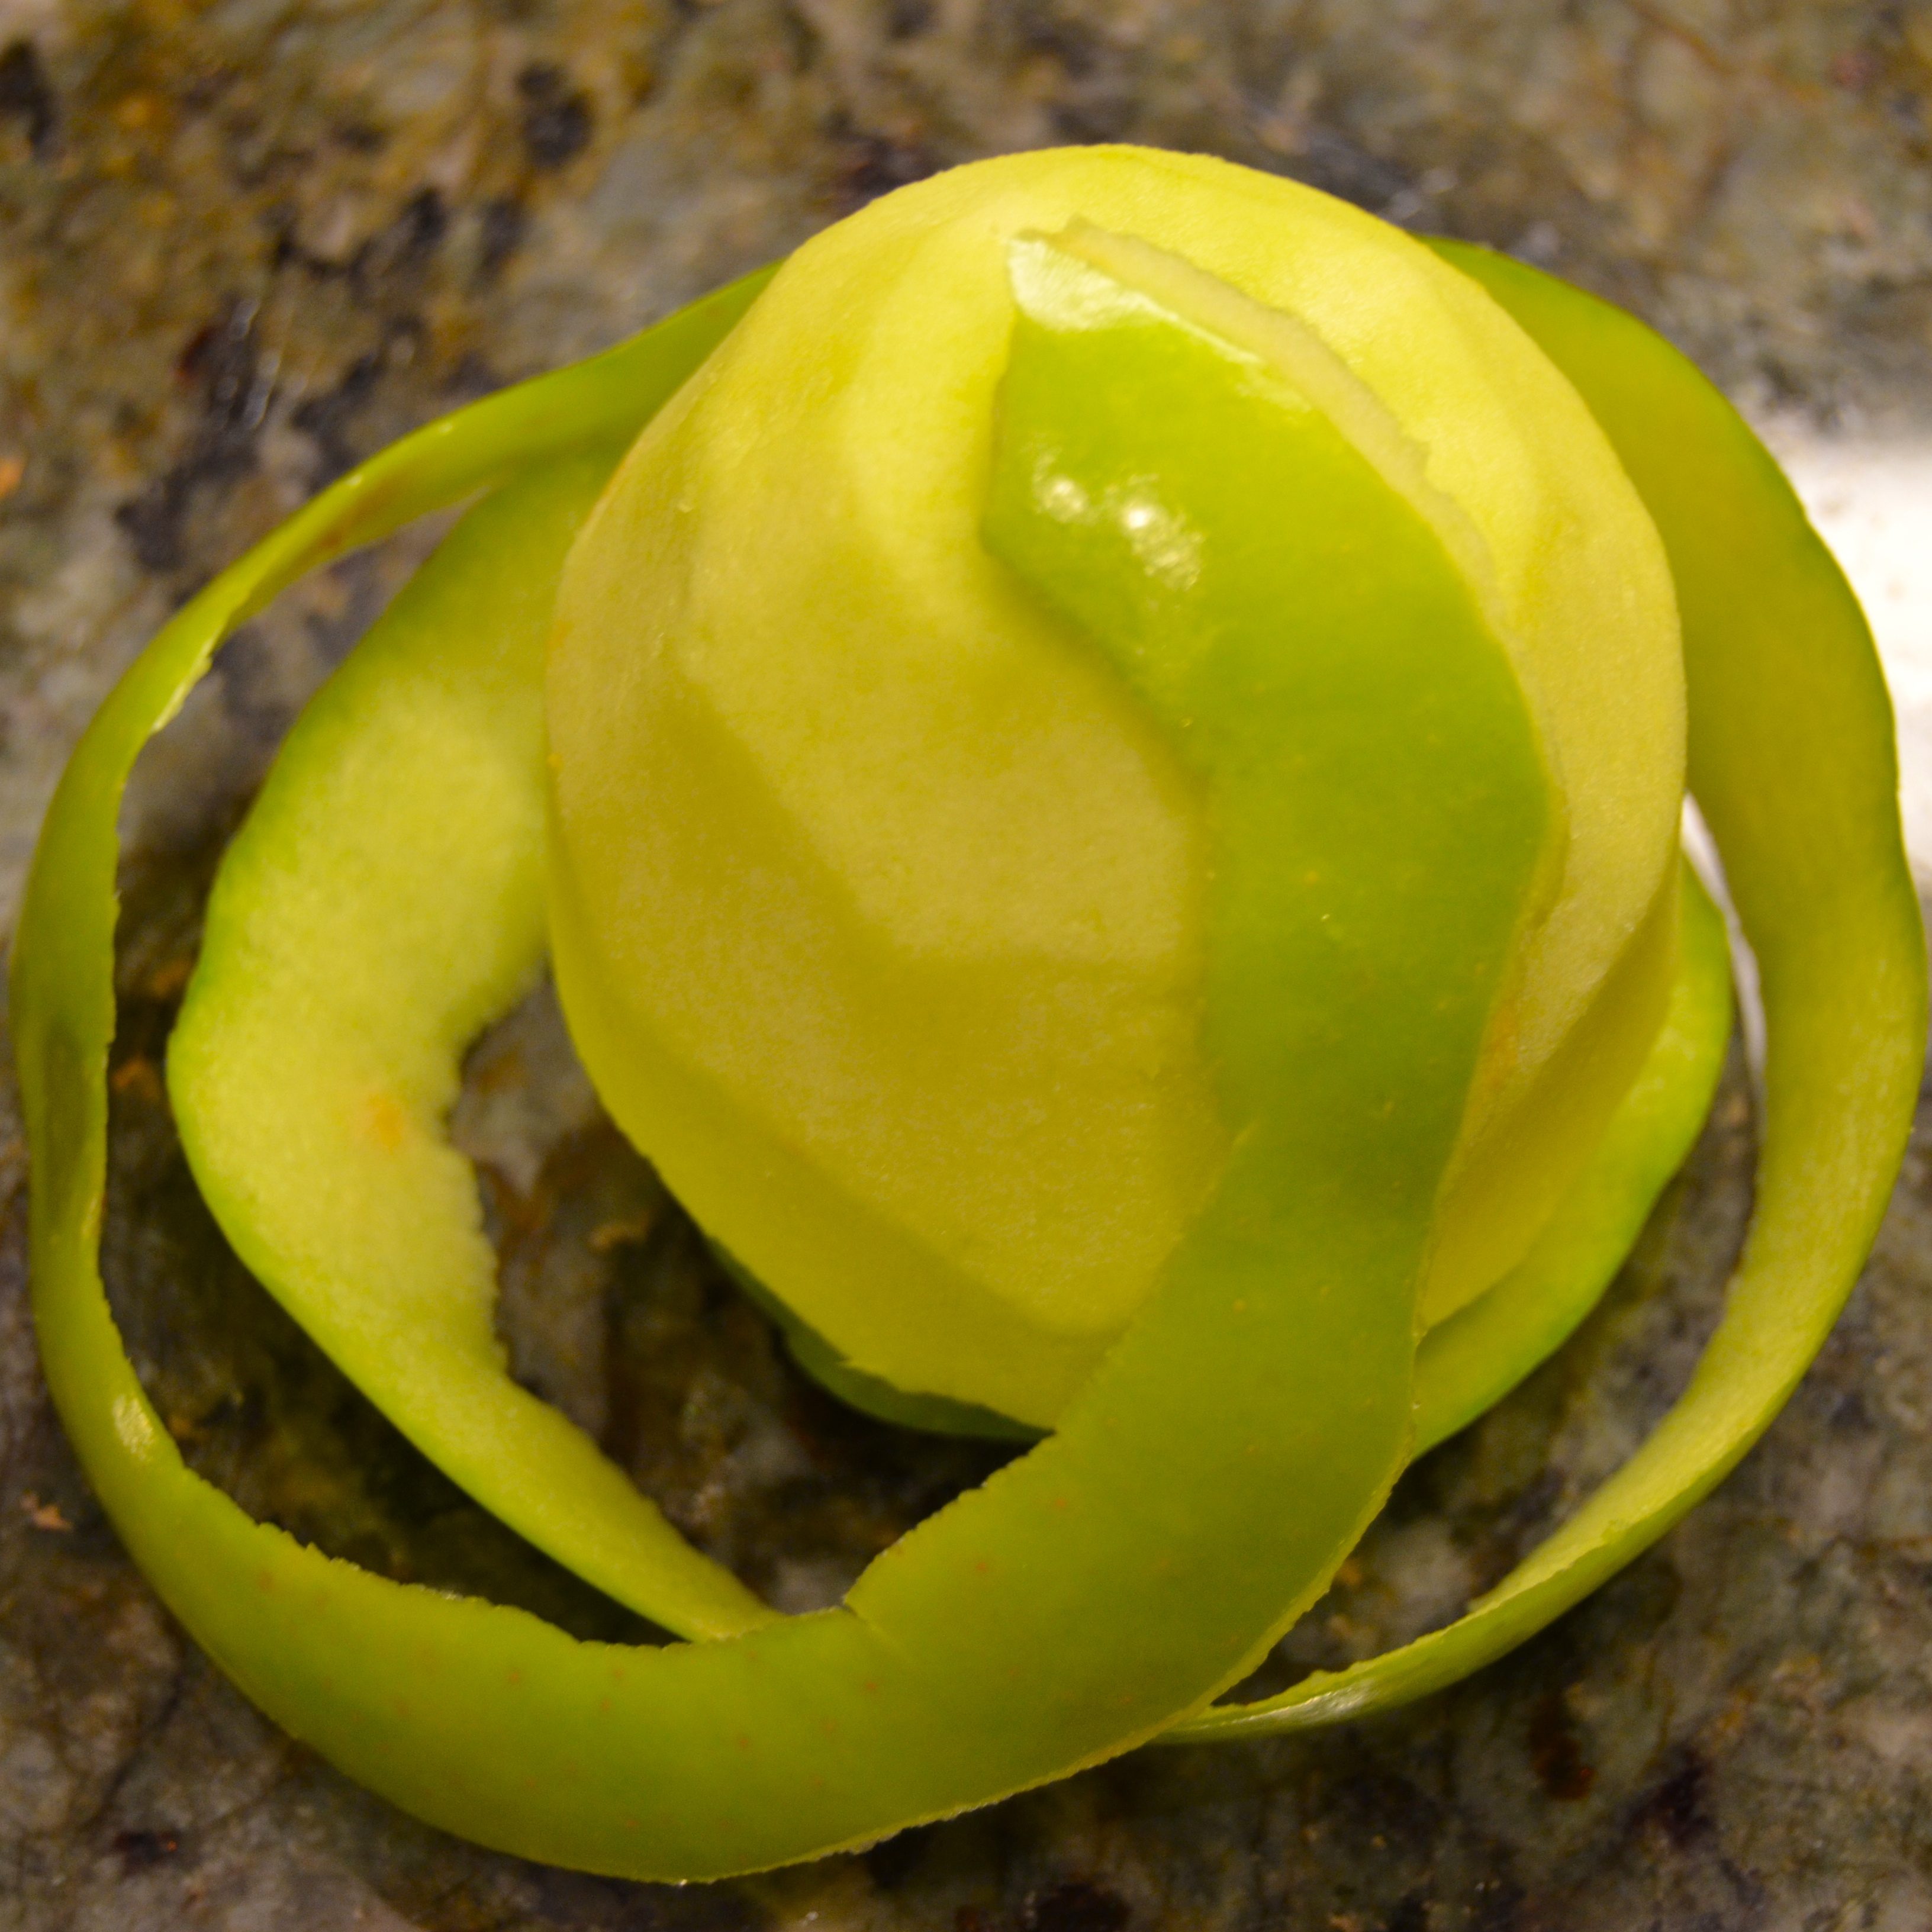
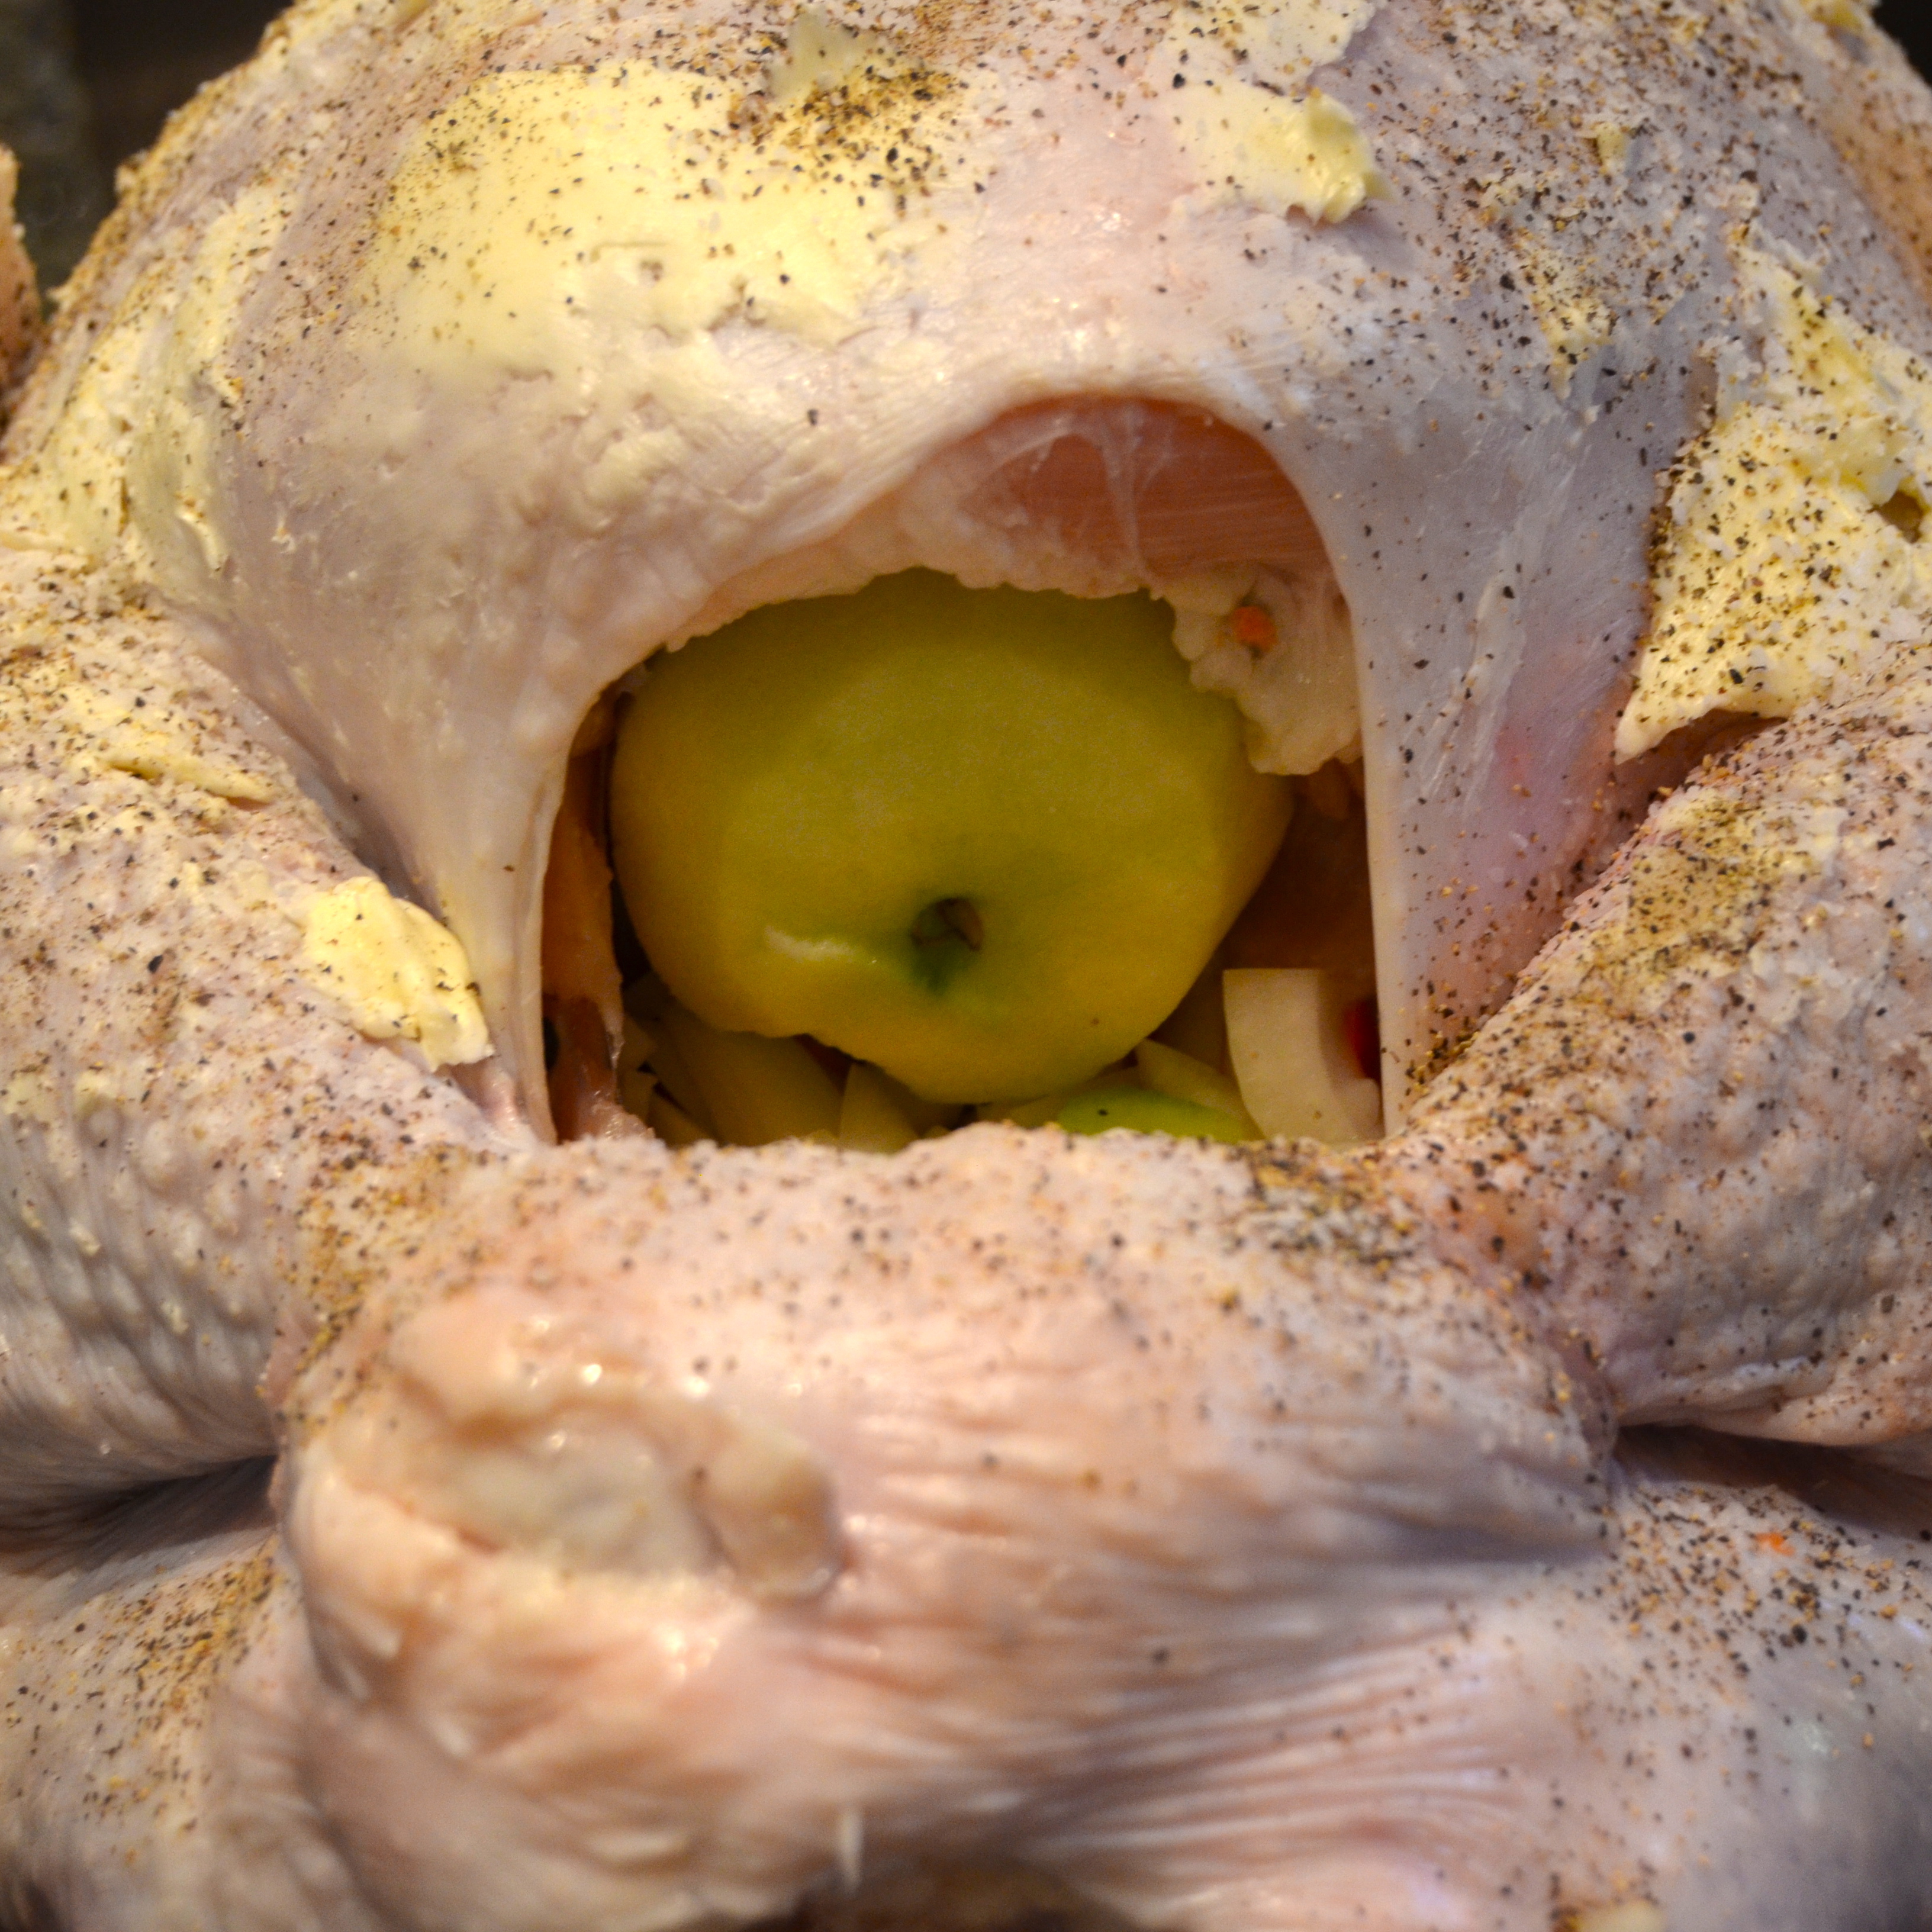
Next, peel an apple. If you’re like me you’ll see how far you can go before the peel breaks. My Daddy taught me that. Then I give the peel to my dog Charlie who is anxiously waiting at my feet.
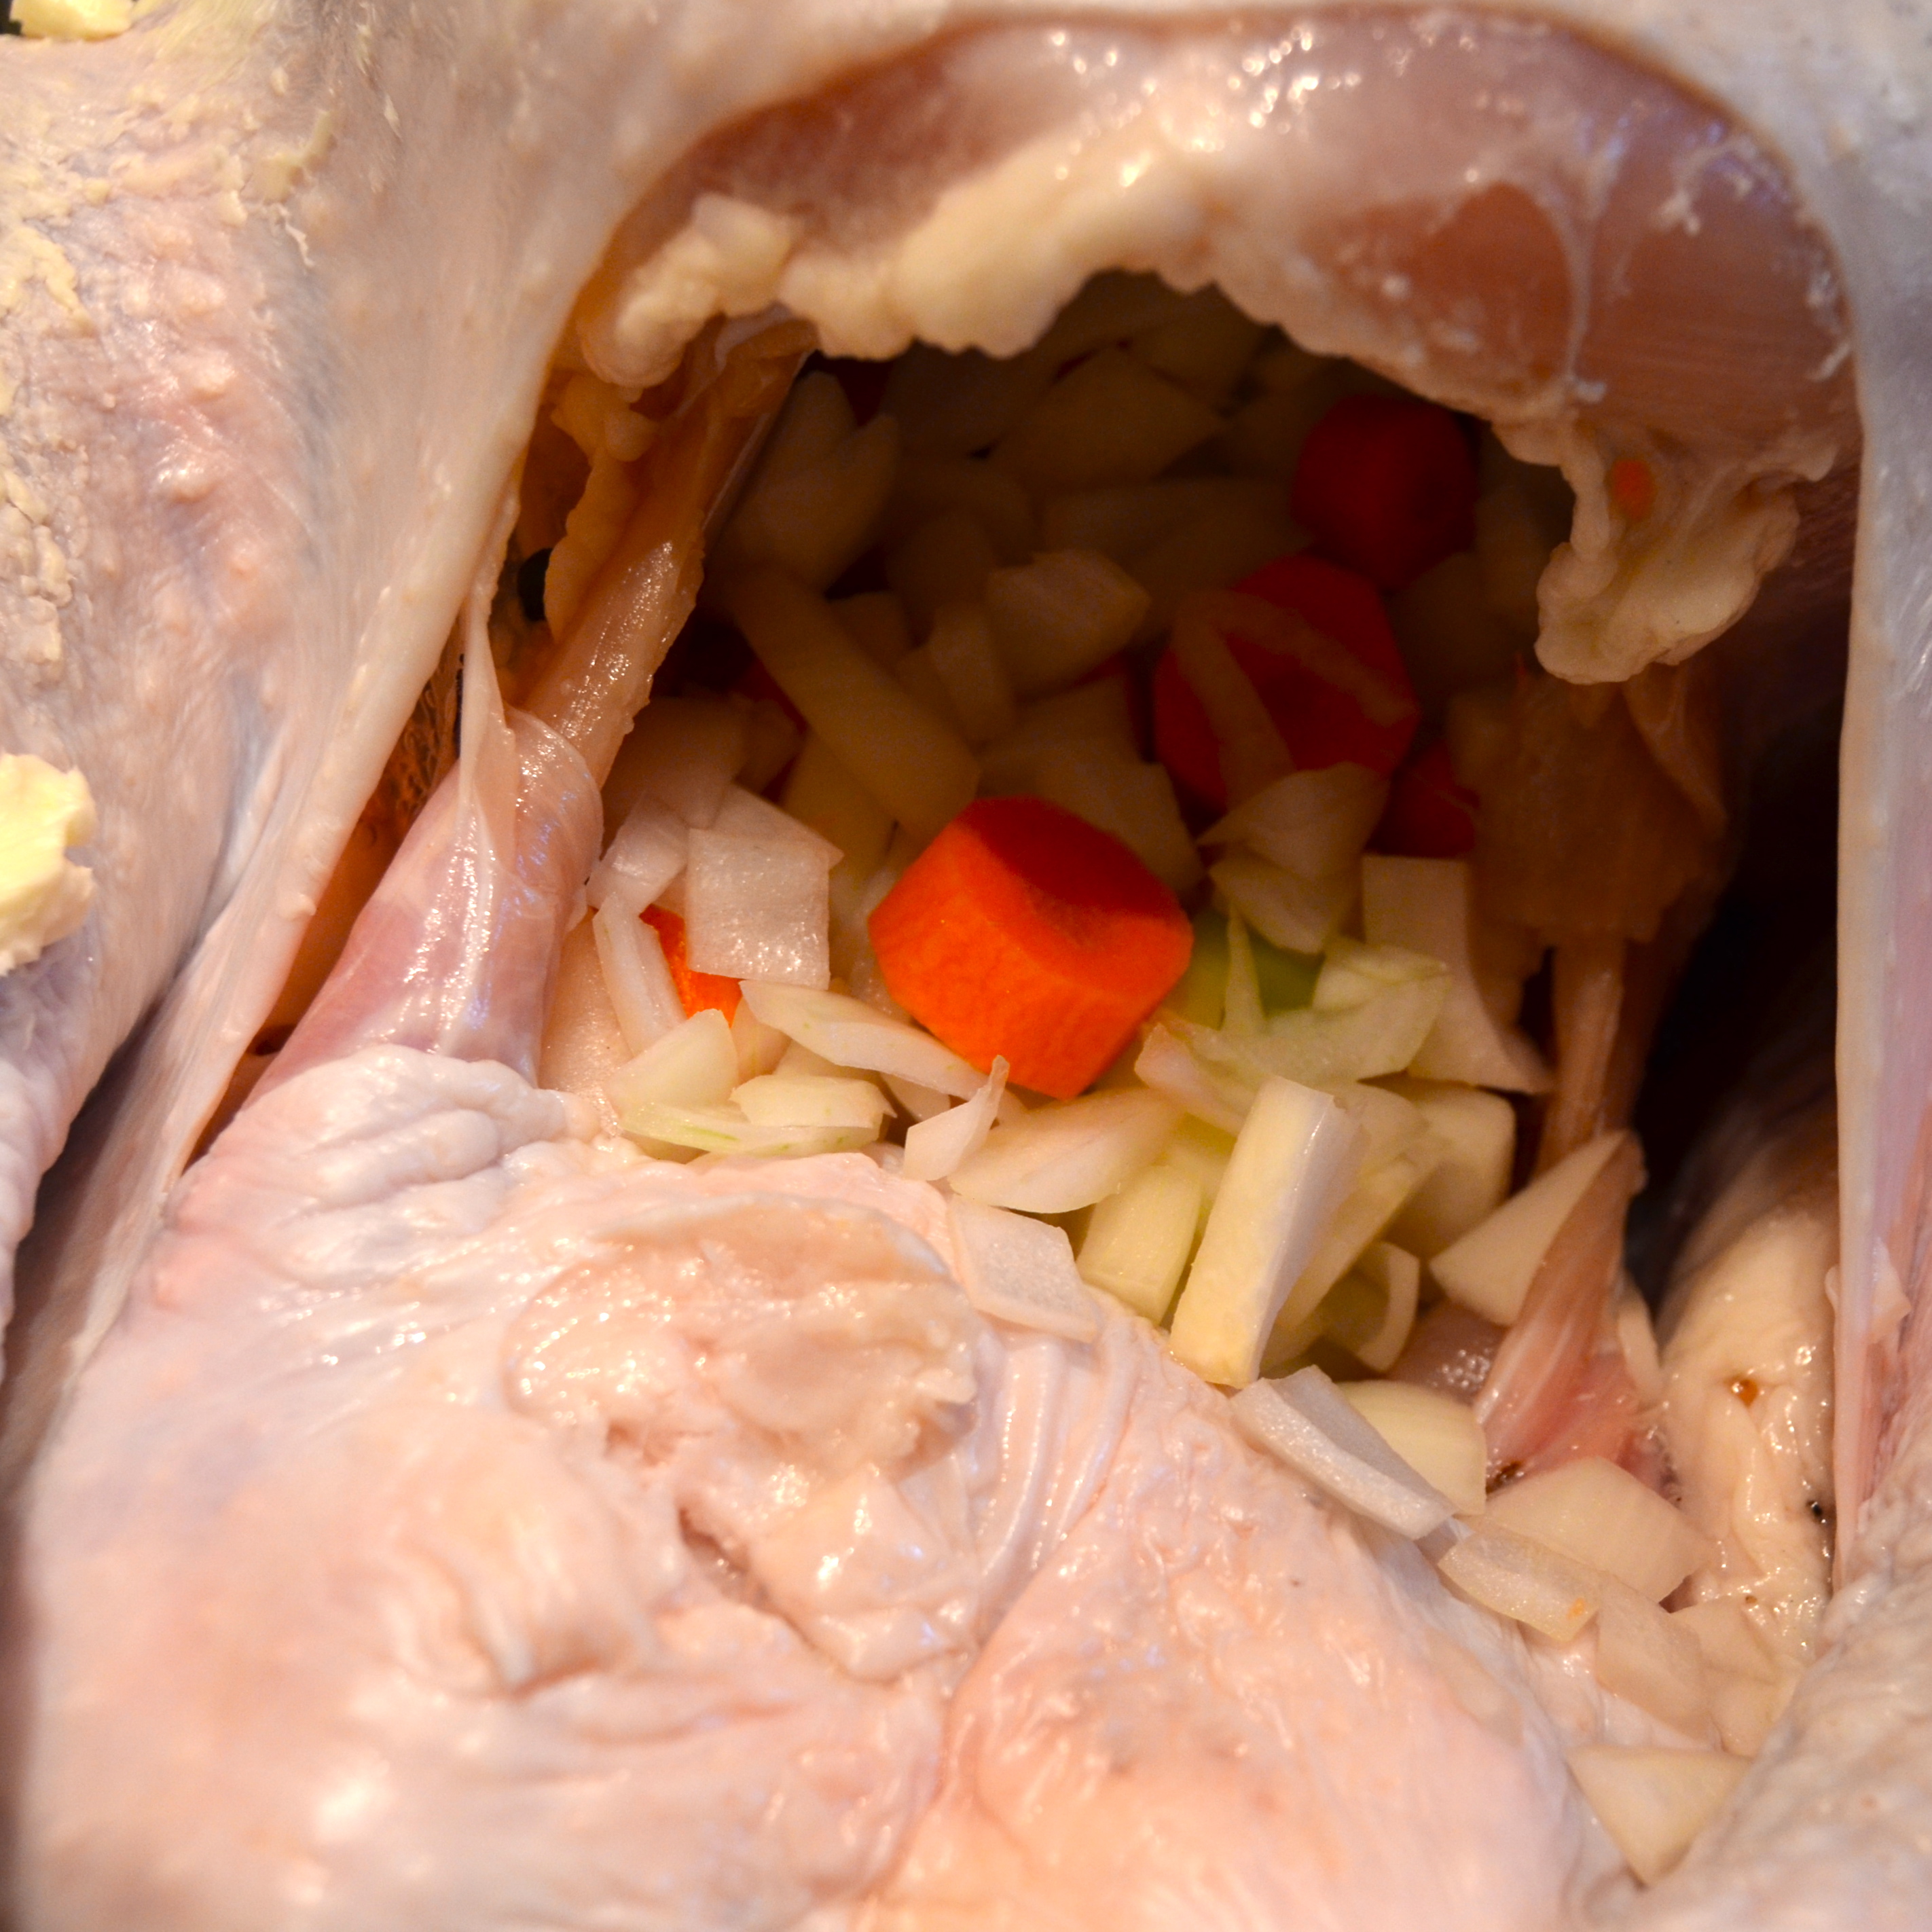
Loosely place the veggies and apple into the birdie’s cavity. Do not, by any means, pack it chock full or it will create the same problem stuffing does and slow down the cooking process. Finally, close up the bird by tucking the legs into the loose tail skin or tie them closed with baker’s twine. Pull the neck skin down under the back. And, finally, if you are smarter than I was when making this turkey, you will also tuck the wing tips down under the breast. This way you will avoid singed wings like mine.
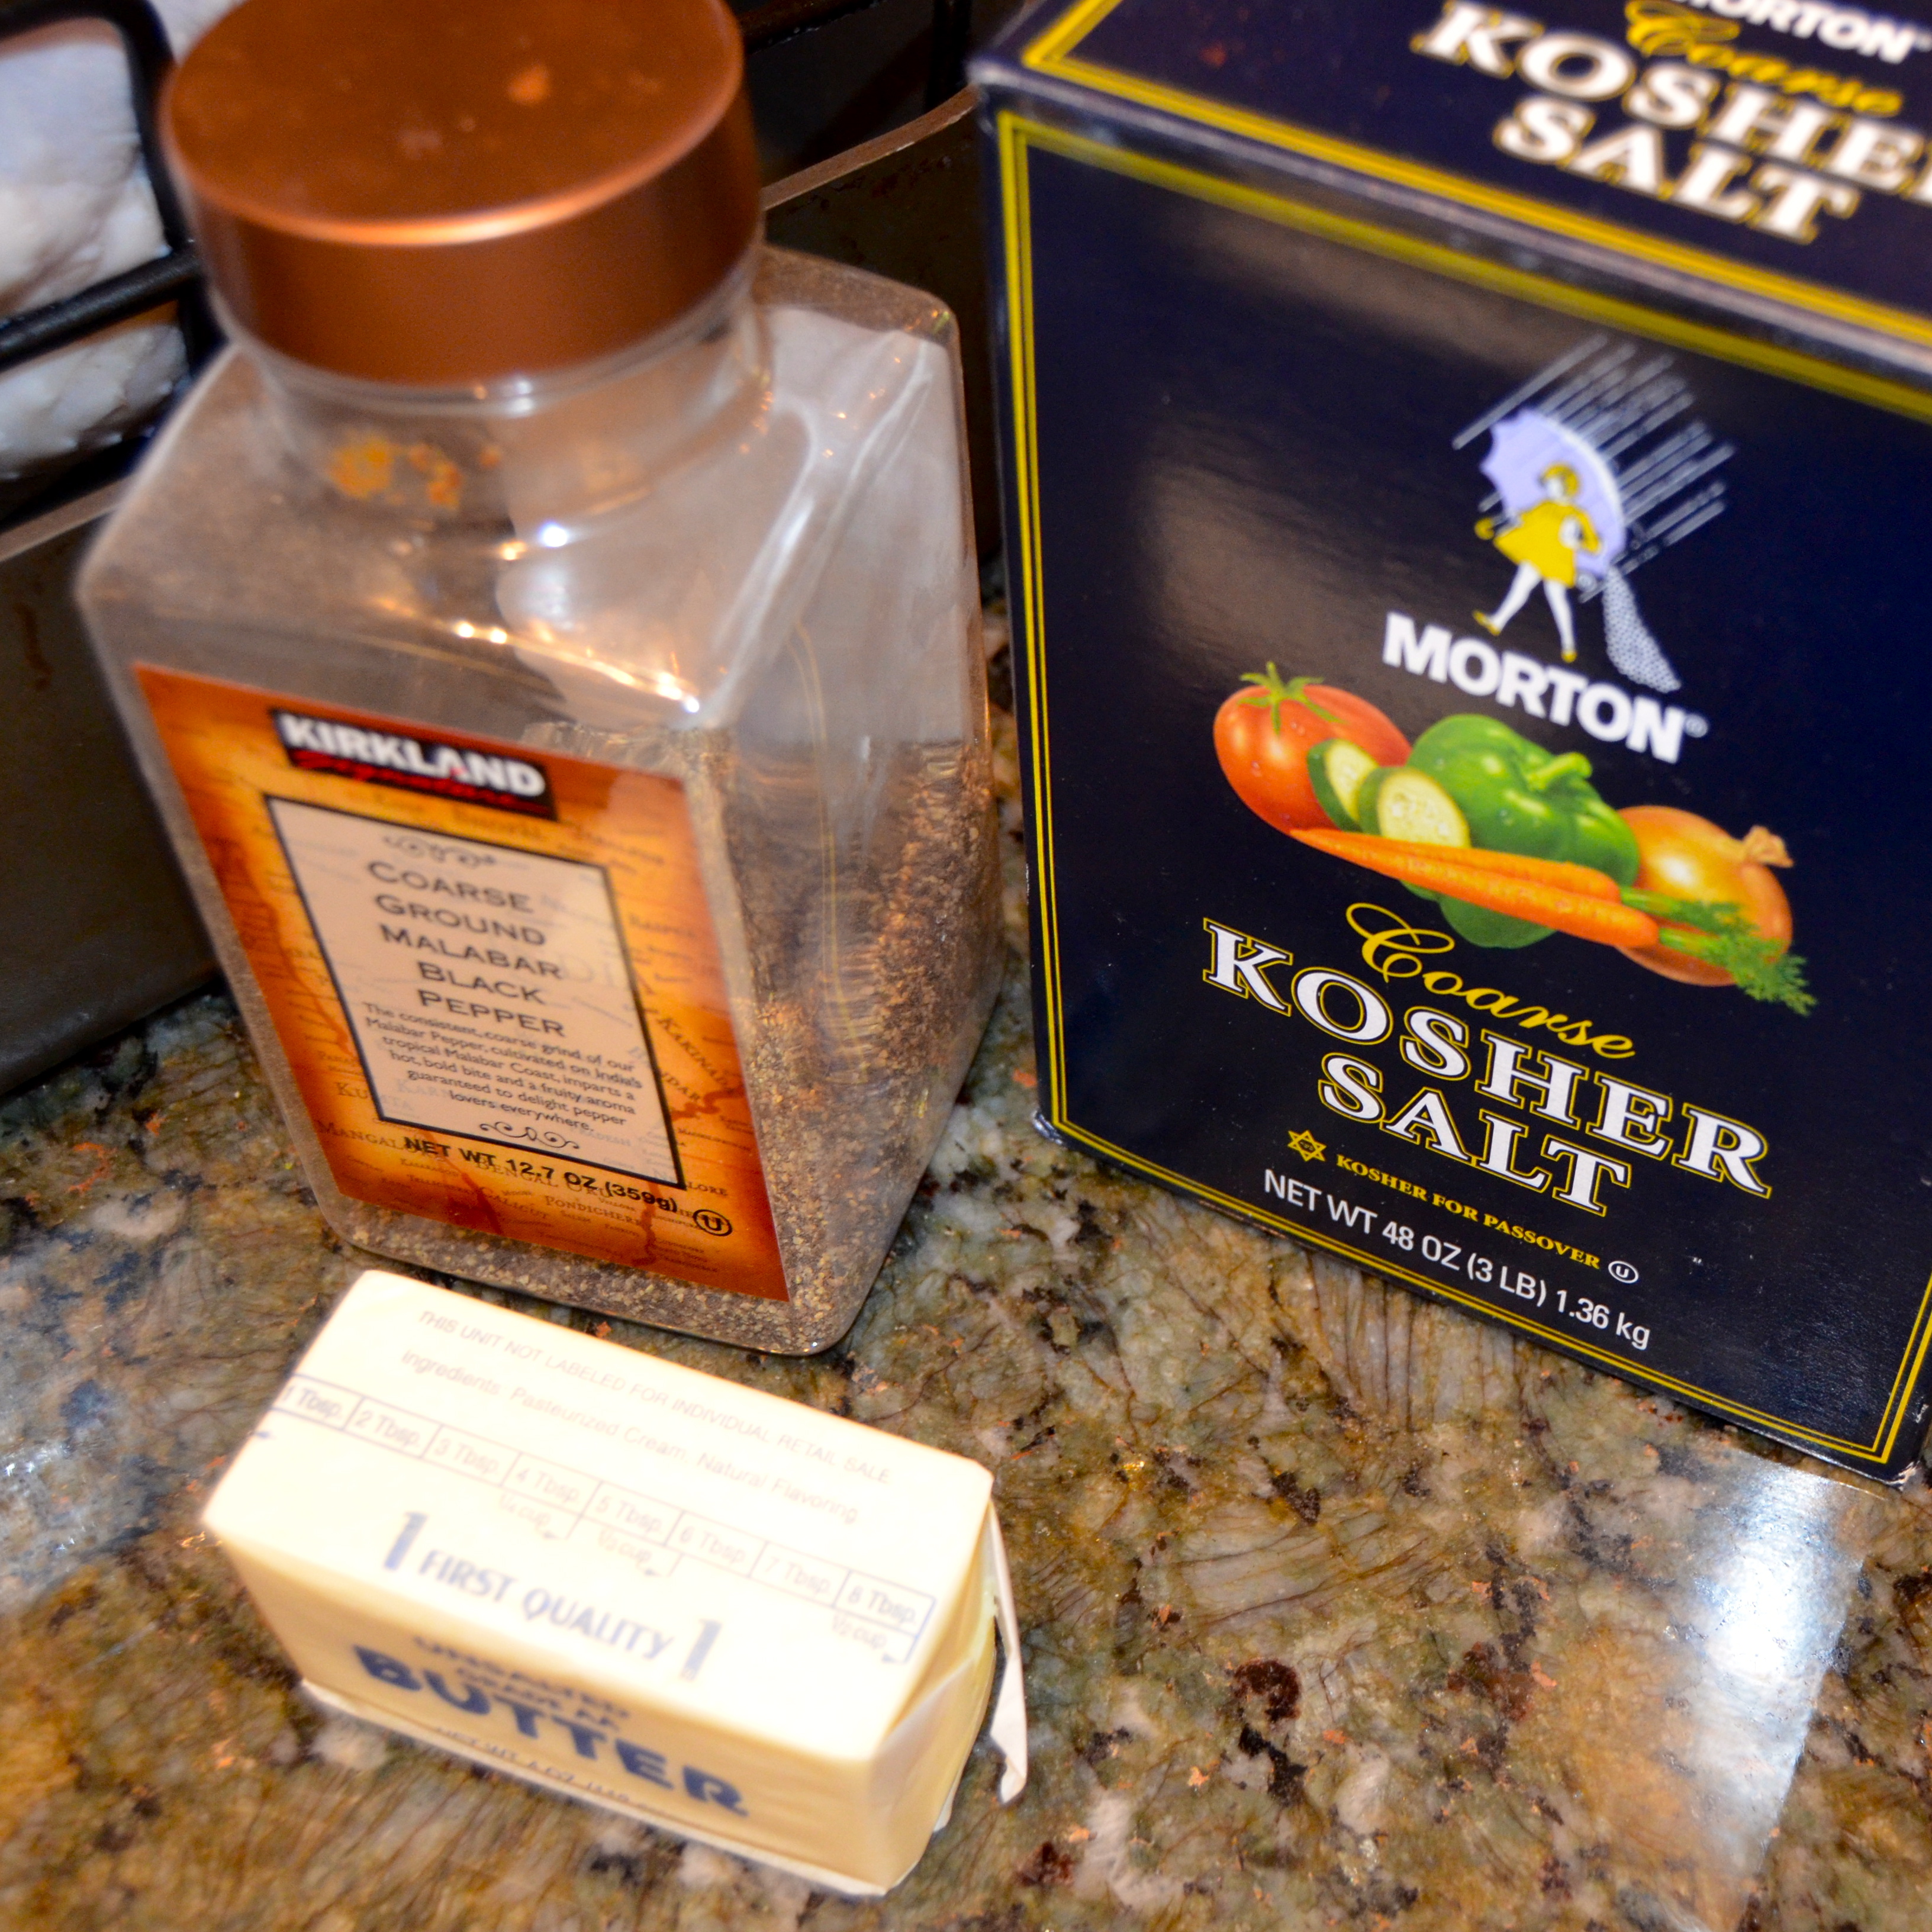
Now it’s time to give your bird a butter massage. Take a cube of room temperature, softened butter (not margarine) and, using your clean hands, rub it all over the exterior of the turkey. Make sure that your bird is thoroughly dry or the butter will not stick to the skin.
Then, sprinkle it all over with coarse ground pepper and kosher salt.
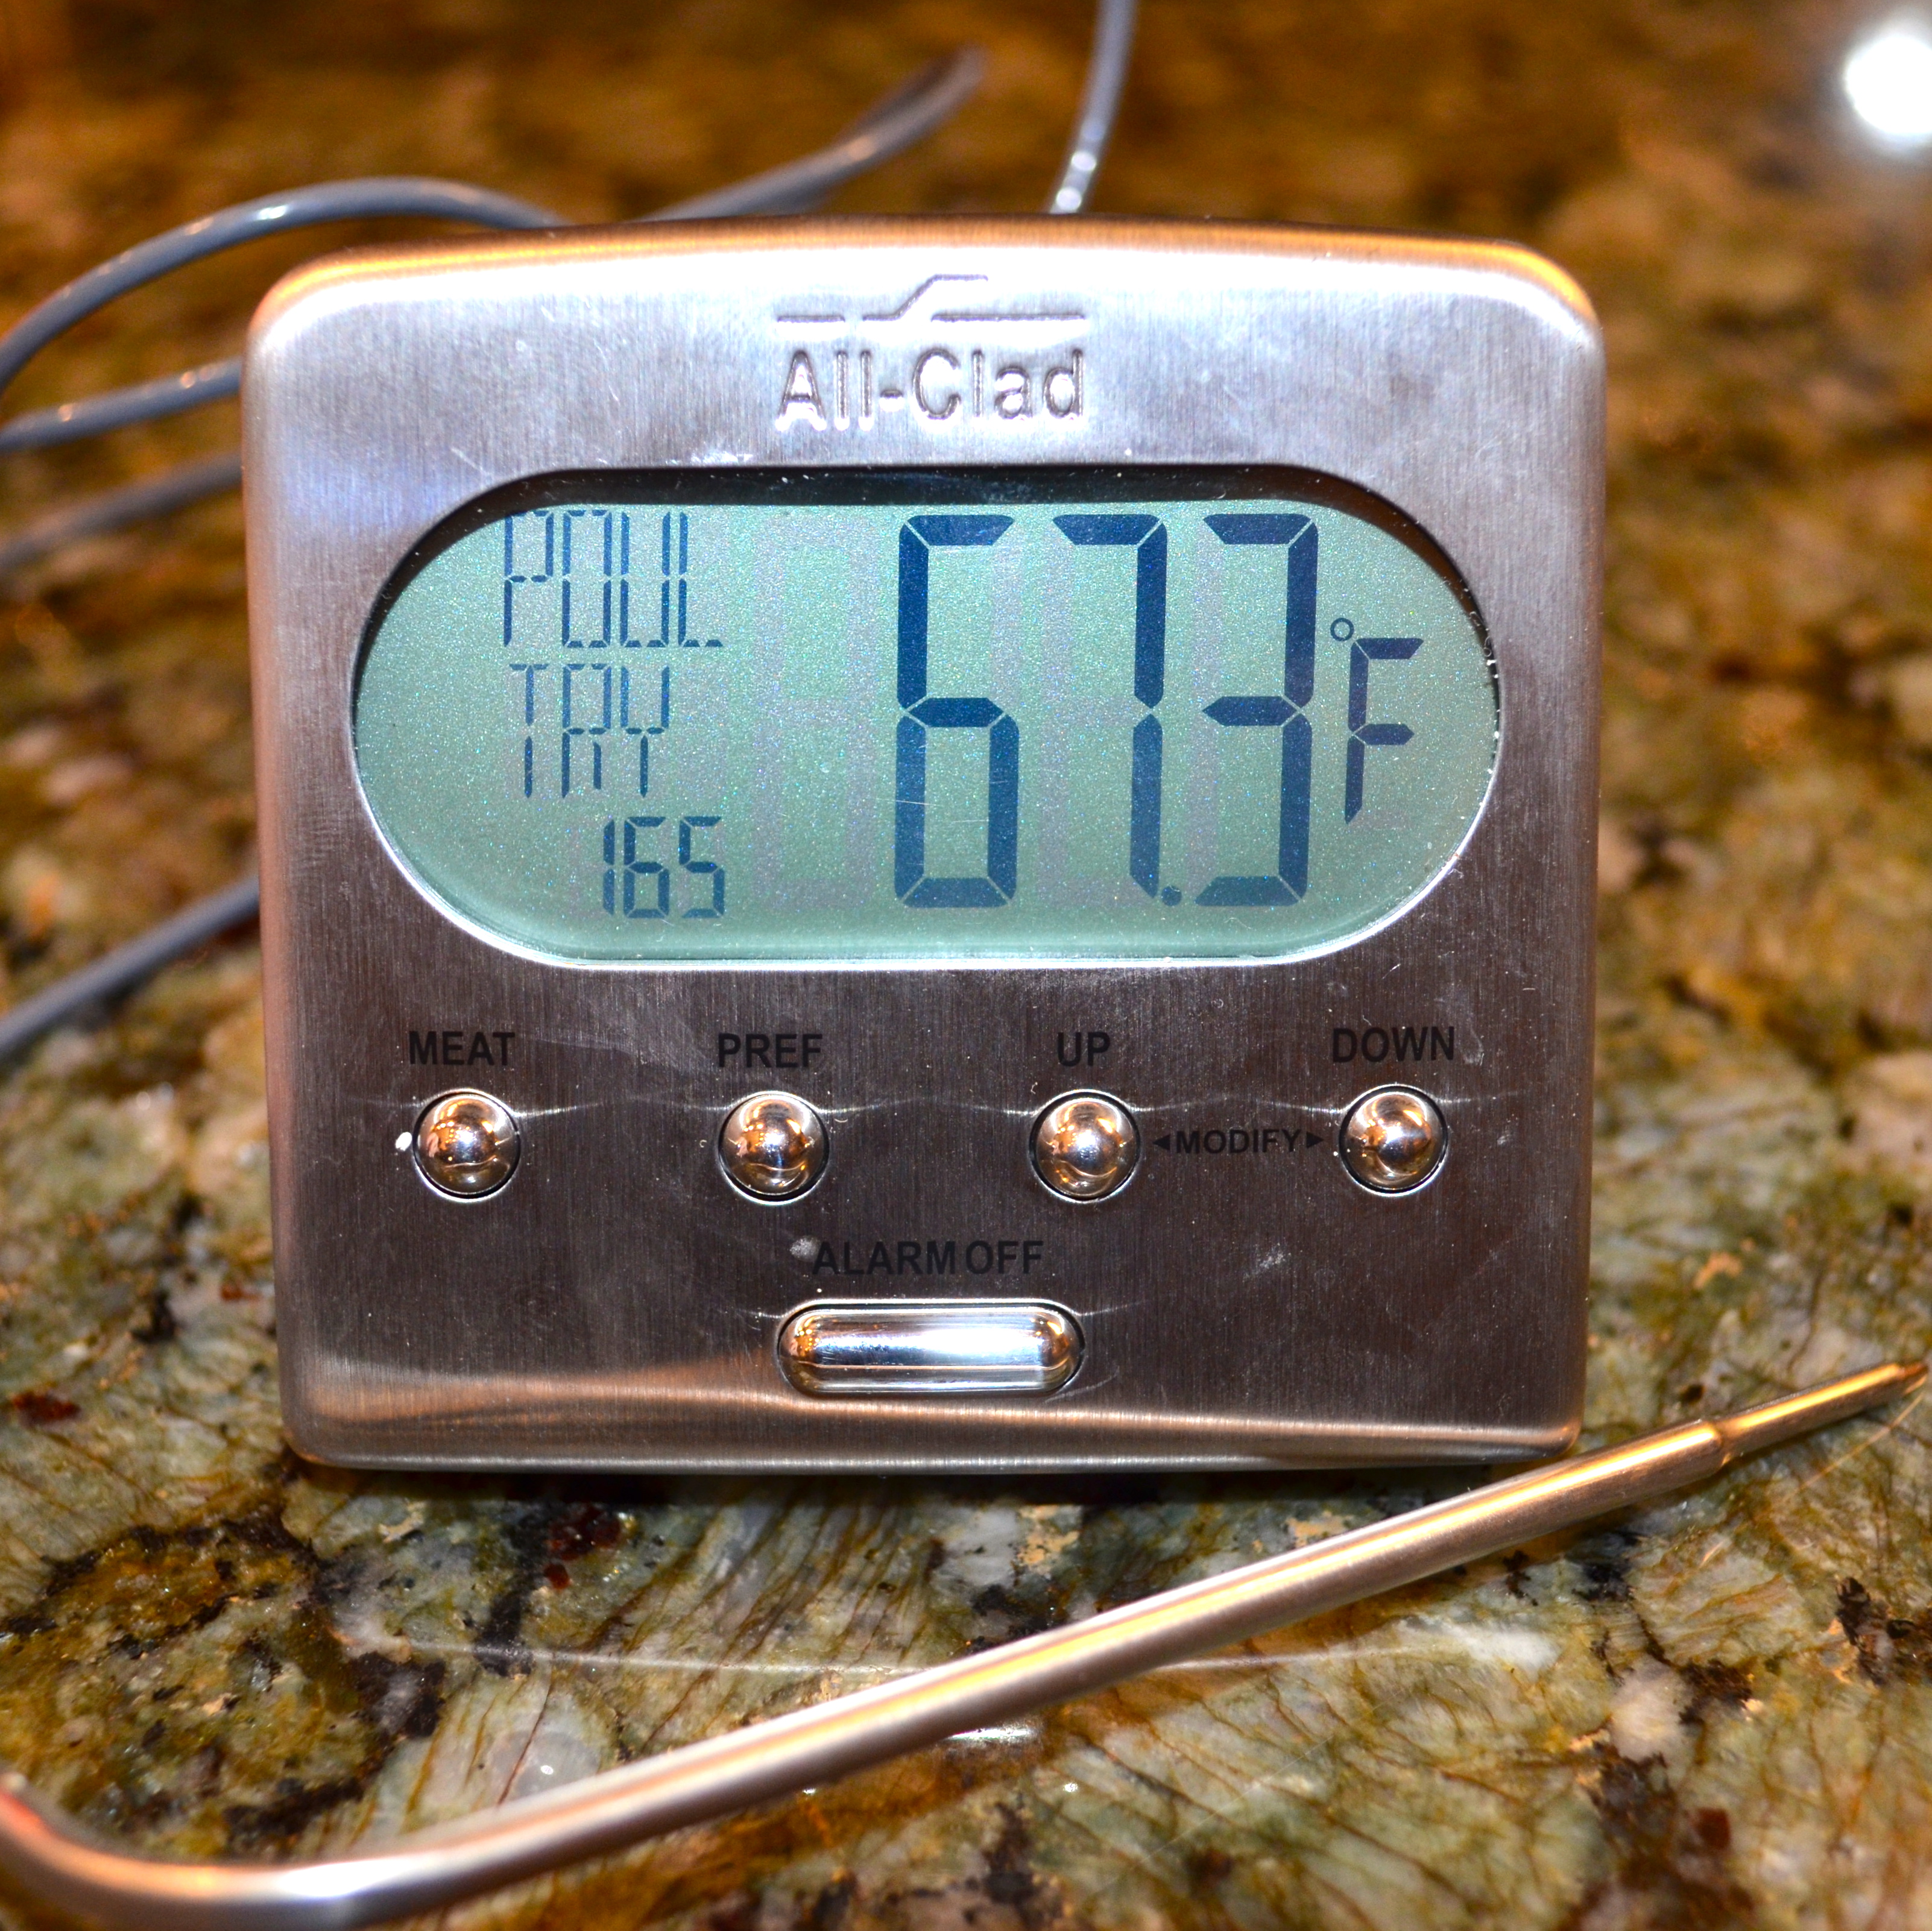
For best cooking results, remove the plastic pop-up thermometer that may have come in your turkey. It’s a piece of junk and is designed to pop up after your turkey is over-done. Instead, insert your own oven-safe, probe thermometer into the deepest part of the breast meat. Notice I said breast. Not leg, not thigh, just stick that probe into the breast. And do not let the probe touch a bone or it will not register the temperature of the meat properly.
Place the turkey in the pre-heated oven where it will roast for approximately 12 minutes per pound. Doing the math for my 20-pounder, it will take about 240 minutes or approximately 4 hours to cook a 20-pound turkey. You will need to do some planning to determine how long it will take your turkey to cook, depending on its weight, and what time you plan to serve dinner.
Now it’s time to put this puppy into the oven, pre-heated to 325 degrees. First, however, you need to tent your turkey to prevent the skin from becoming too brown. To do this, cut a piece or two of extra wide, heavy-duty aluminum foil to fit over your entire roasting pan. Place it securely over the bird and crimp it around the edges of the roasting pan so it makes a good seal. This way the juices that escape from the turkey will not evaporate, but instead will leave you some delicious pan drippings to use in your gravy. It also helps keep the bird moist. Now, set your timer to check the turkey about 60 minutes before you expect it to be done. At this time, you will remove the foil so that the skin can become a nice golden brown. Check the bird about 45 minutes later. If it is browned sufficiently, but it has not yet achieved the optimum 165 degrees internal temperature, re-cover the turkey with the foil to prevent further browning while you continue to cook the bird.
There are different schools of thought surrounding the practice of basting the turkey. I keep my basting to a bare minimum and only baste it once I have removed the foil and am browning the skin. Why? Because I don’t believe basting does anything to increase the moistness of the turkey. That is because the skin keeps moisture out of the bird. And each time you open the oven door to baste the turkey you are letting out precious heat, lowering the oven temperature, and therefore increasing the cooking time. Not a good thing. Check your turkey by turning on your oven light and looking at it without opening the oven door. You will know your turkey is ready to remove from the oven when your thermometer tells you that the turkey’s internal temperature has reached 165 degrees. Some folks take it out a tad sooner because the turkey will continue to cook as it rests outside the oven.
Speaking of resting, your bird needs to rest covered with foil for 20 full minutes before it is sliced. DO NOT SKIP THIS STEP!!! Your turkey needs to take a short nap in order to retain all the lovely, tasty juices inside. If you rush to carve it too soon, you will end up with juice running all over your serving platter. So, work this additional time into your cooking and serving schedule.
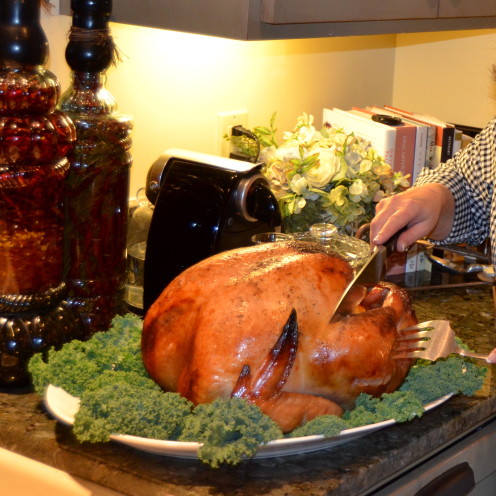
While your turkey is roasting prepare a serving platter to have at the ready. I used kale but you can get creative and add fresh herbs, etc.
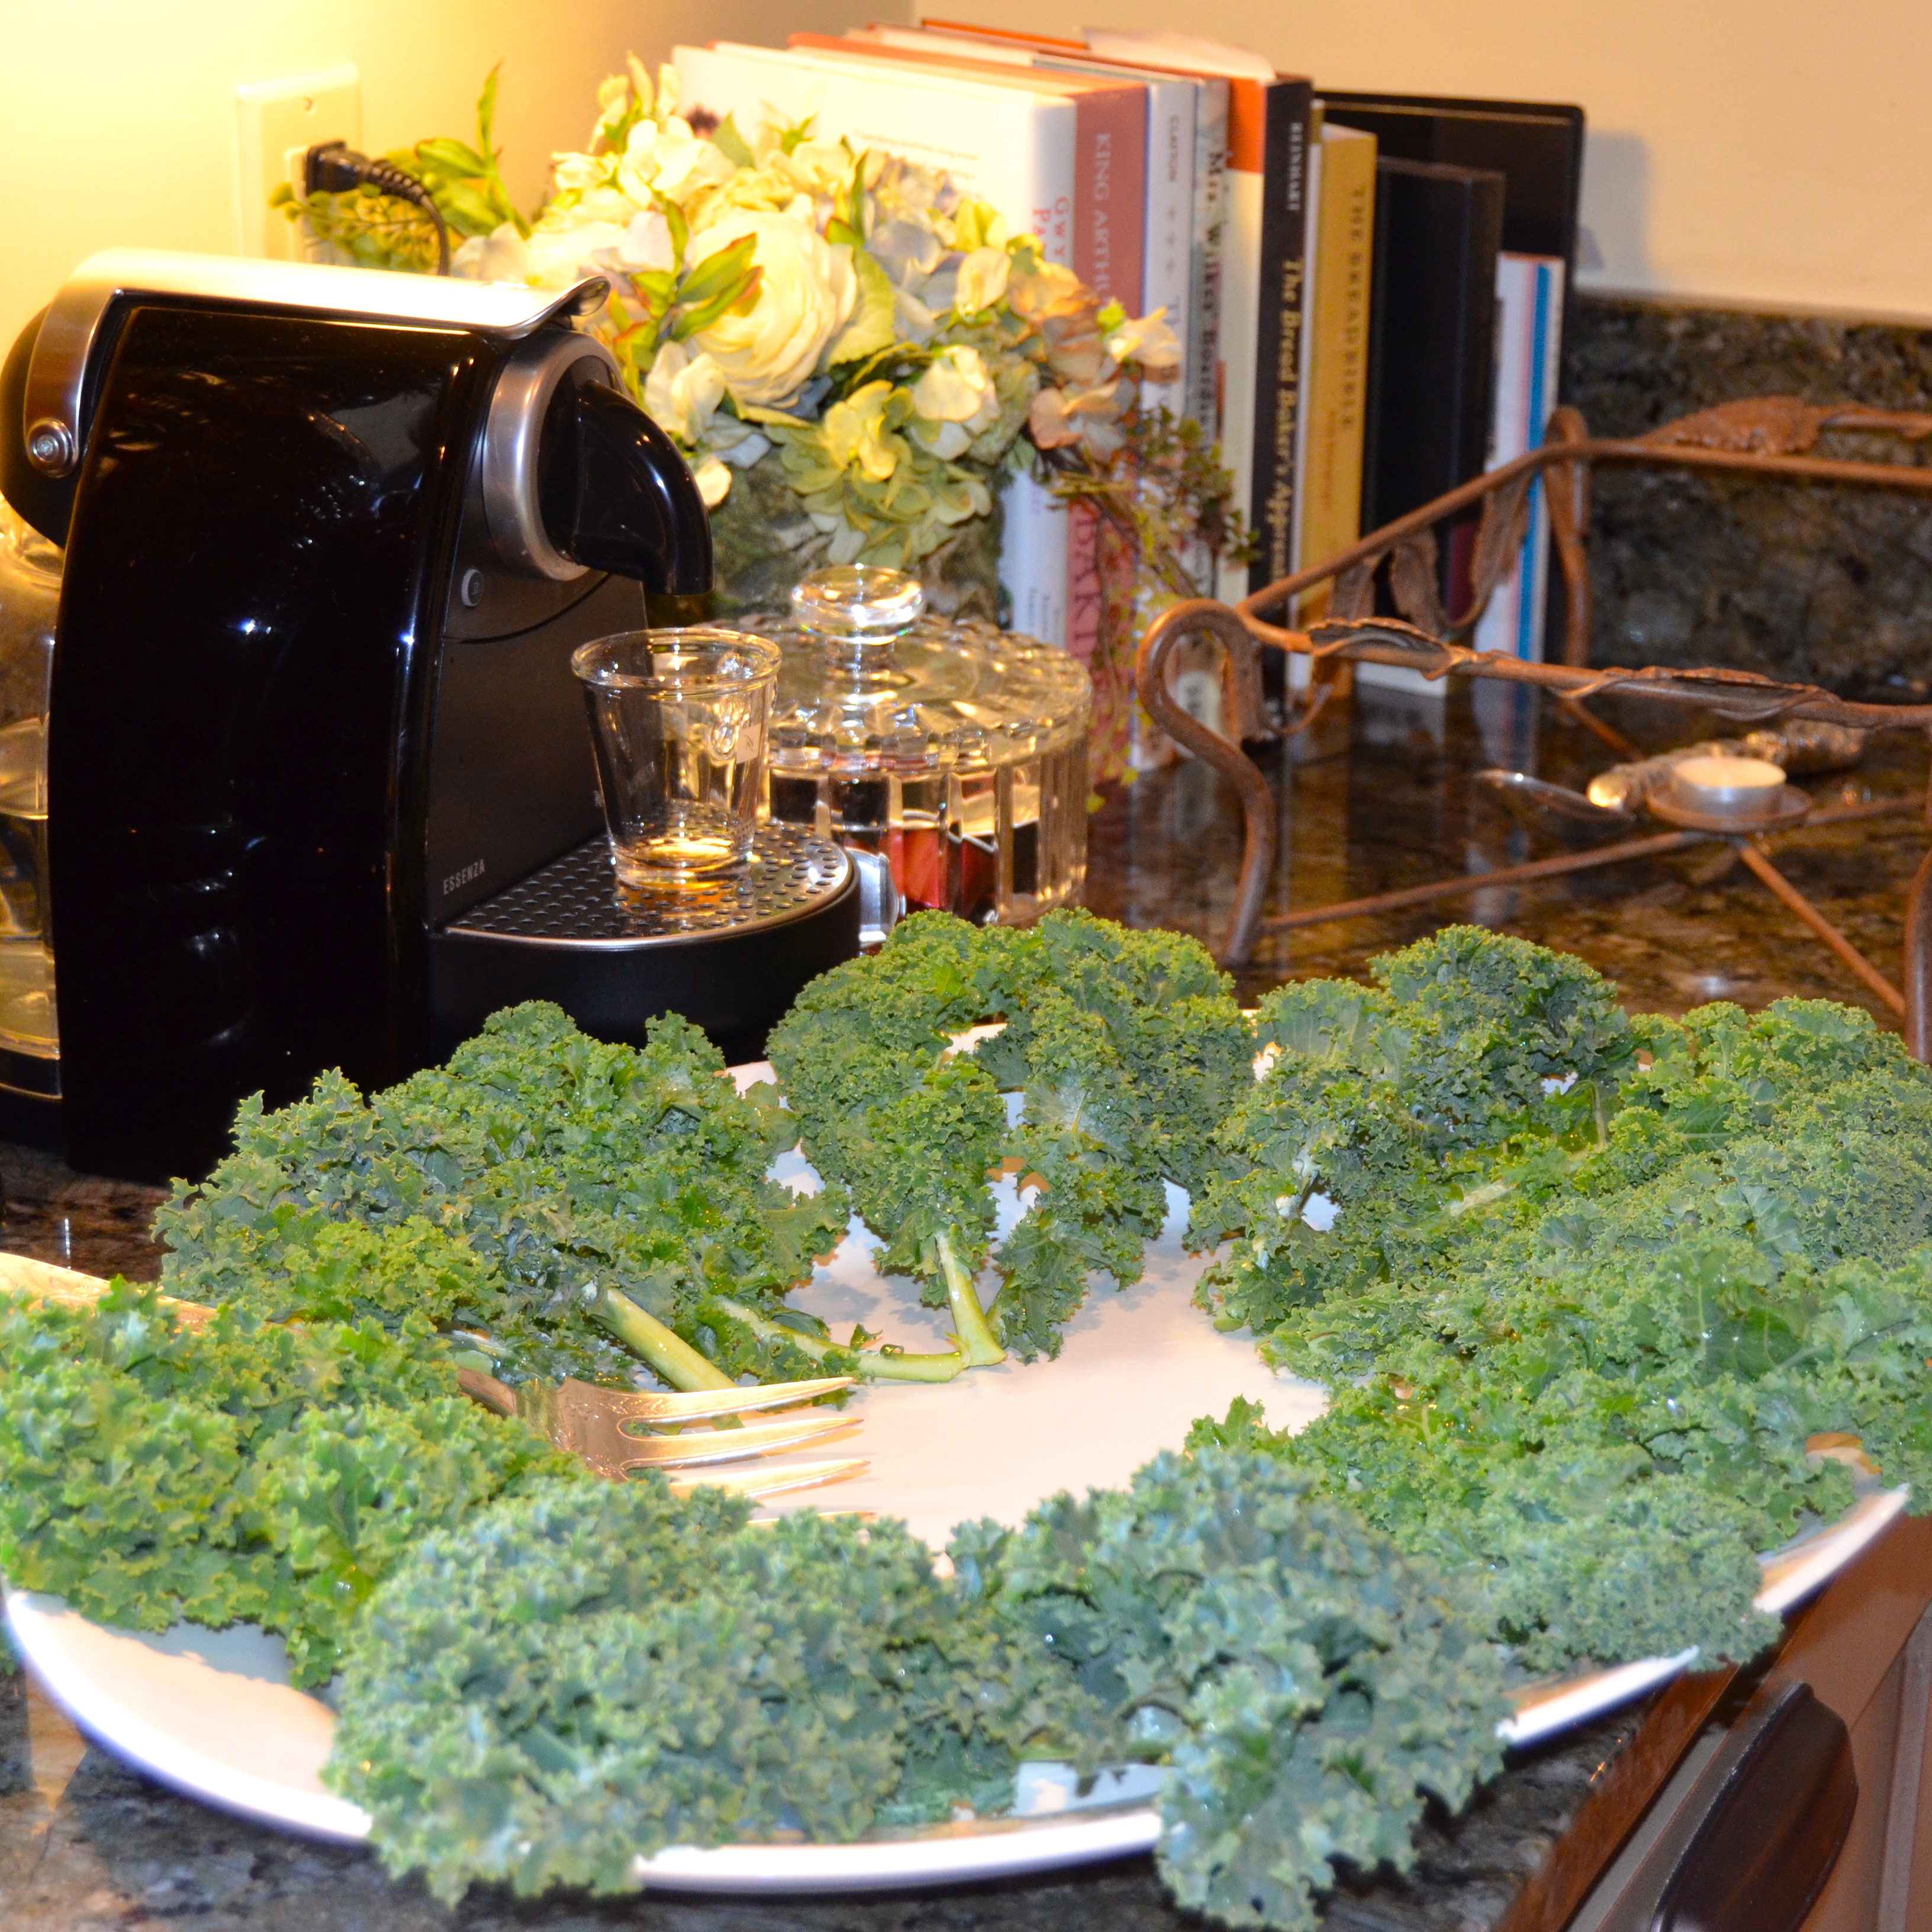
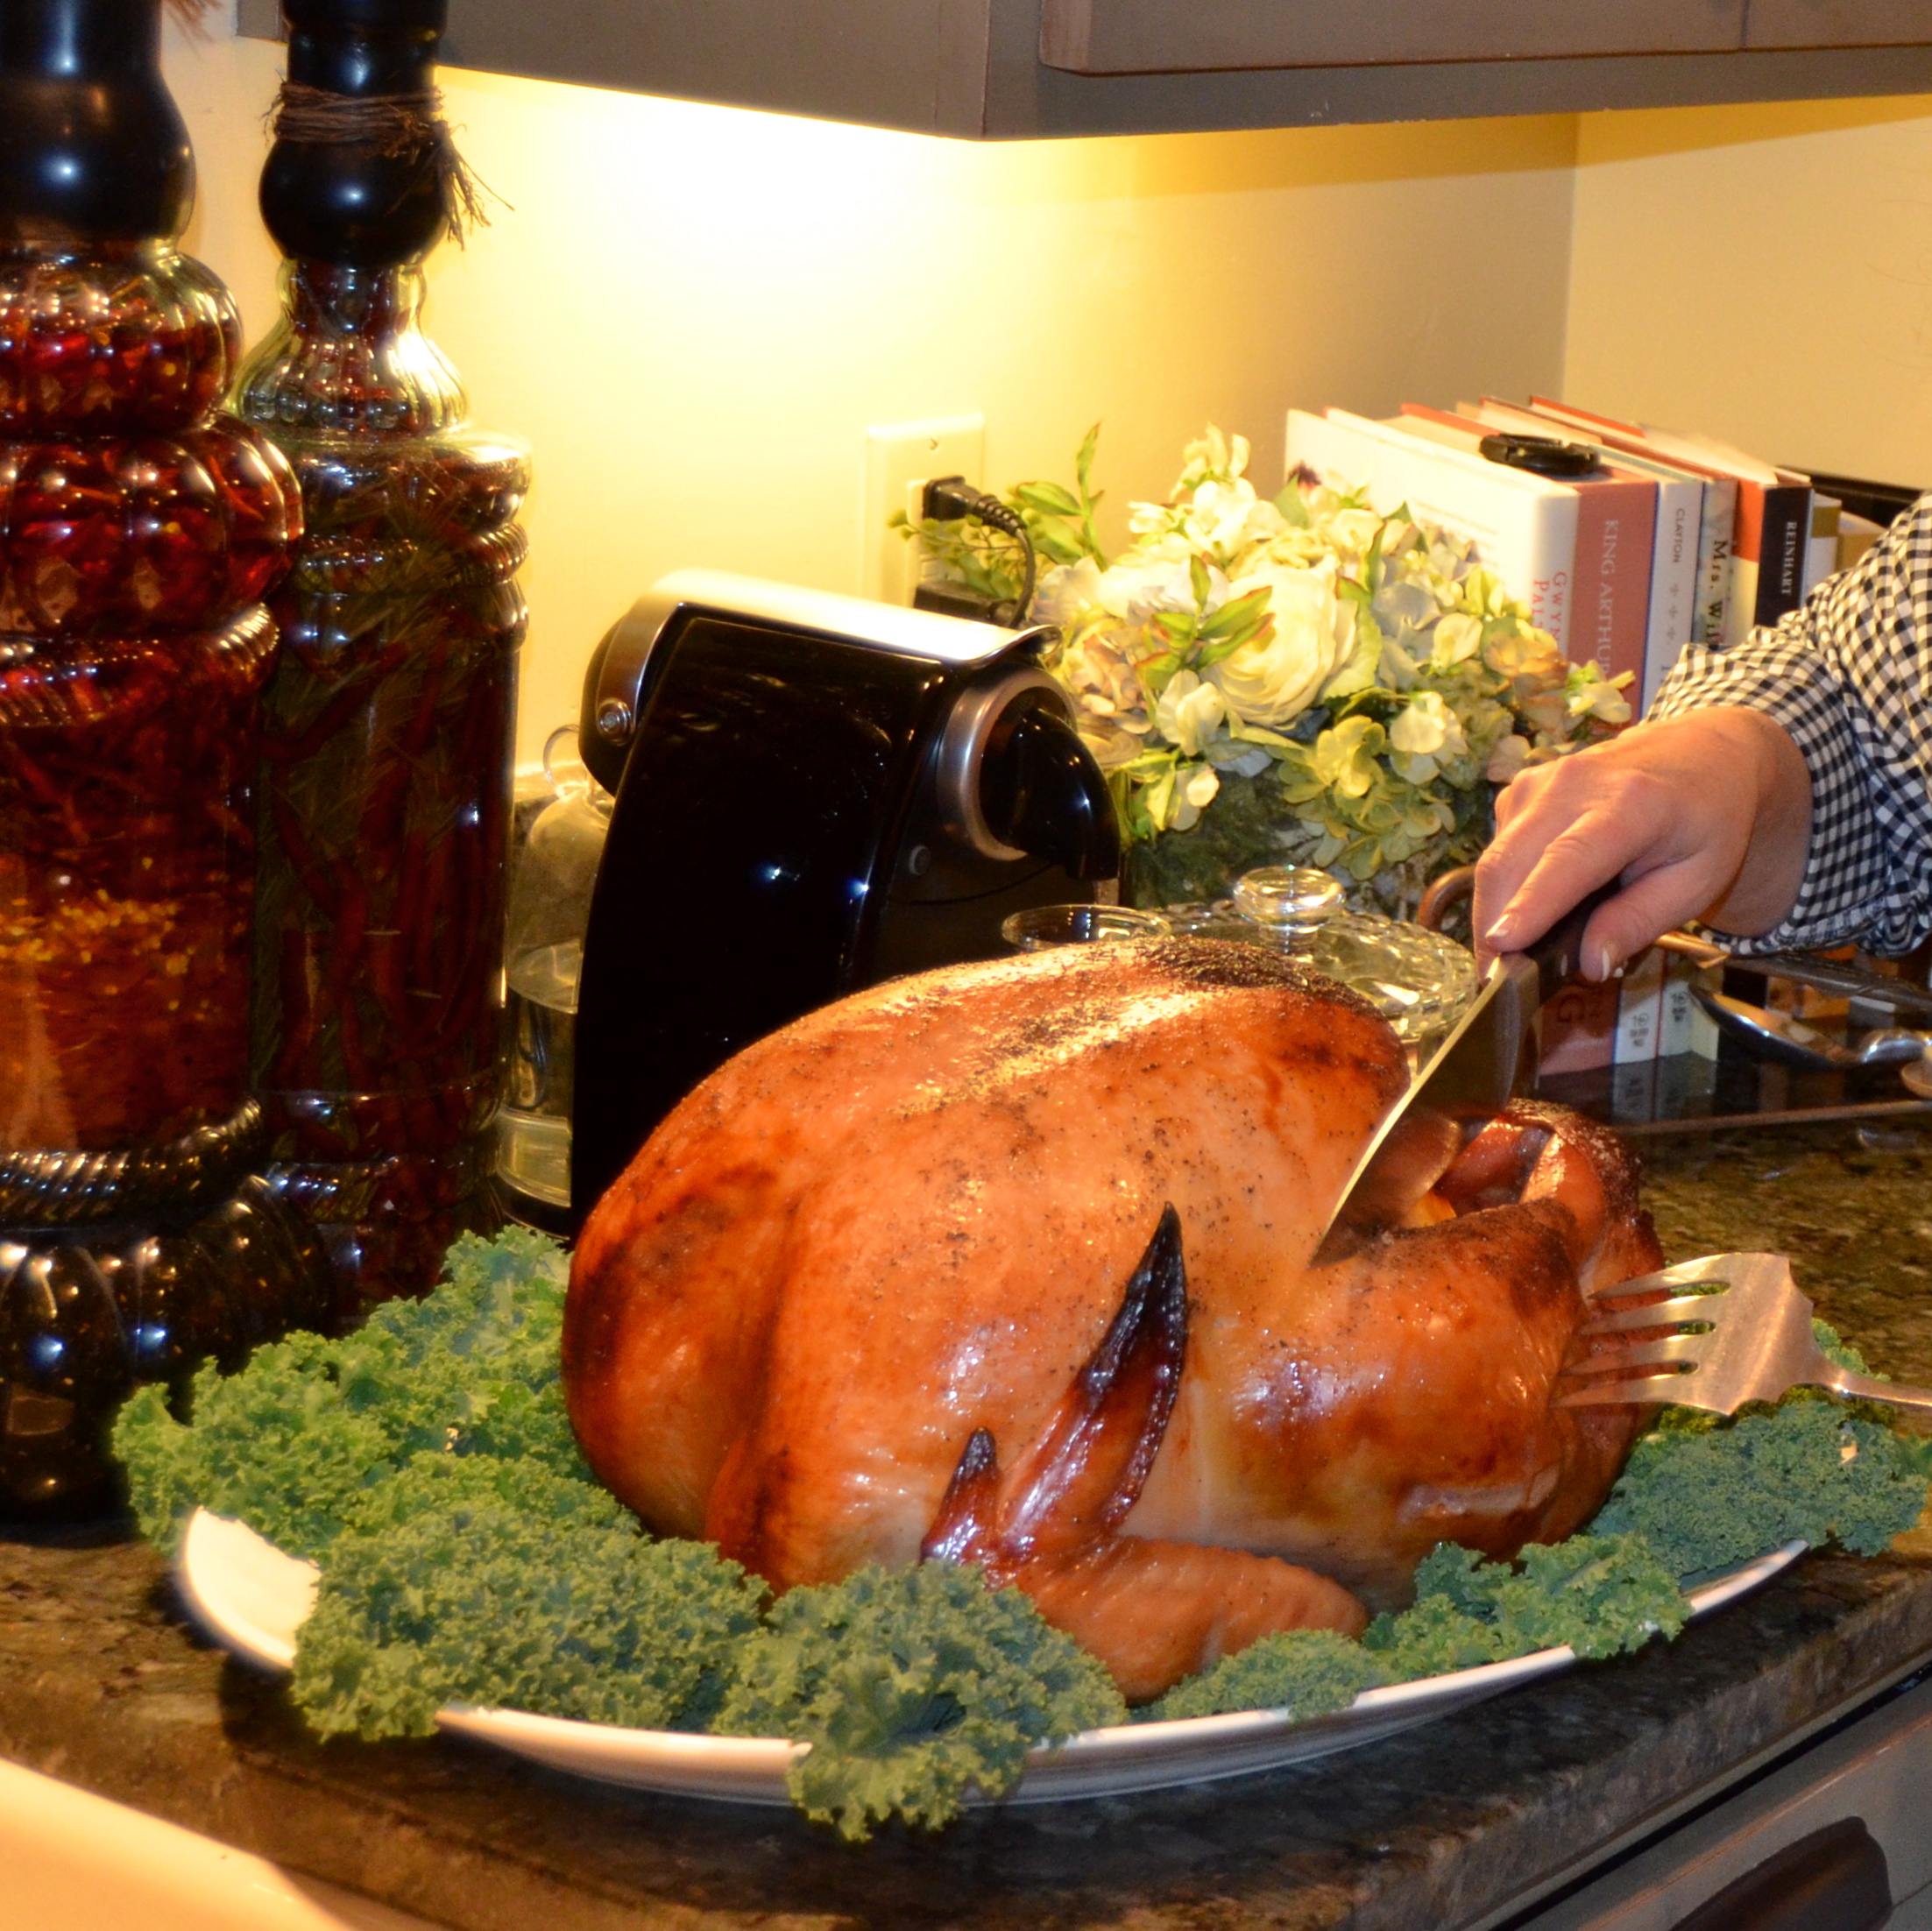
If your bird is real pretty, you might wish to display it whole, in all its glory, for your guests to admire before carving it.
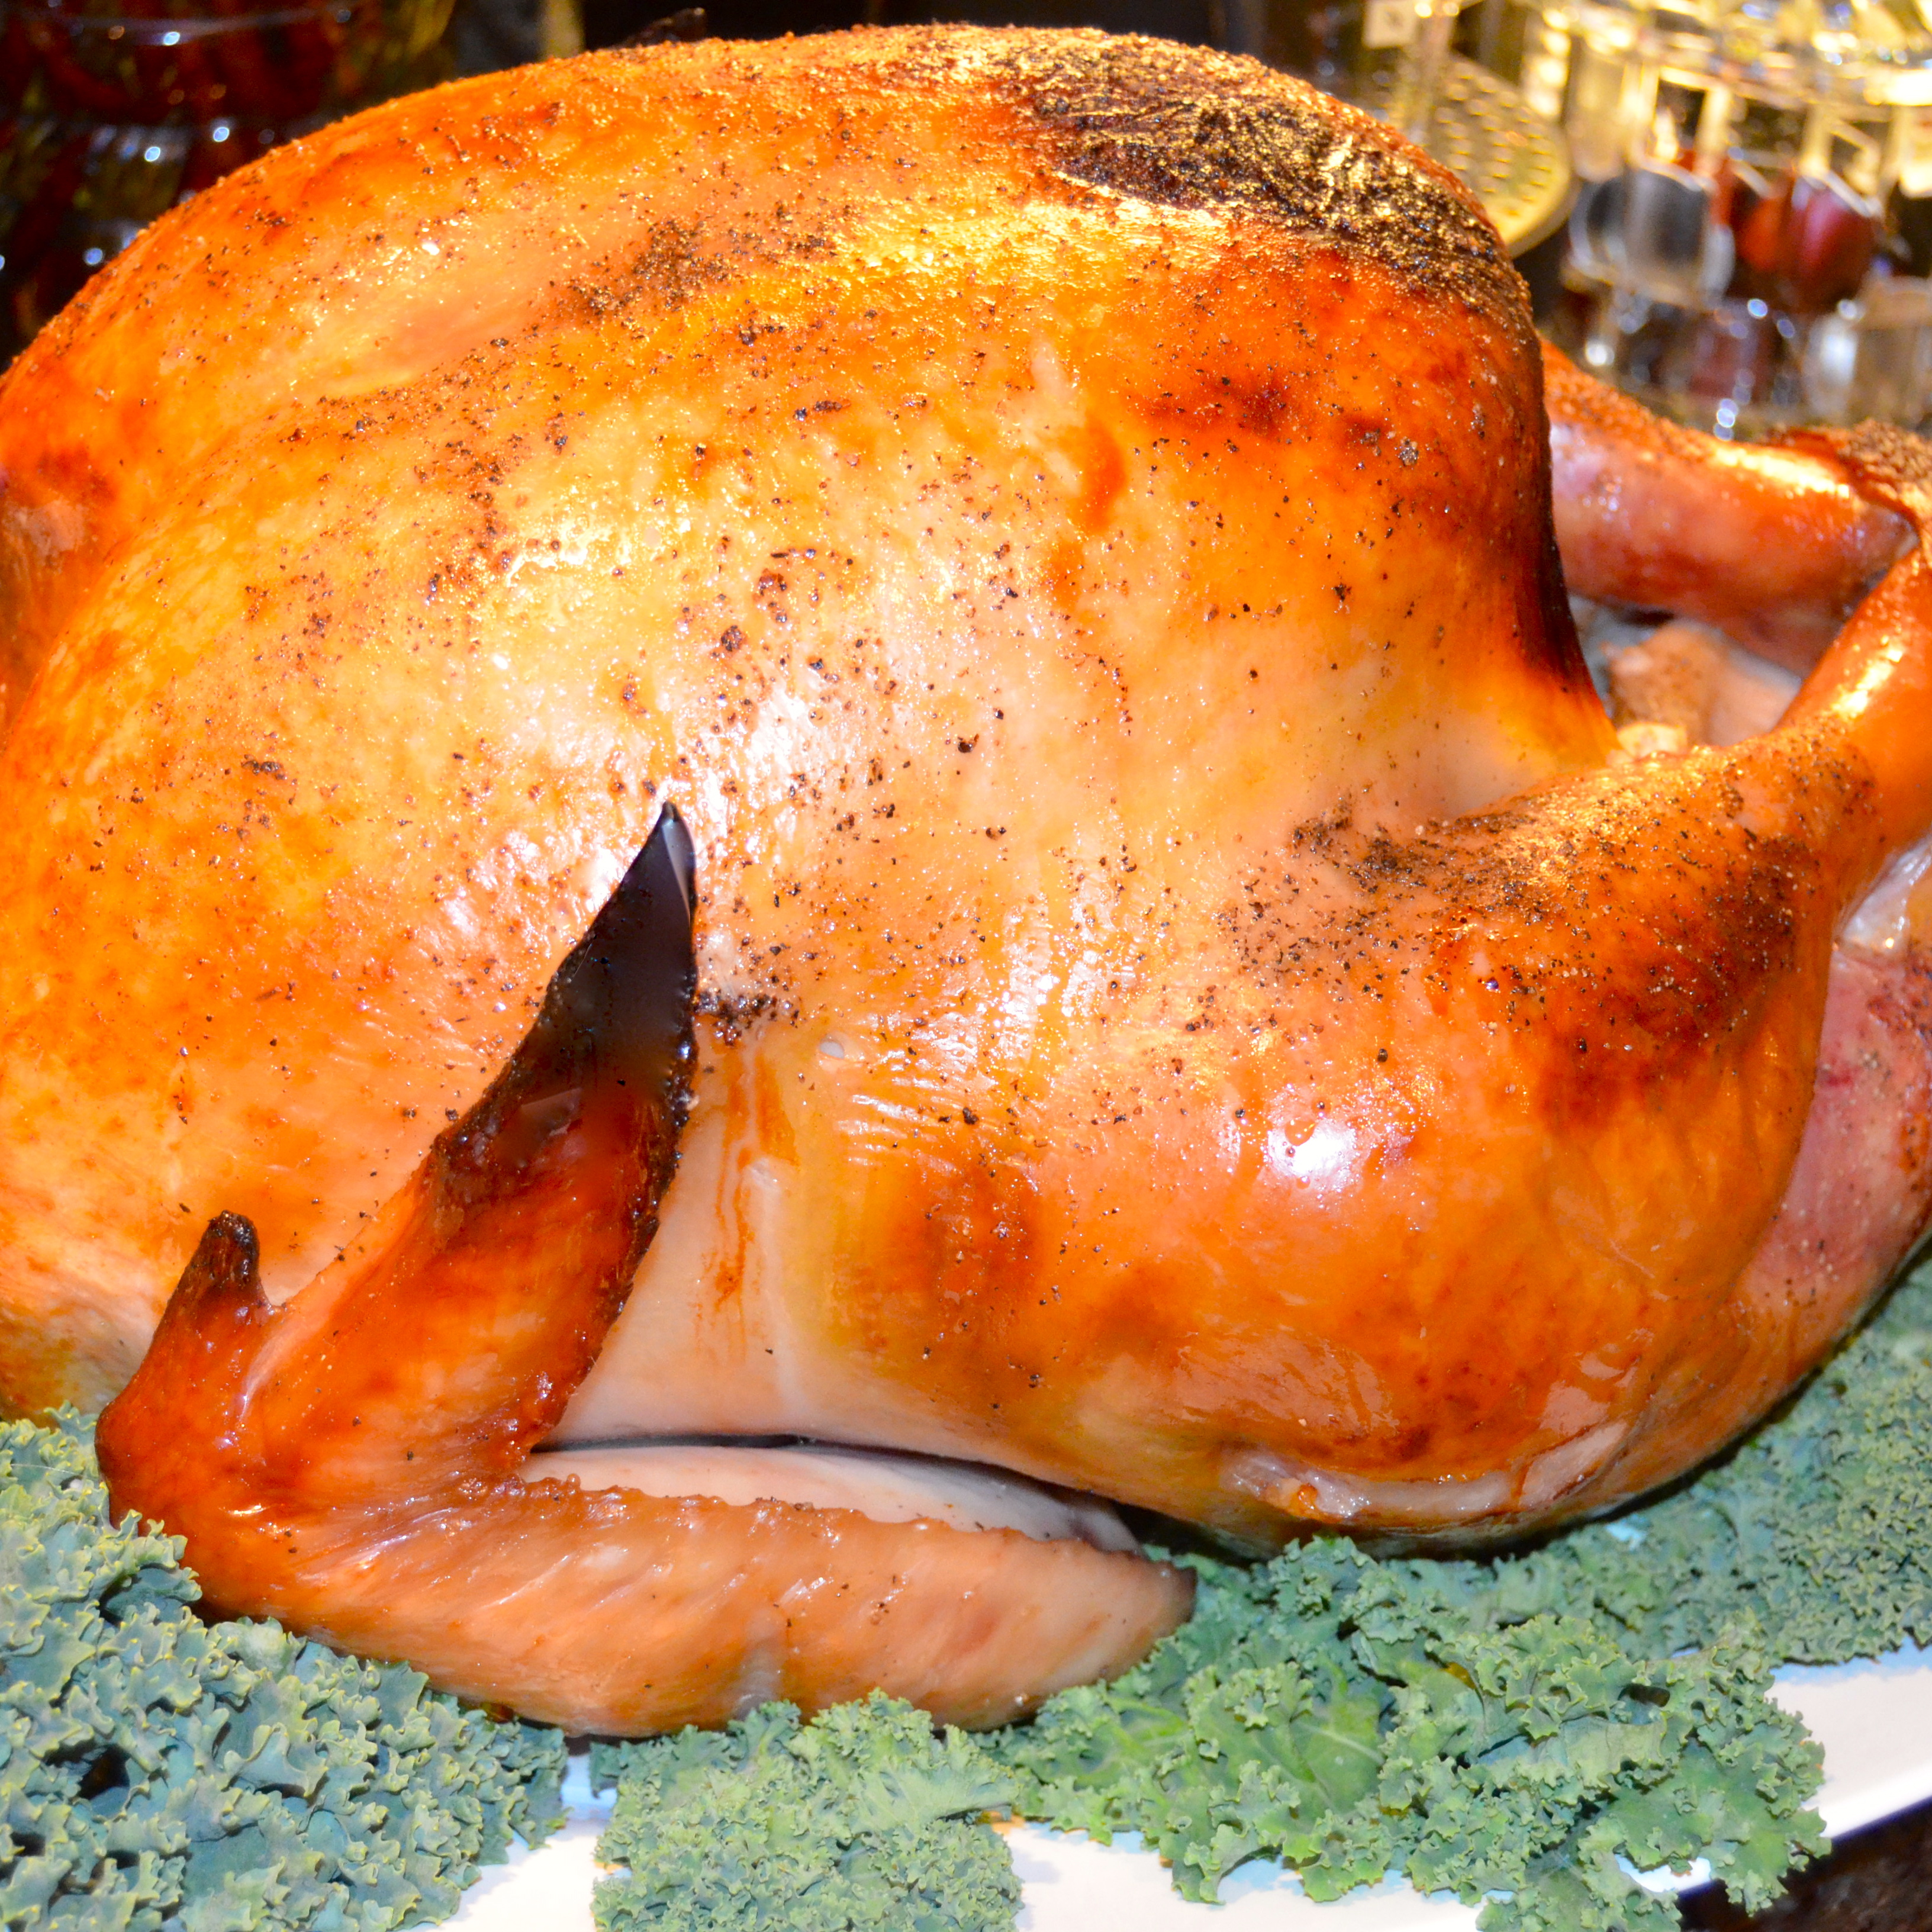
Don’t look at my turkey’s wing. It got a little singed. Hopefully your turkey will come out prettier than mine if you remember to tuck the wing under the thigh. In any case, mine tasted mighty fine.

If you are lucky you will have a son like mine who is a better chef than I and knows how to carve a perfect turkey. Maybe I can get him to tell you how he does it one day?
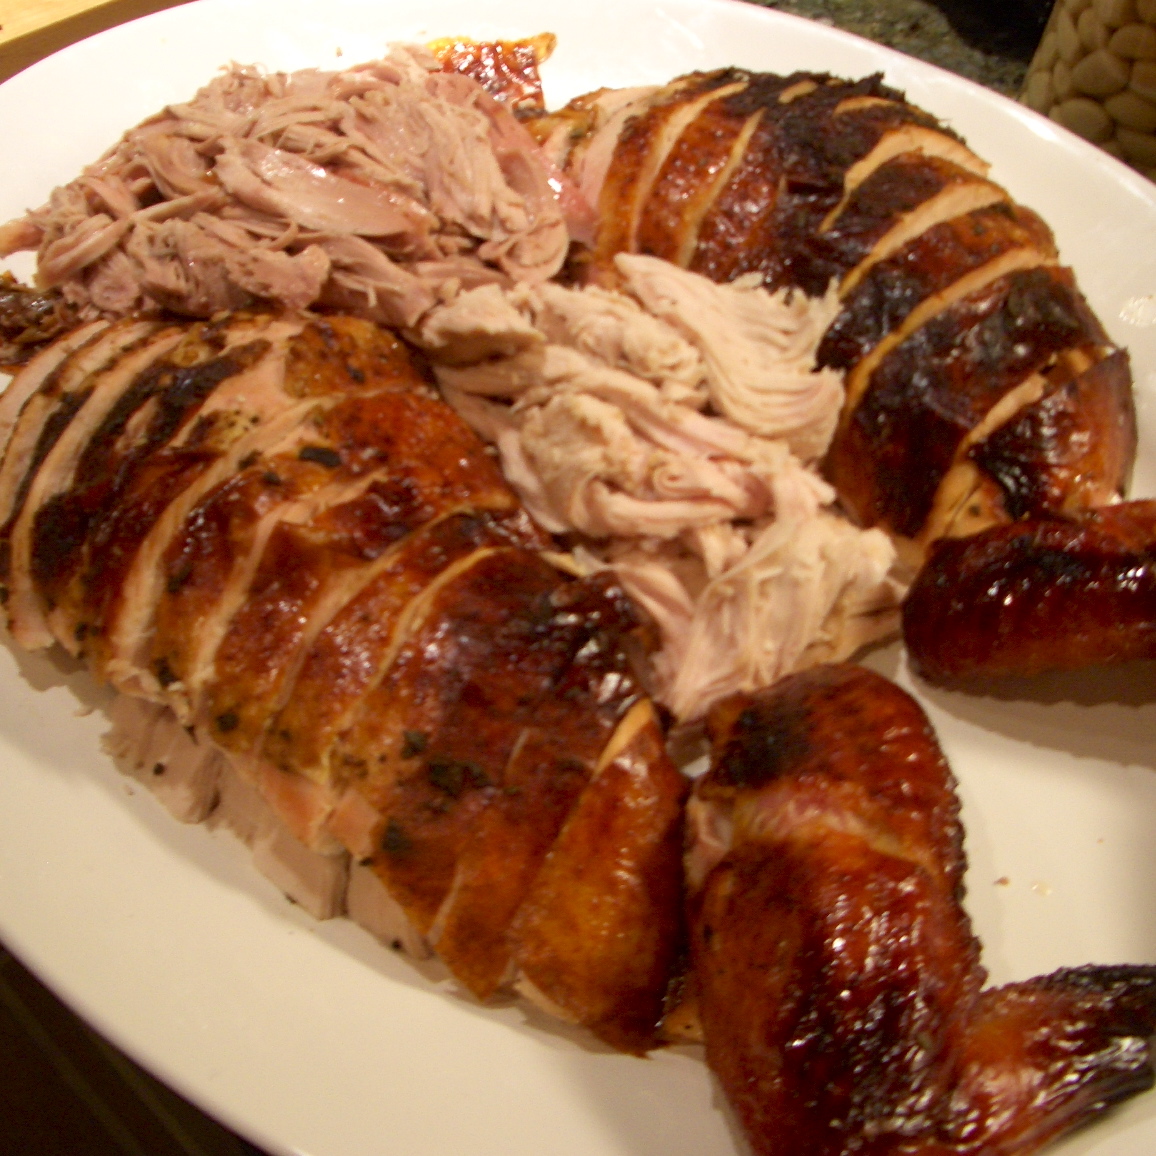
But, until then, you will just have to admire his handiwork here.

Add a few fresh herbs to dress up your platter and you’re in business!
Happy Turkey Day!
Do you brine your turkey? Do tell.
P.S. – The folks at Butterball Turkey and Smart & Final don’t know little ole’ me from nowhere, no how.
- 1¼ Cup Kosher Salt
- 3 Cups Granulated Sugar
- 2 Cups Honey
- 1 Bunch each, Fresh Parsley, Thyme & Sage
- 2 Sprigs Fresh Rosemary
- 2 T. Whole Mustard Seeds
- 2 T. Whole Fennel Seeds
- 2 Whole Cinnamon Sticks
- 5 Bay Leaves
- 8 Whole Cloves
- 1 T. Juniper Berries
- 2 T. Whole Black Peppercorns
- 1 T. Whole Allspice
- 2 Lemons, Cut in Half
- 2 Gallons Boiling Water
- One 18 to 23 Lb. Fresh or Thawed Turkey
- Combine brine ingredients in a large container.
- Add Boiling water and stir until sugar and salt is dissolved.
- Cool to room temperature.
- Add turkey and refrigerated for 24 hours.
- When ready to roast remove turkey from the brining liquid and rinse it throughly in cool water.
- Pat turkey completely dry using paper towels.
- Preheat oven to 325 degrees.
- Slather turkey with 1 stick of softened butter.
- Sprinkle with course ground pepper and kosher salt.
- Place breast side up on wire rack in roasting pan. Cover tightly with foil.
- Place in oven and roast approximately 12 minutes per pound until interior temperature reaches 165 degrees, approximately 4 hours.
- Remove the foil from the bird in the last 60 minutes of cooking to brown the skin.
- Let turkey rest outside the oven for 20 minutes before carving.
- Enjoy!
So there you have it: SUPER MOIST & DELICIOUS BRINE-CURED ROAST TURKEY
Thanks for dropping in! Do please leave a comment below. I’d love to hear from you!
- If you’d like to read After Orange County every time a new article is posted, please “Subscribe” to the blog using the Subscription Box above.
- If you enjoyed this post, please help me spread the word by sharing it on your Facebook Page. You can “Like” my Facebook Page here.
- If you enjoyed the photos, please “Pin Them” on your Pinterest page. You can follow my Pinterest Page here.
- Do you Tweet? Please follow my Twitter Page here.
- Follow my blog on BlogLovin.com
All opinions expressed in this post are my own. Unless otherwise credited, all photos are the original property of Celia Becker @ www.AfterOrangeCounty.com and may not be reproduced without specific permission.