DIY CLOTH PUMPKIN TUTORIAL
Happy Thanksgiving!
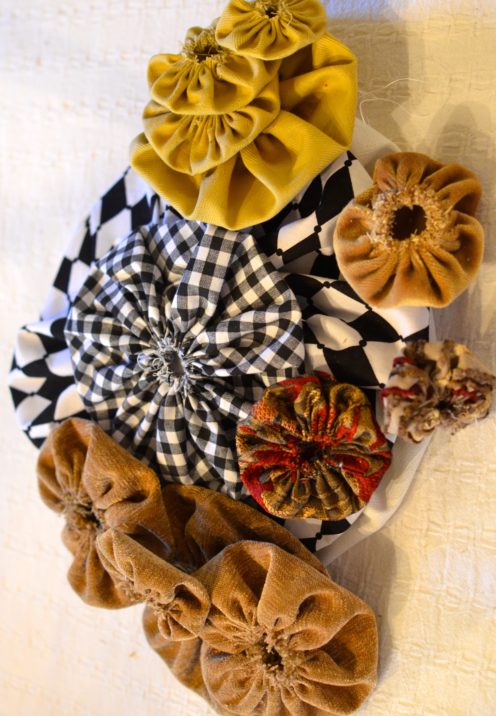
Did you see my last post where I showed you all my pretty cloth pumpkins?
Well, in that post I promised to show you exactly how to make them yourself. So, here is my DIY cloth pumpkin tutorial.
Select the fabric that you’d like to use to make a pumpkin. You can make them in any color fabric in the rainbow or make them to match your decor.
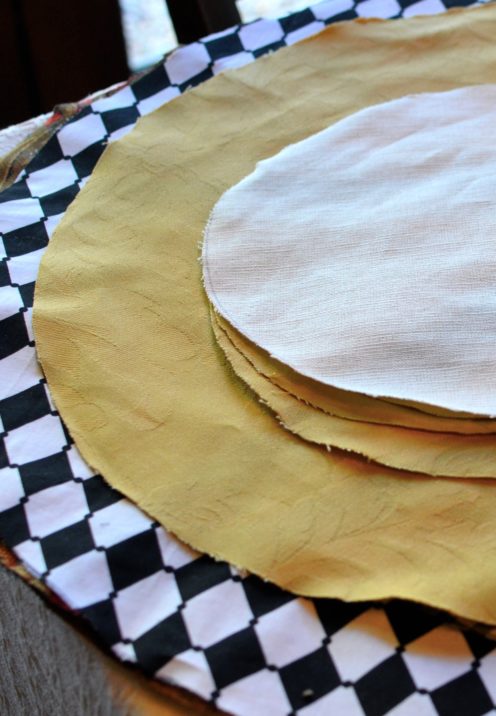
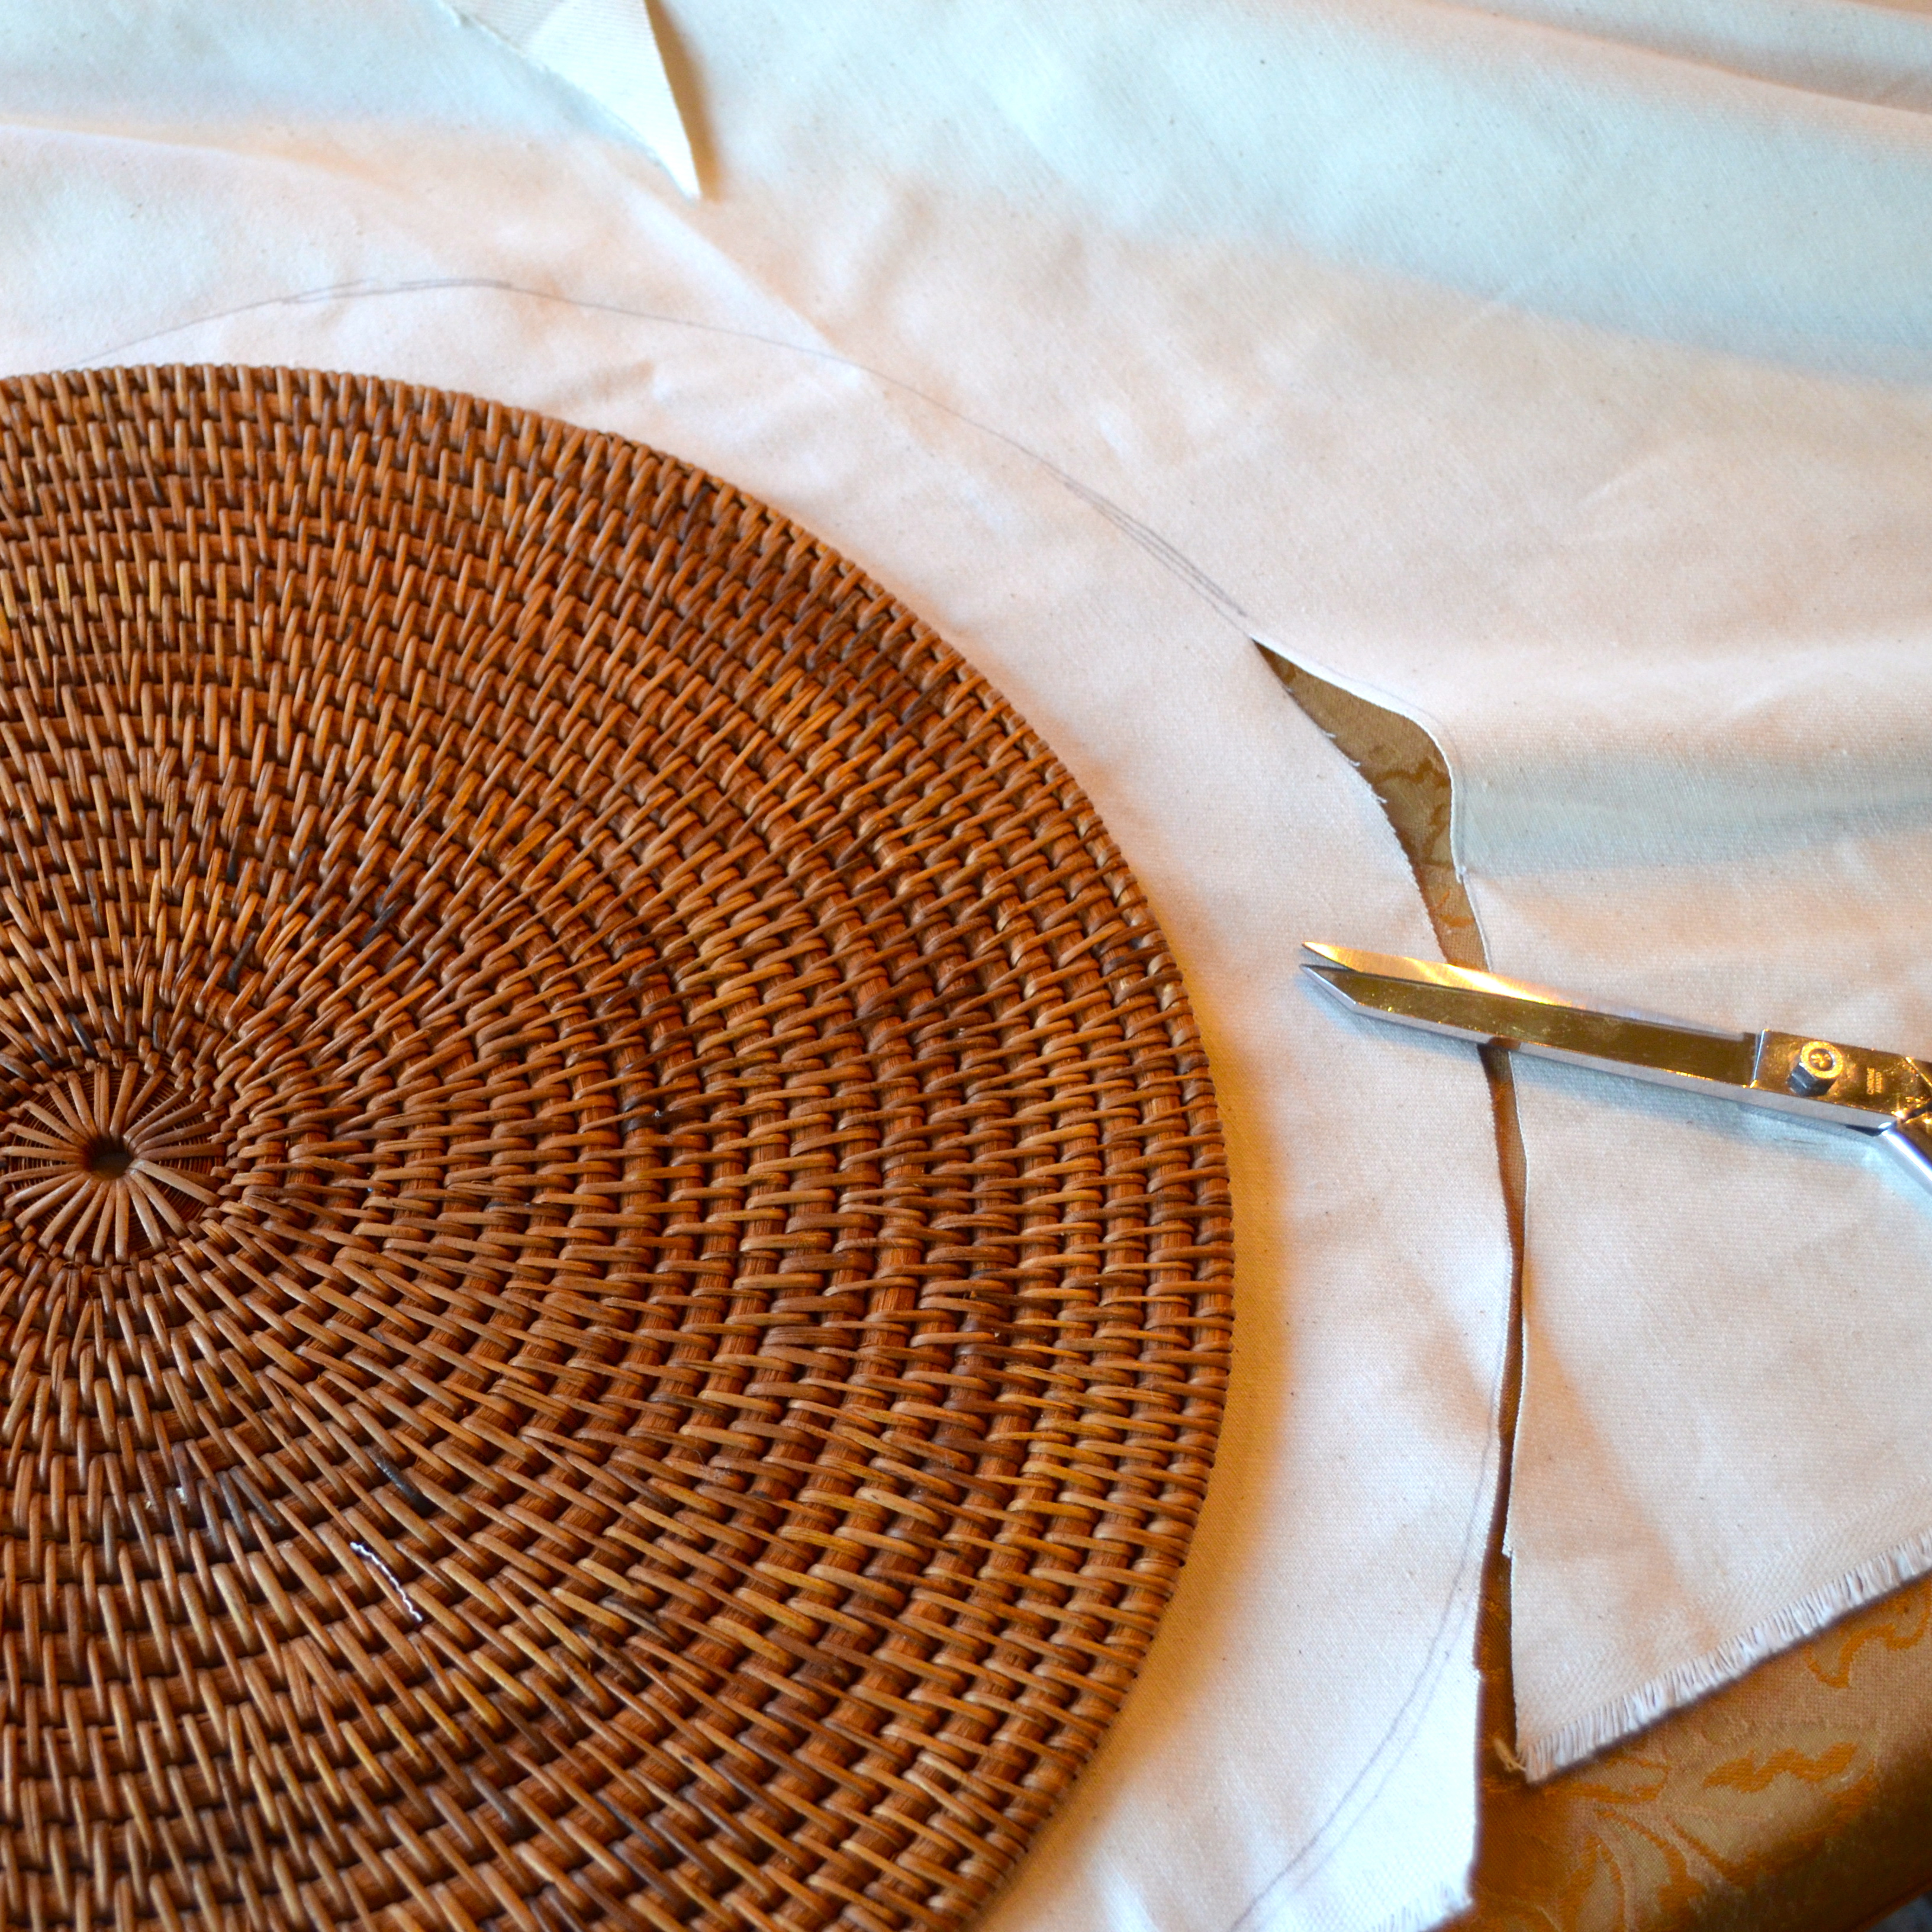
Then select a circular template of some sort to use as your pattern. In this case I used a round charger that measures 15 inches in diameter. That will make me a pumpkin that is about 7 inches wide. Naturally, the size of your circle will determine the size of your pumpkin. I make them big and small, using plates, platters and other round objects as my guide. Using a pencil, draw a thin line around your round object onto the fabric. Then, simply cut out your circle.
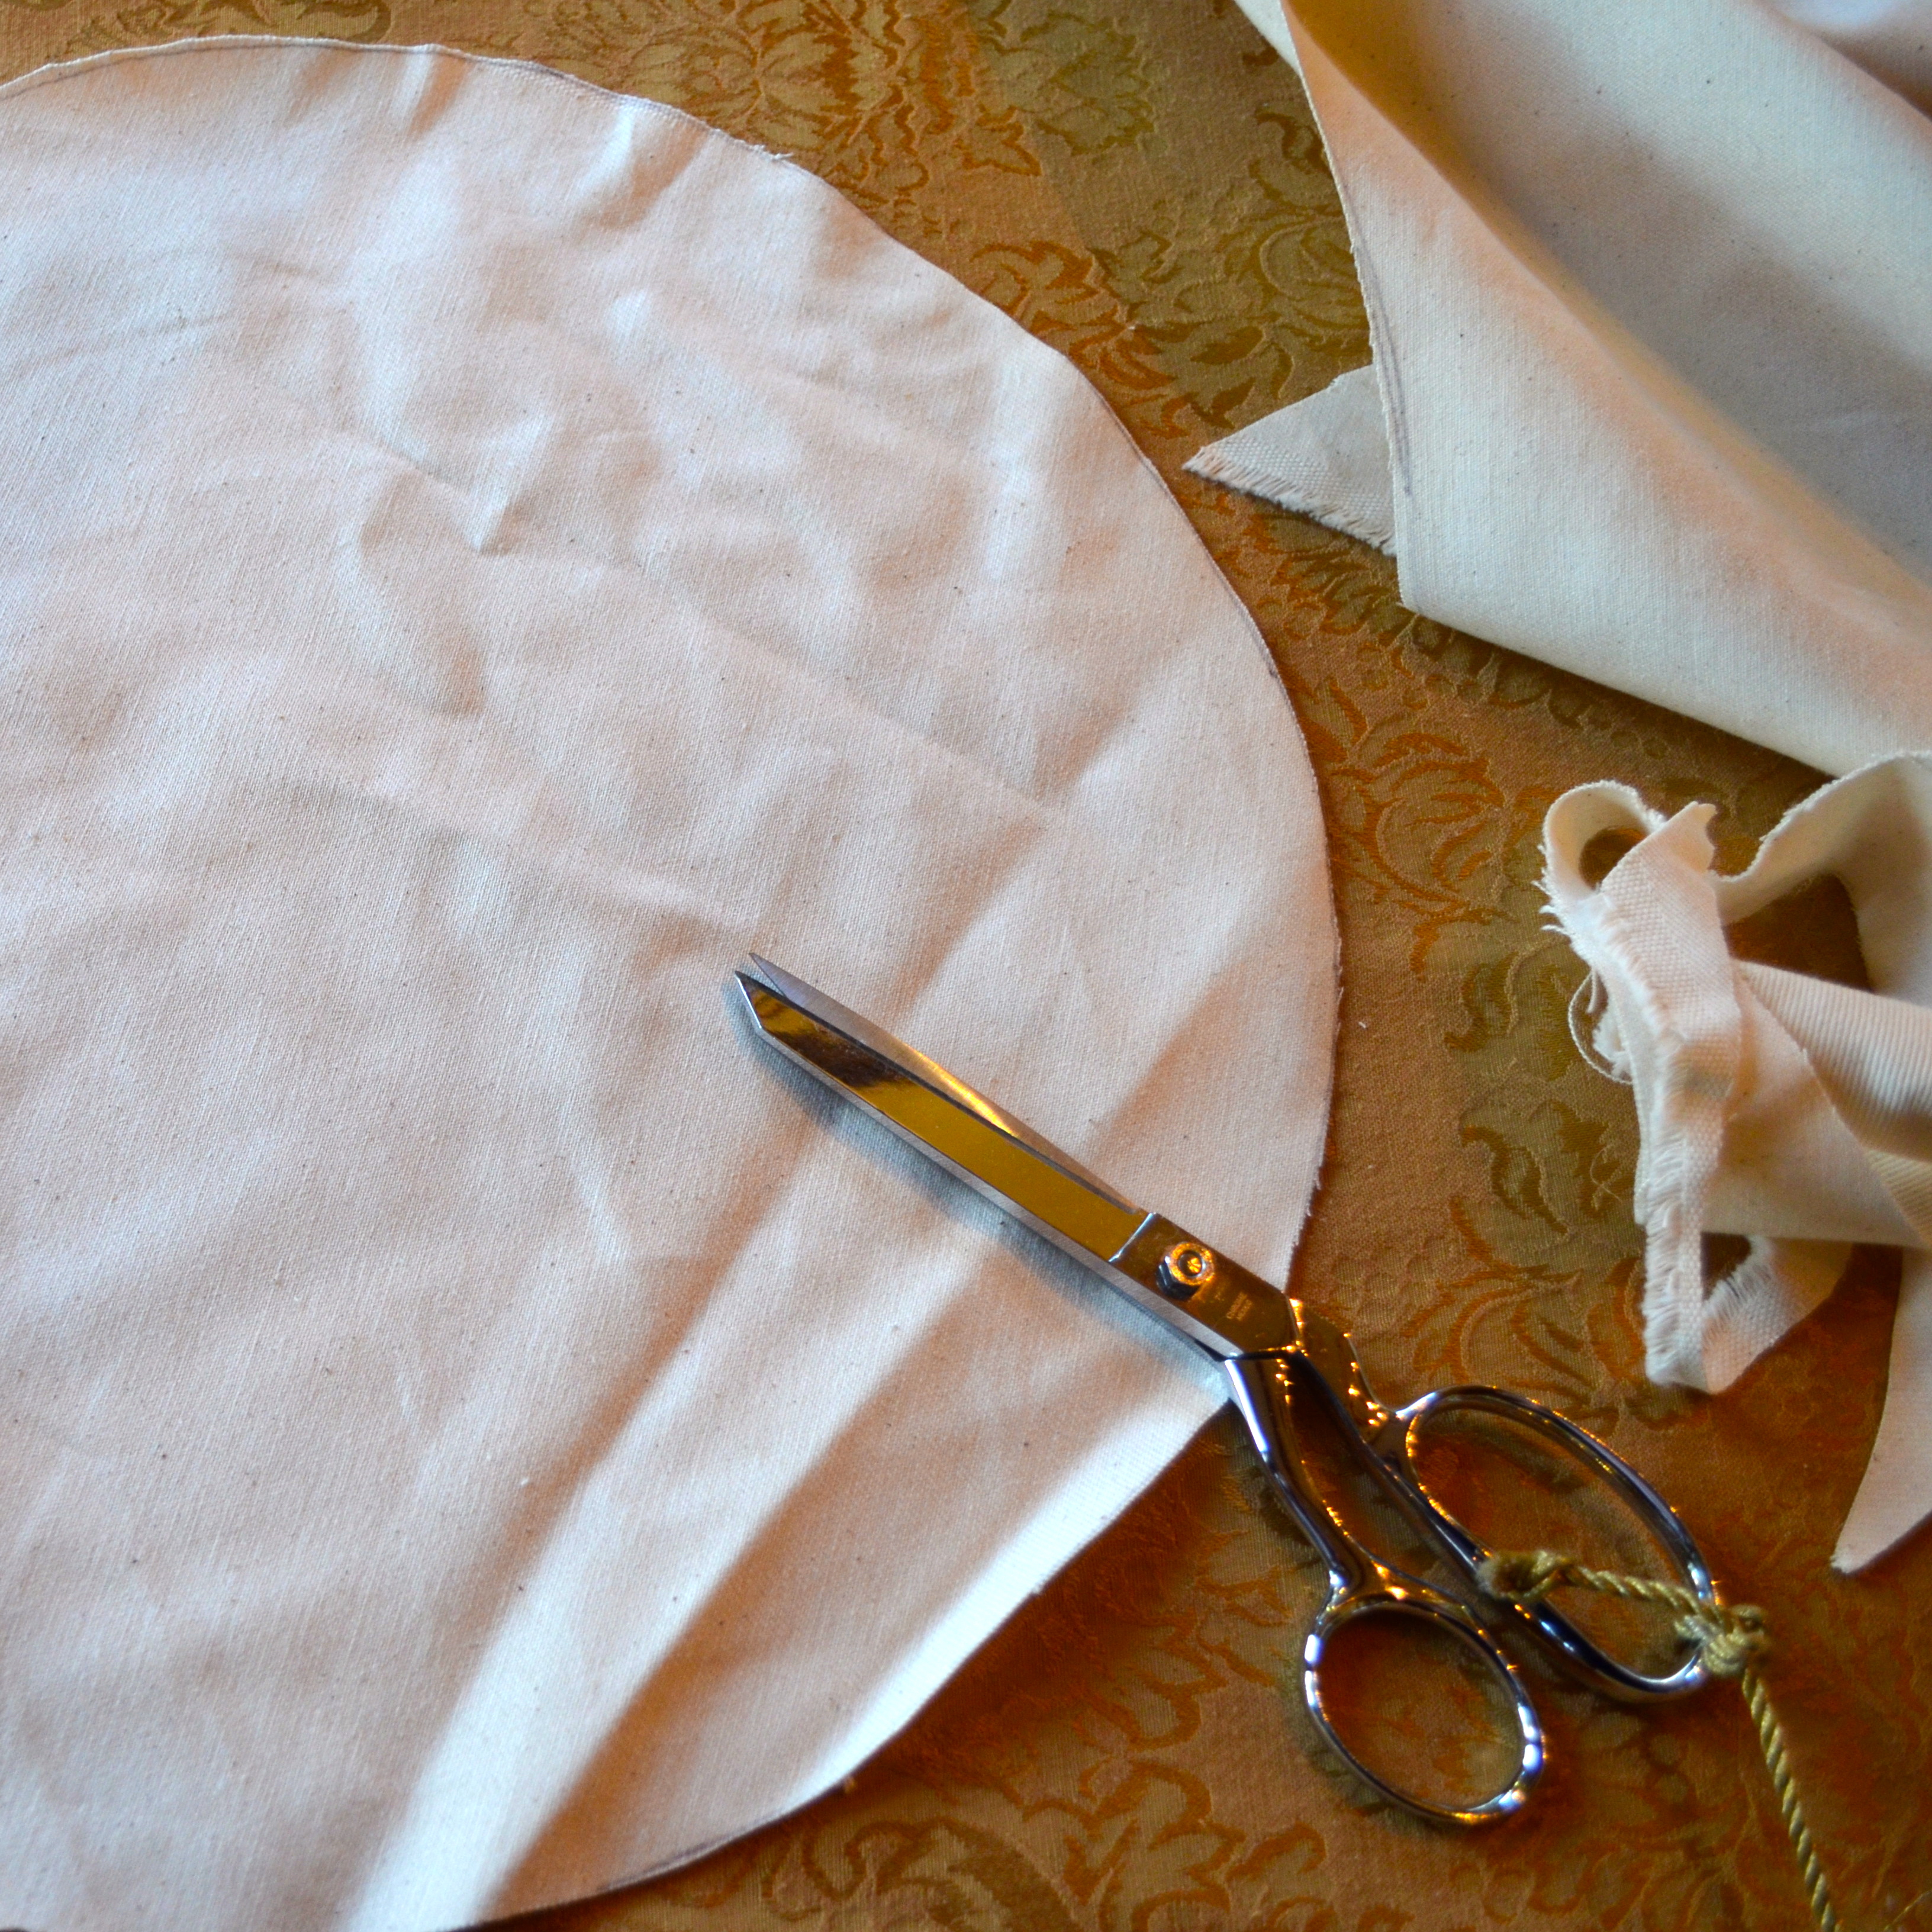
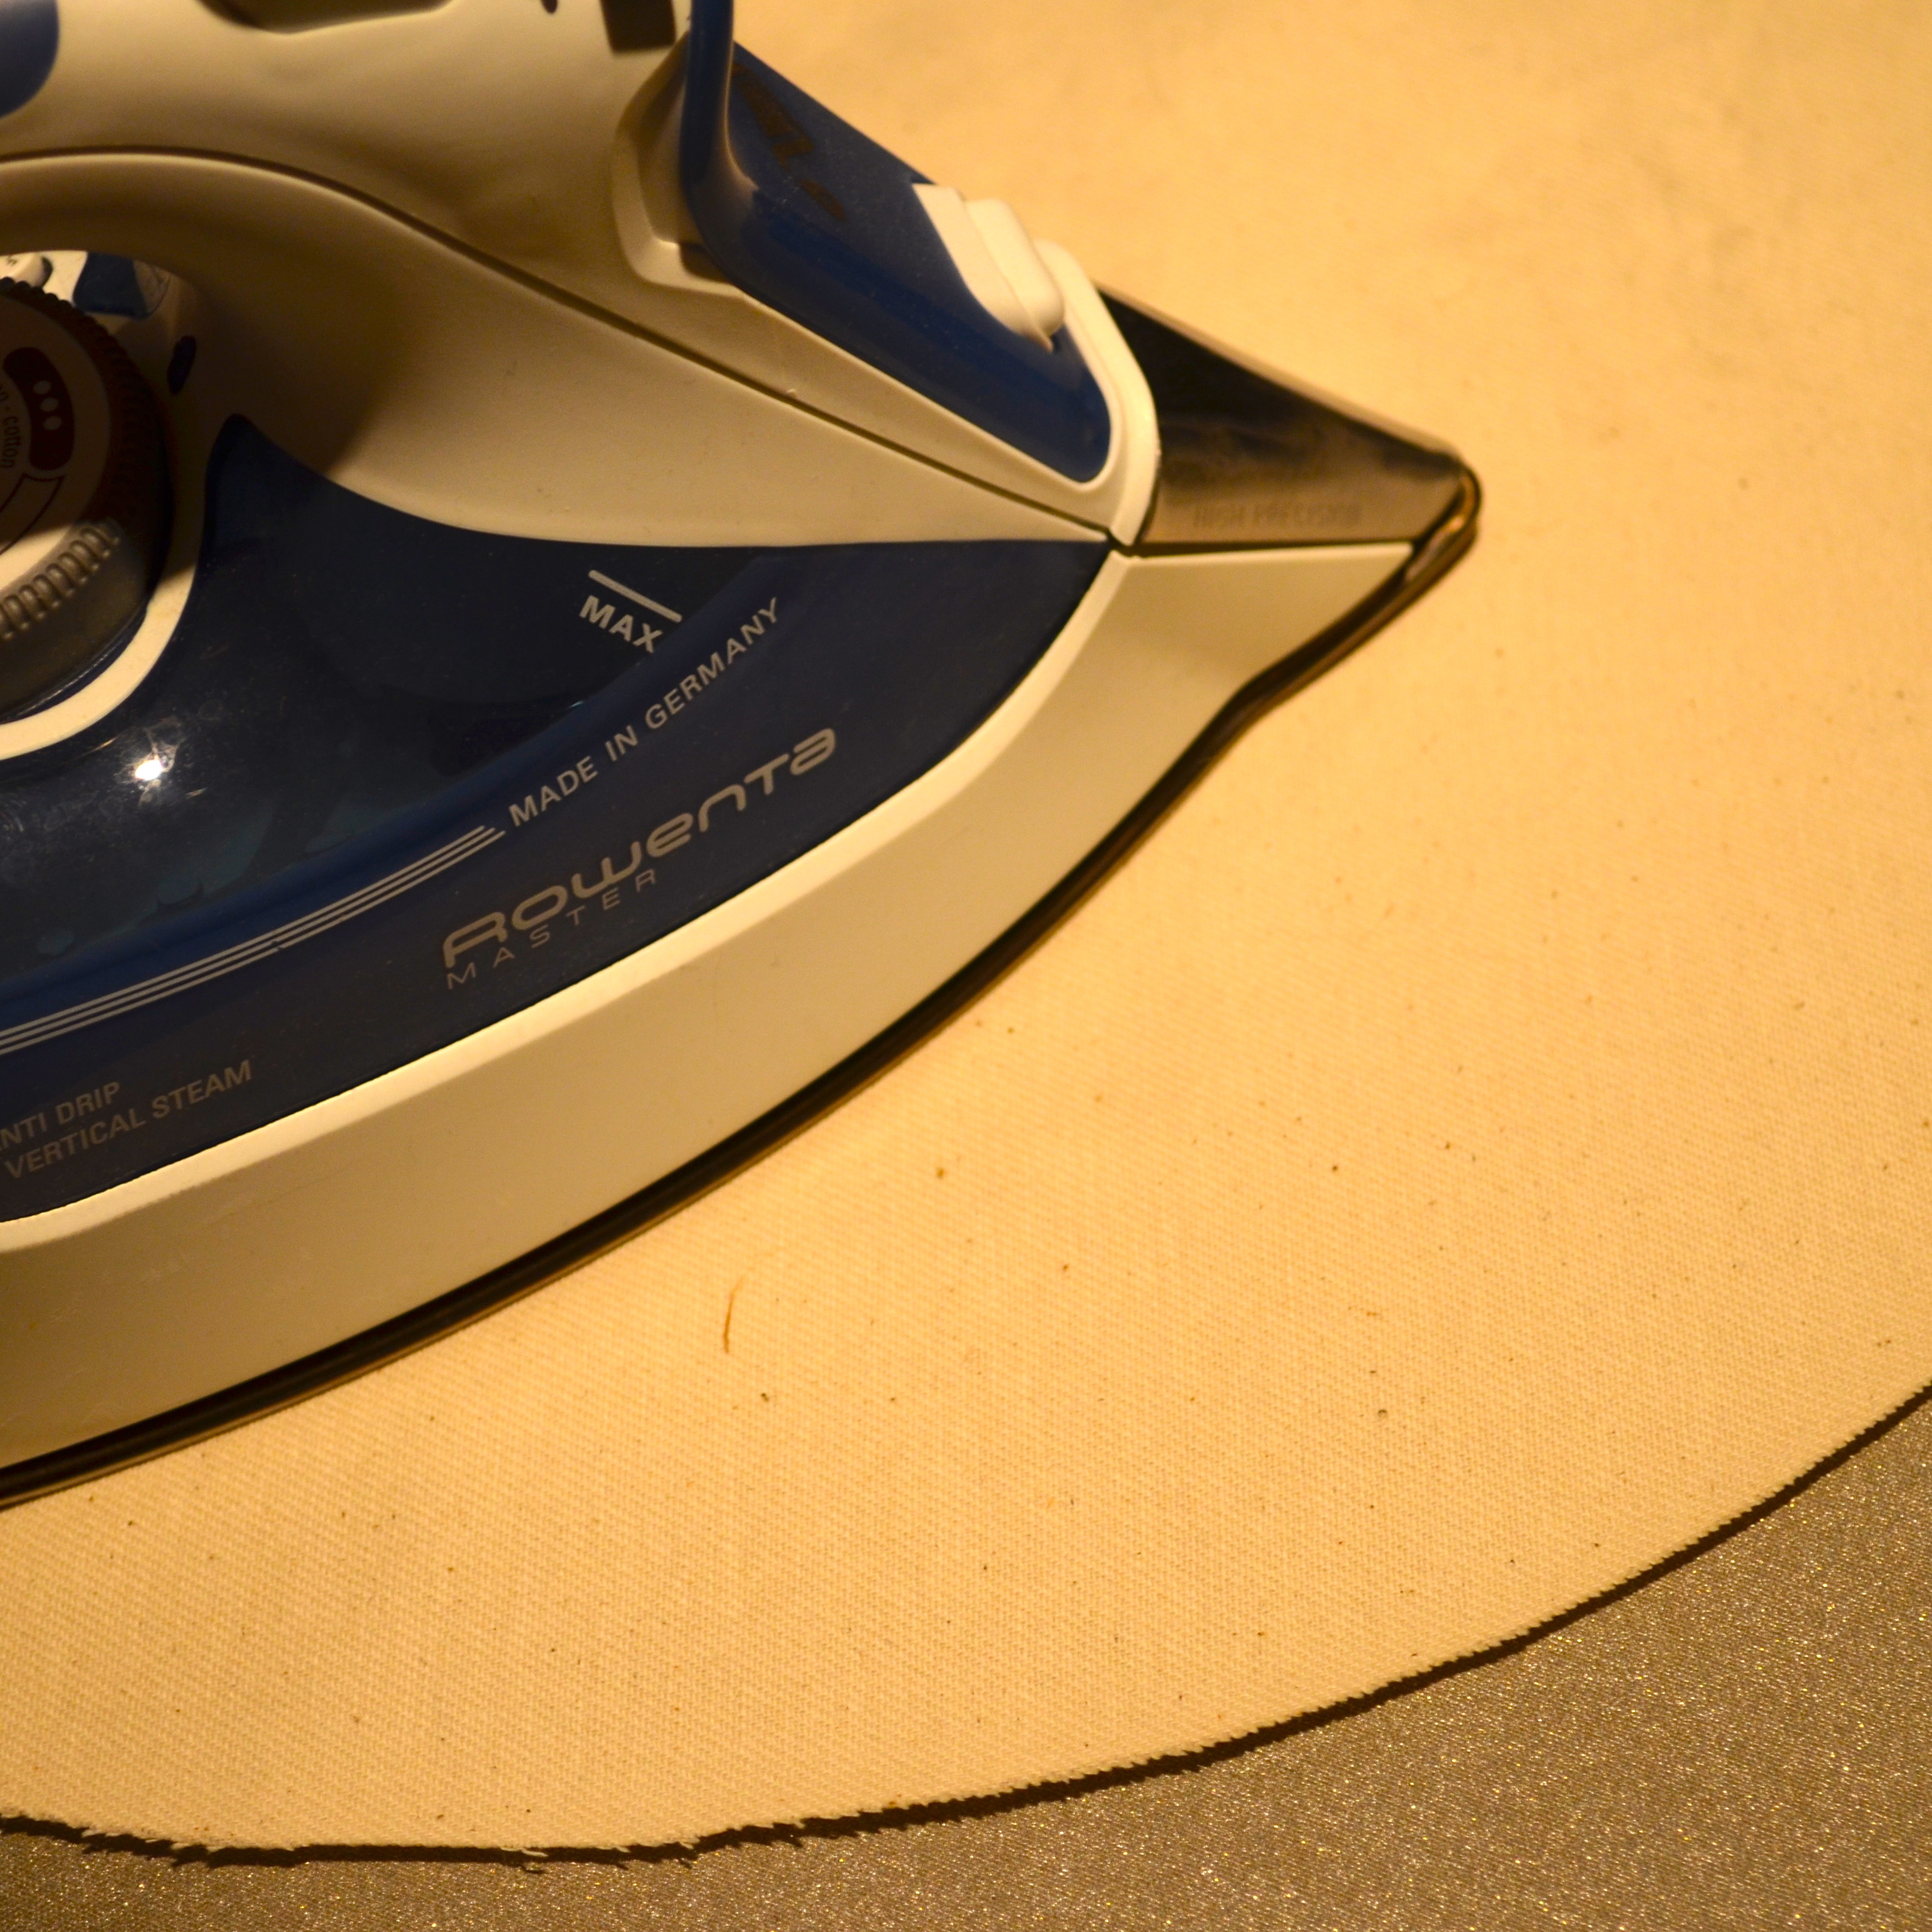
As you can see, my fabric was rather wrinkly, so I ironed my circle. On a side note, you may be wondering why I have gold cording tied onto my scissors. That is a signal to me that those particular shears are to be used on fabric only. No cutting of paper or other items that would dull my fabric shears.
Next, thread a large needle with heavy-duty thread that matches your fabric. Secure the thread to the fabric and begin sewing around the outside edge of the fabric.

My stitches are rather large, about 1/4″ long. Don’t make your stitches too short or it will be difficult to gather the fabric.

Continue to stitch all the way around the circle.
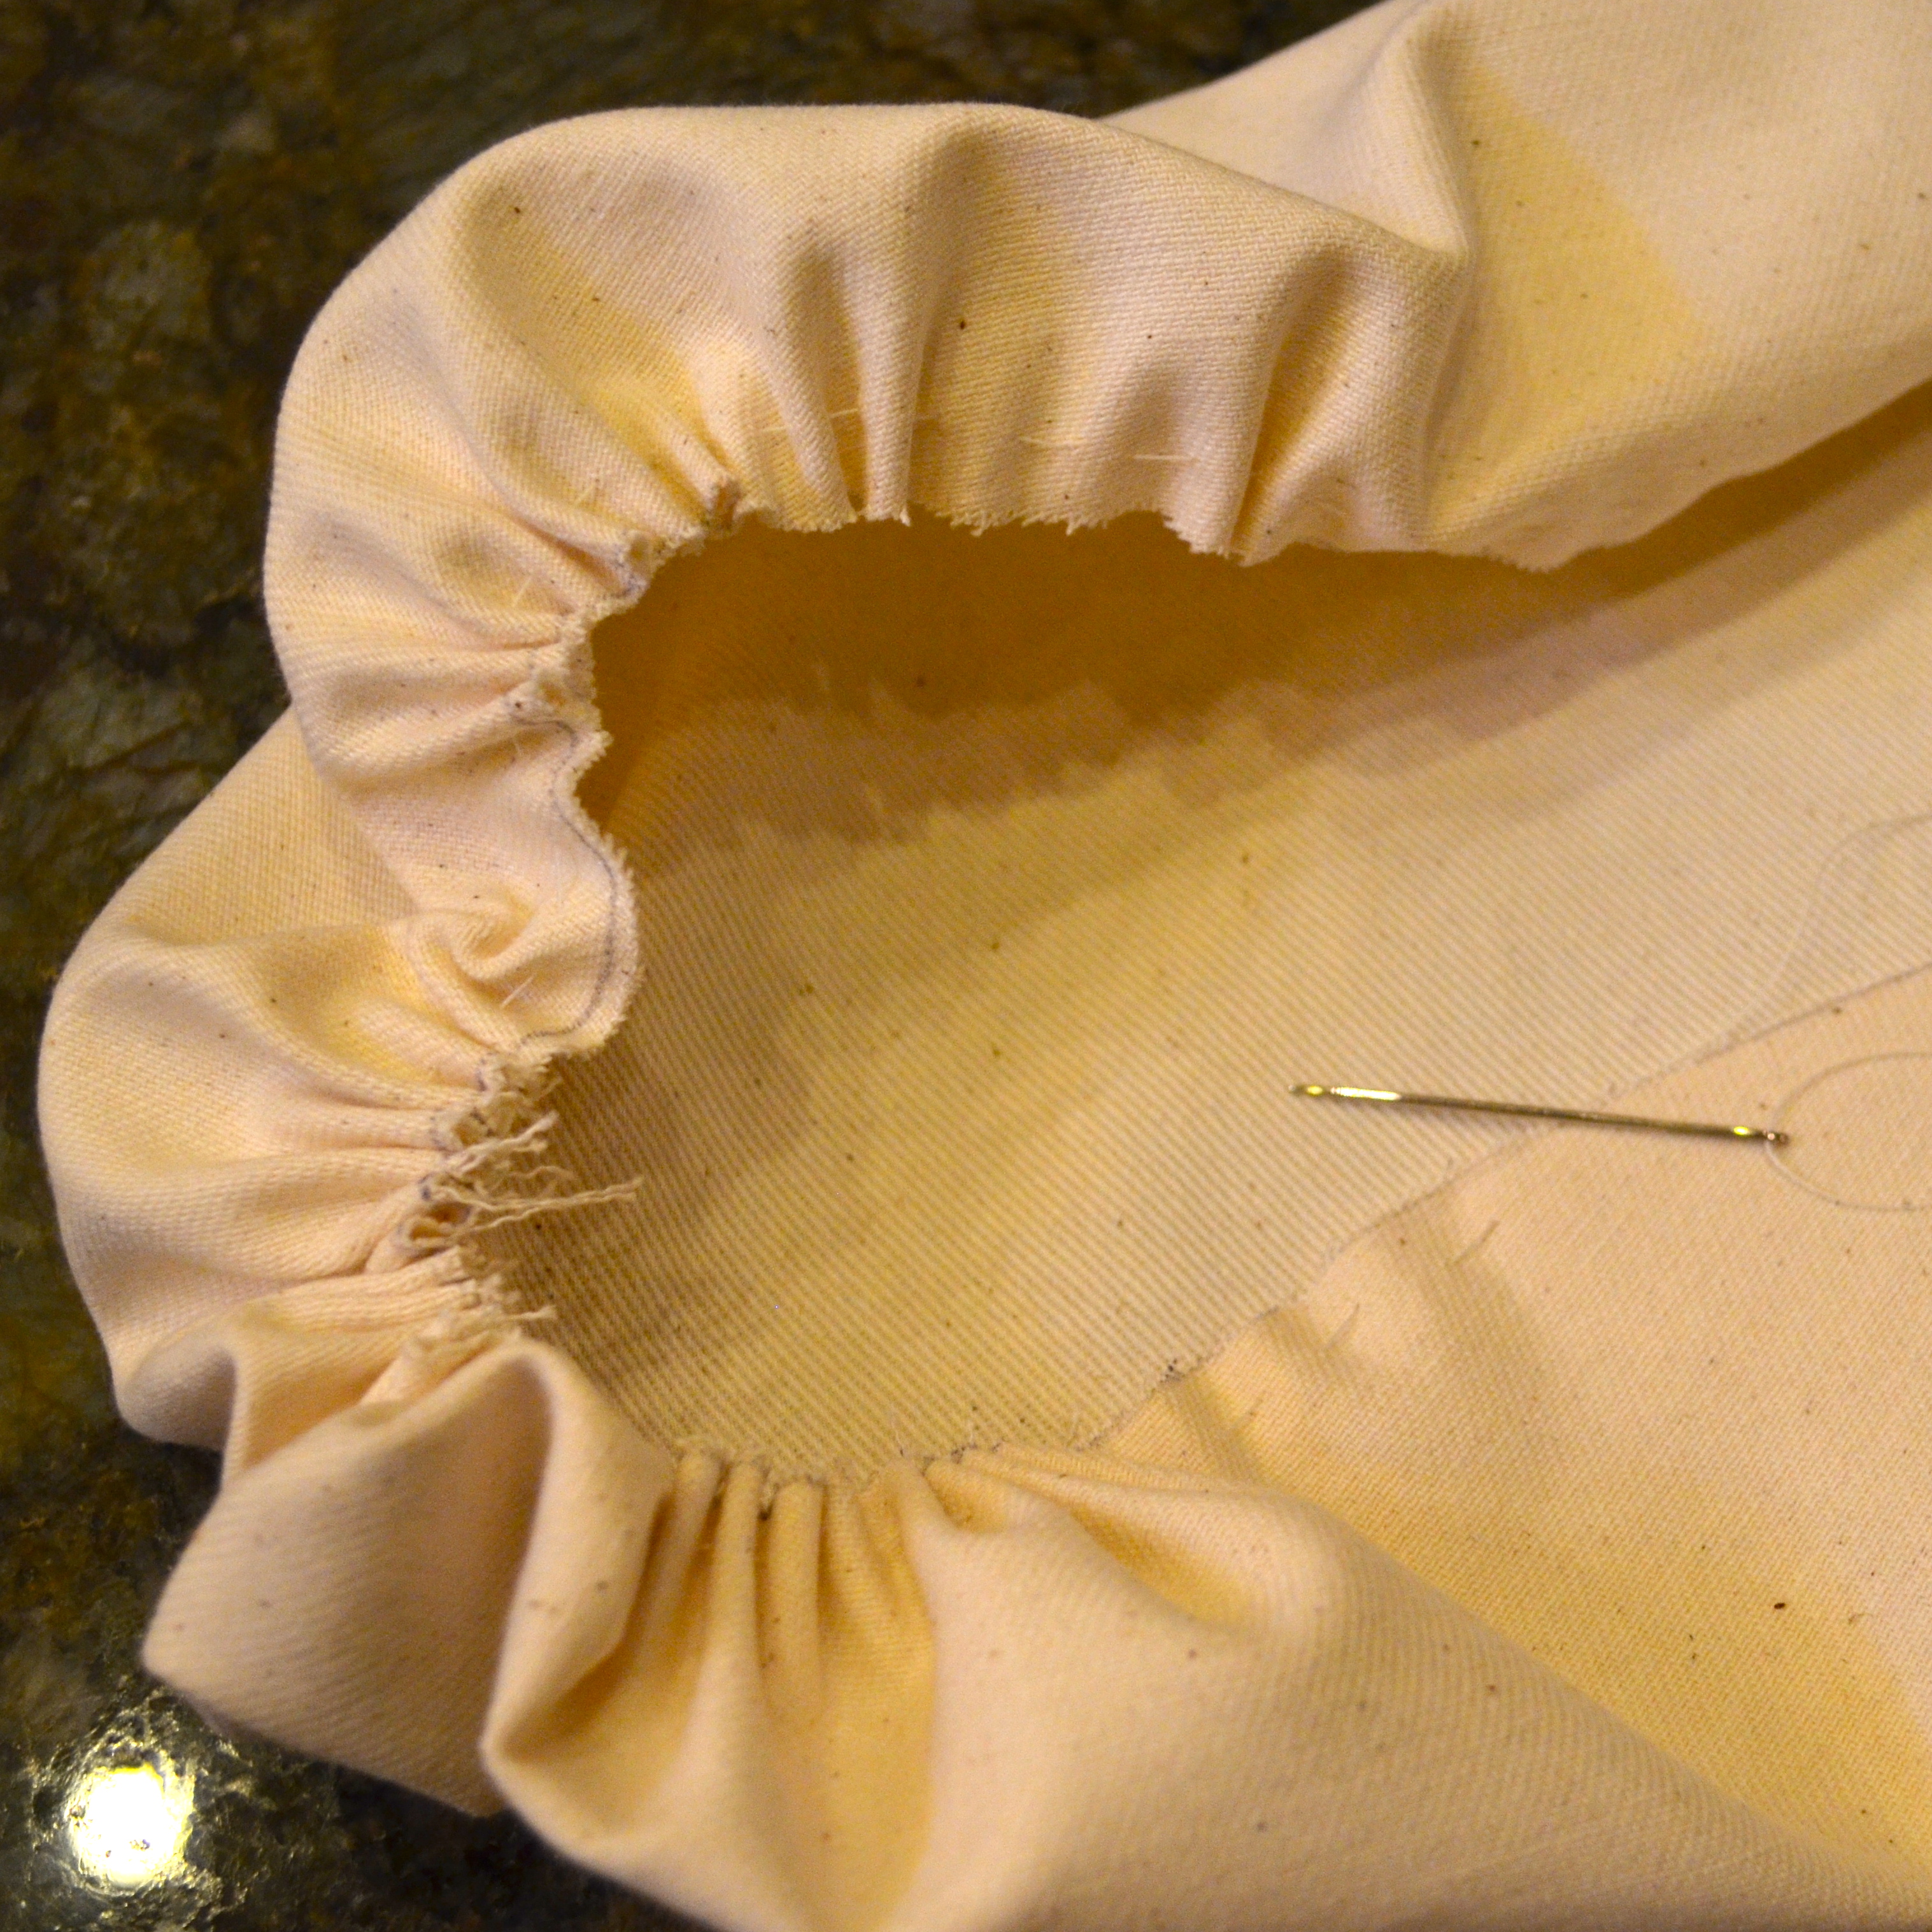
Loosely gather the fabric as you go along. This makes it easier to gather the whole length of stitches from start to finish.
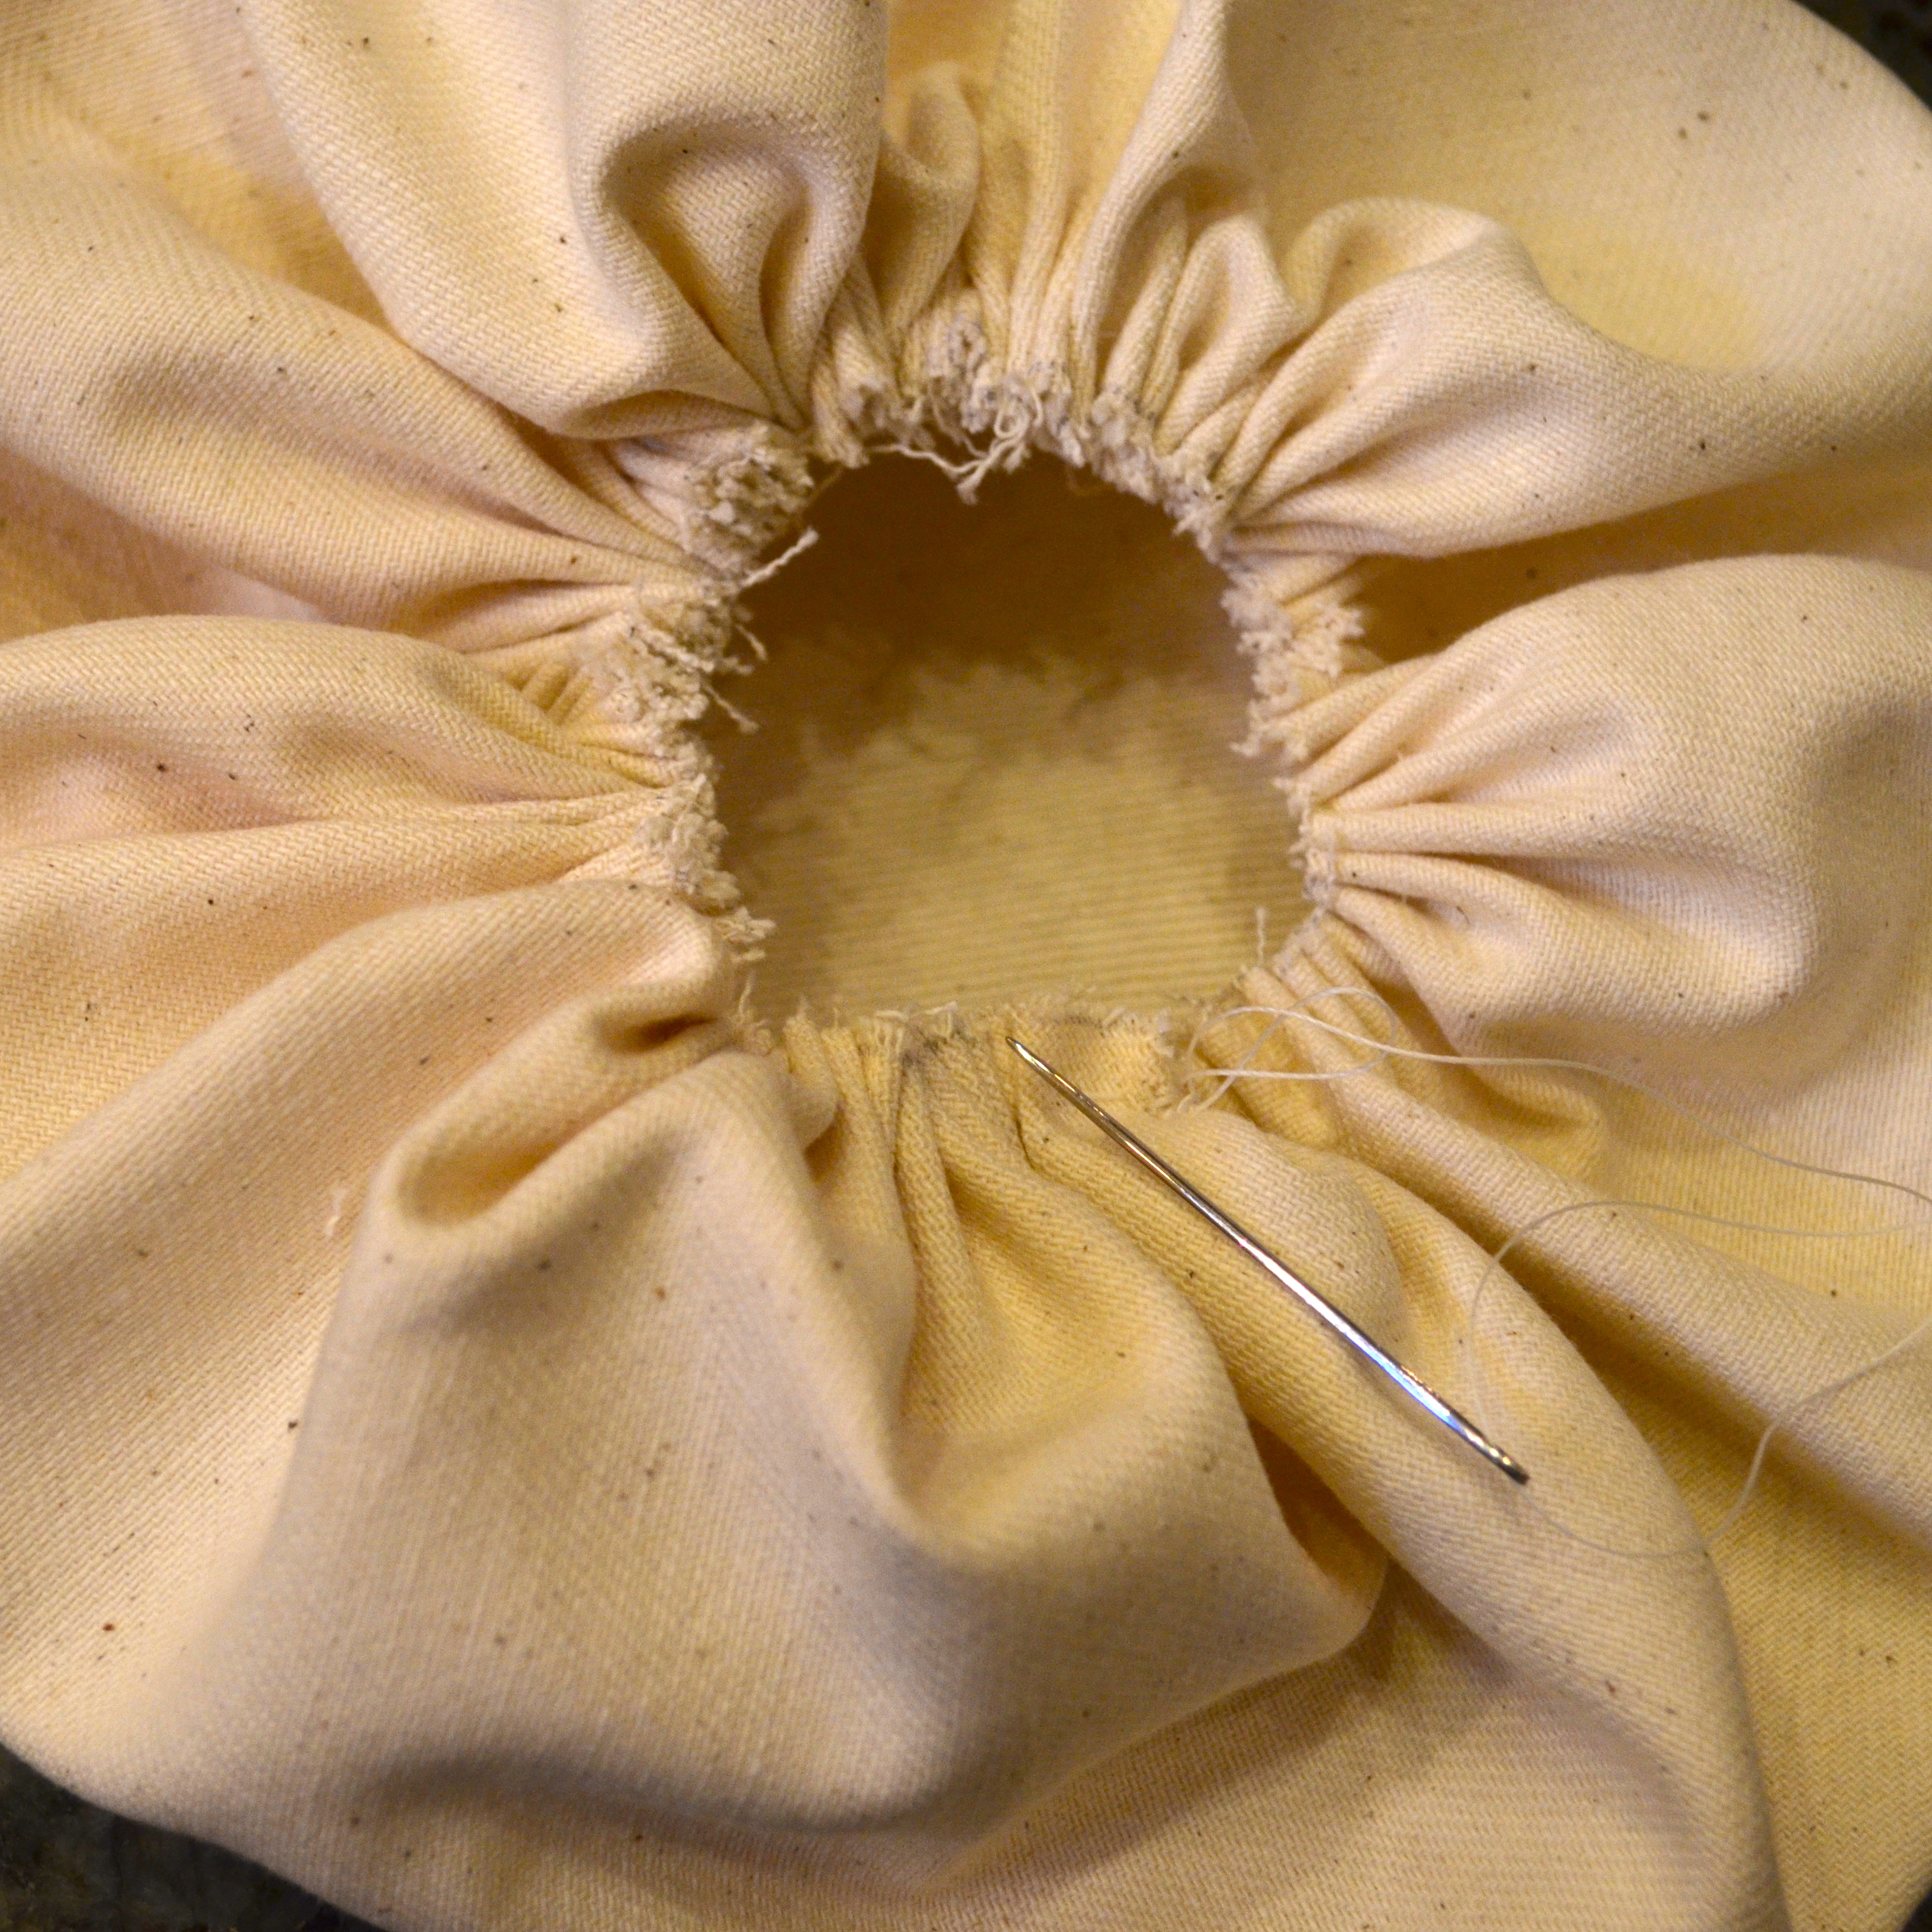
When you complete your stitches all the way around the circle, gently pull on your thread to gather the fabric up as tightly as it will go. You want your opening to be as small as possible. Now secure the thread by making several stitches in the same spot so your gathers will be secure.
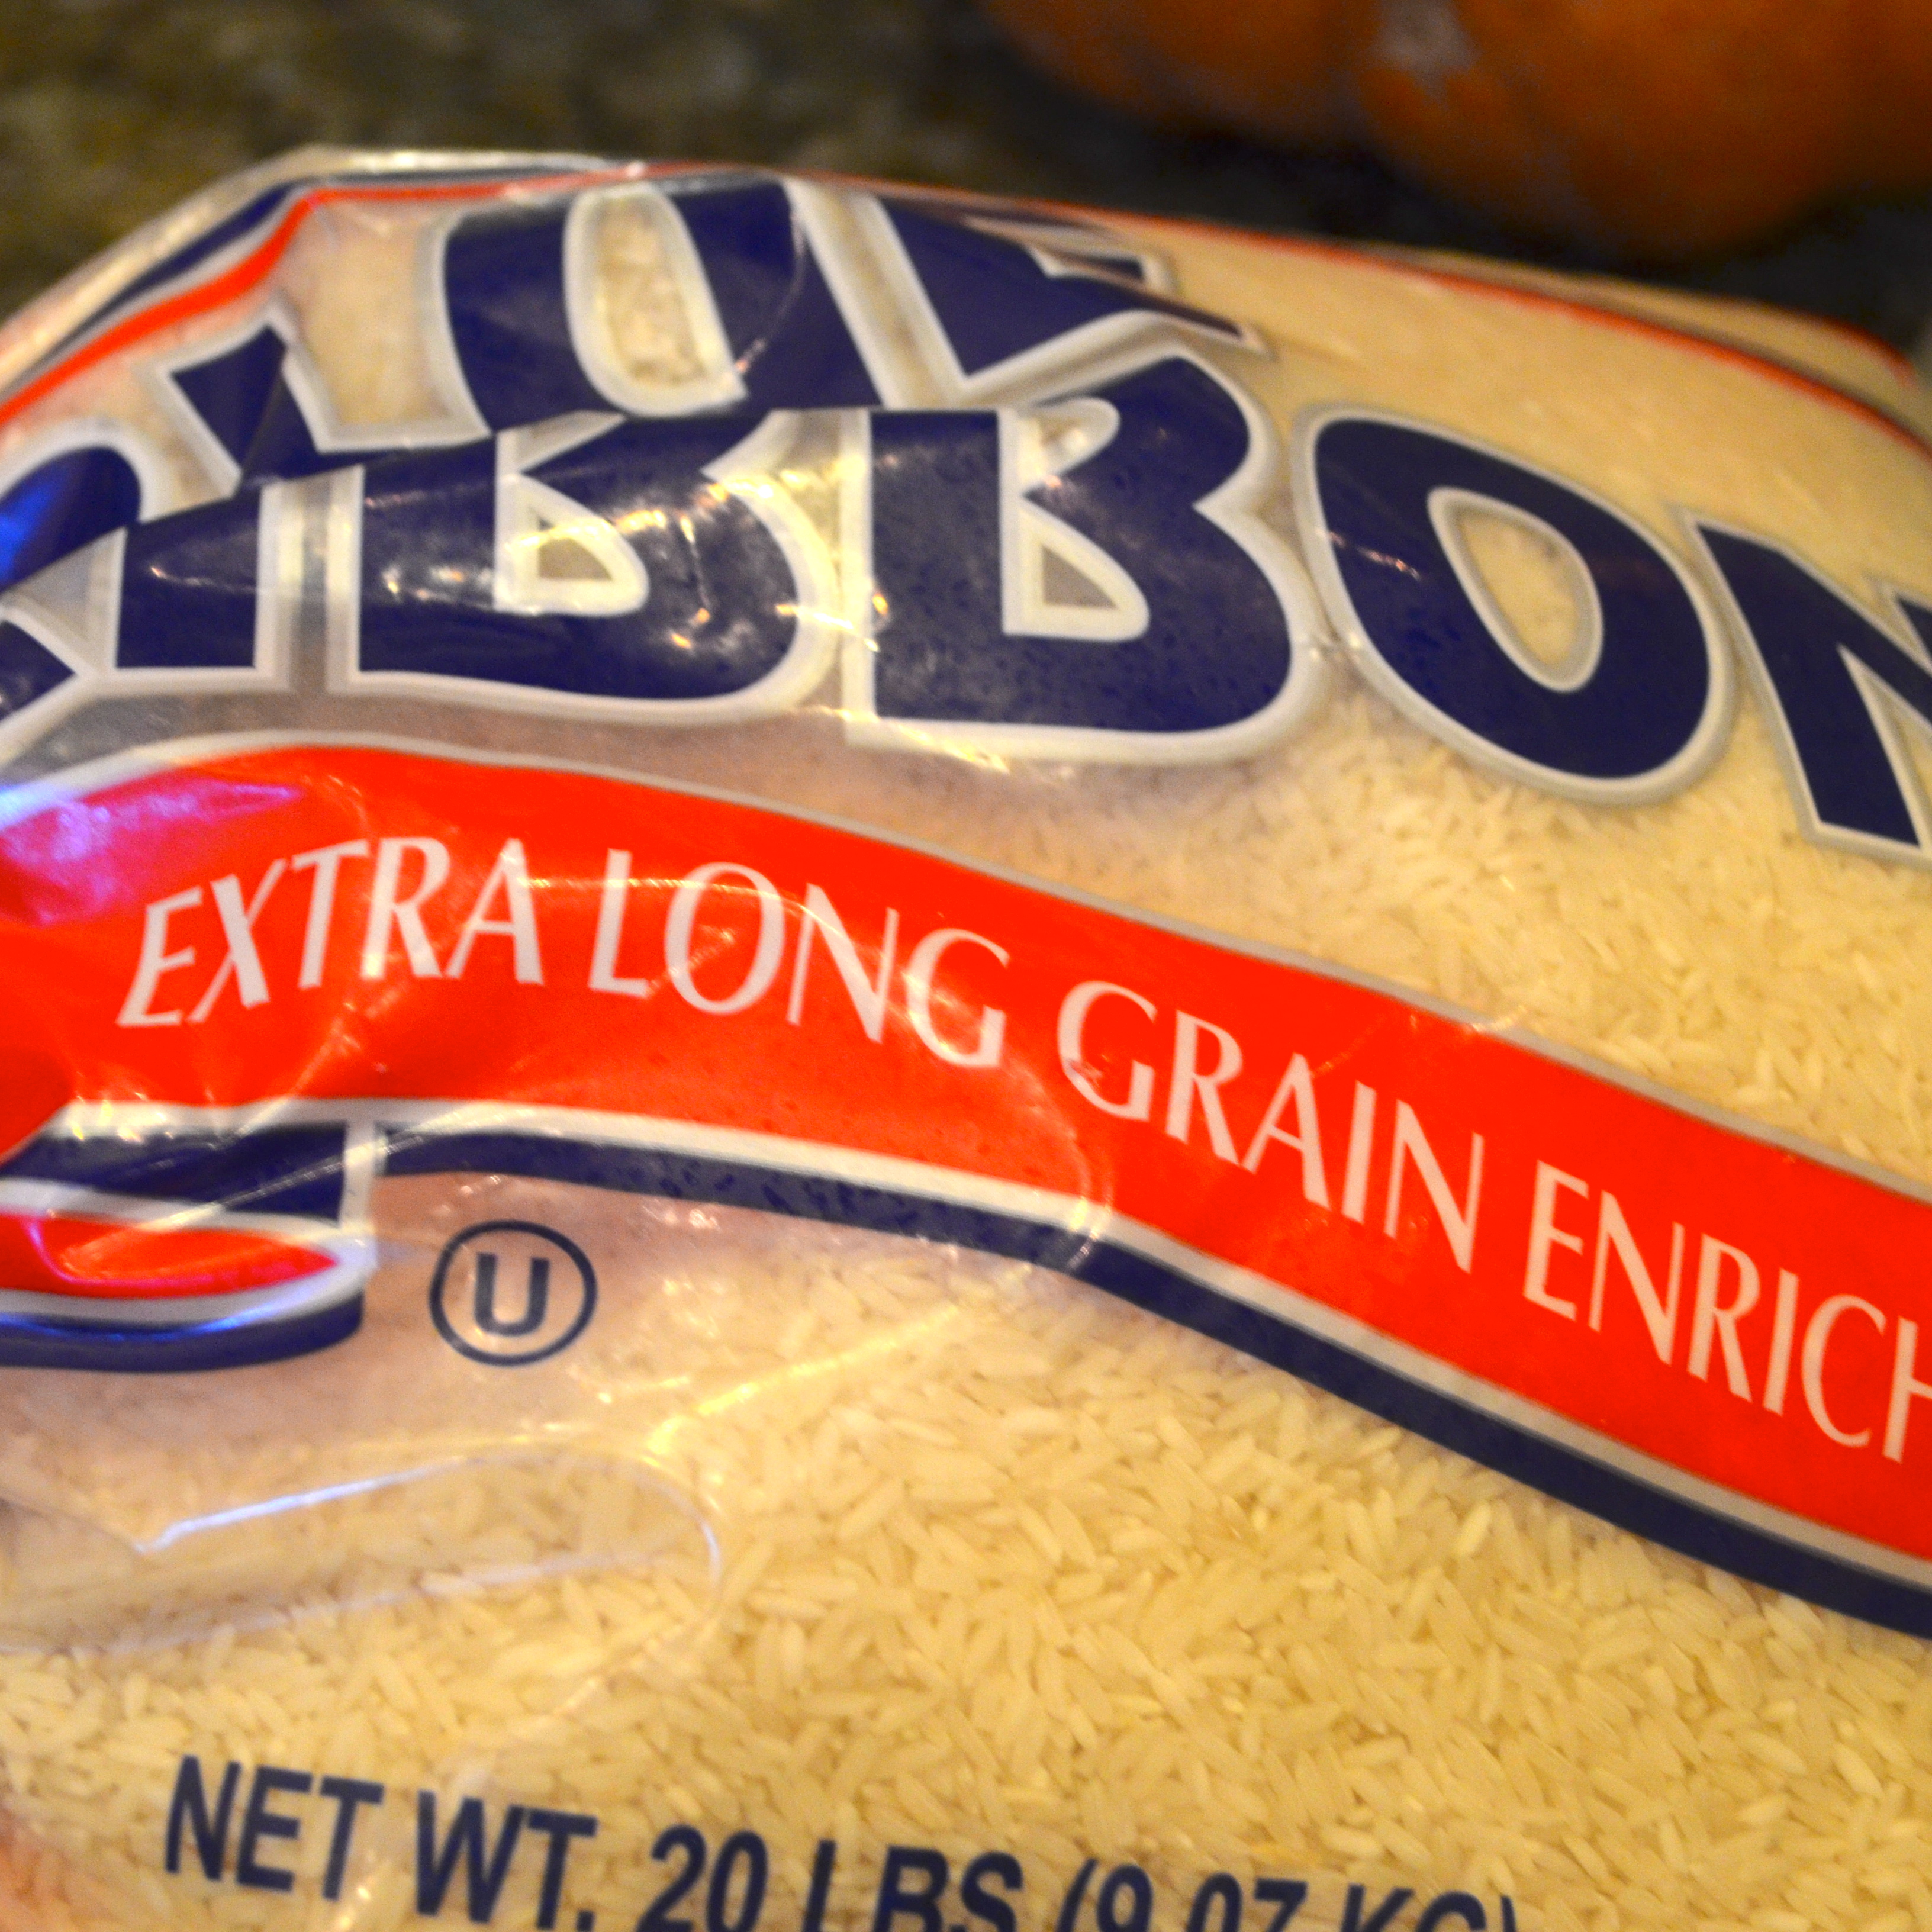
Now you’ll need a big old bag of rice. I buy the 20 pound bag because I like to sew lots of pumpkins.
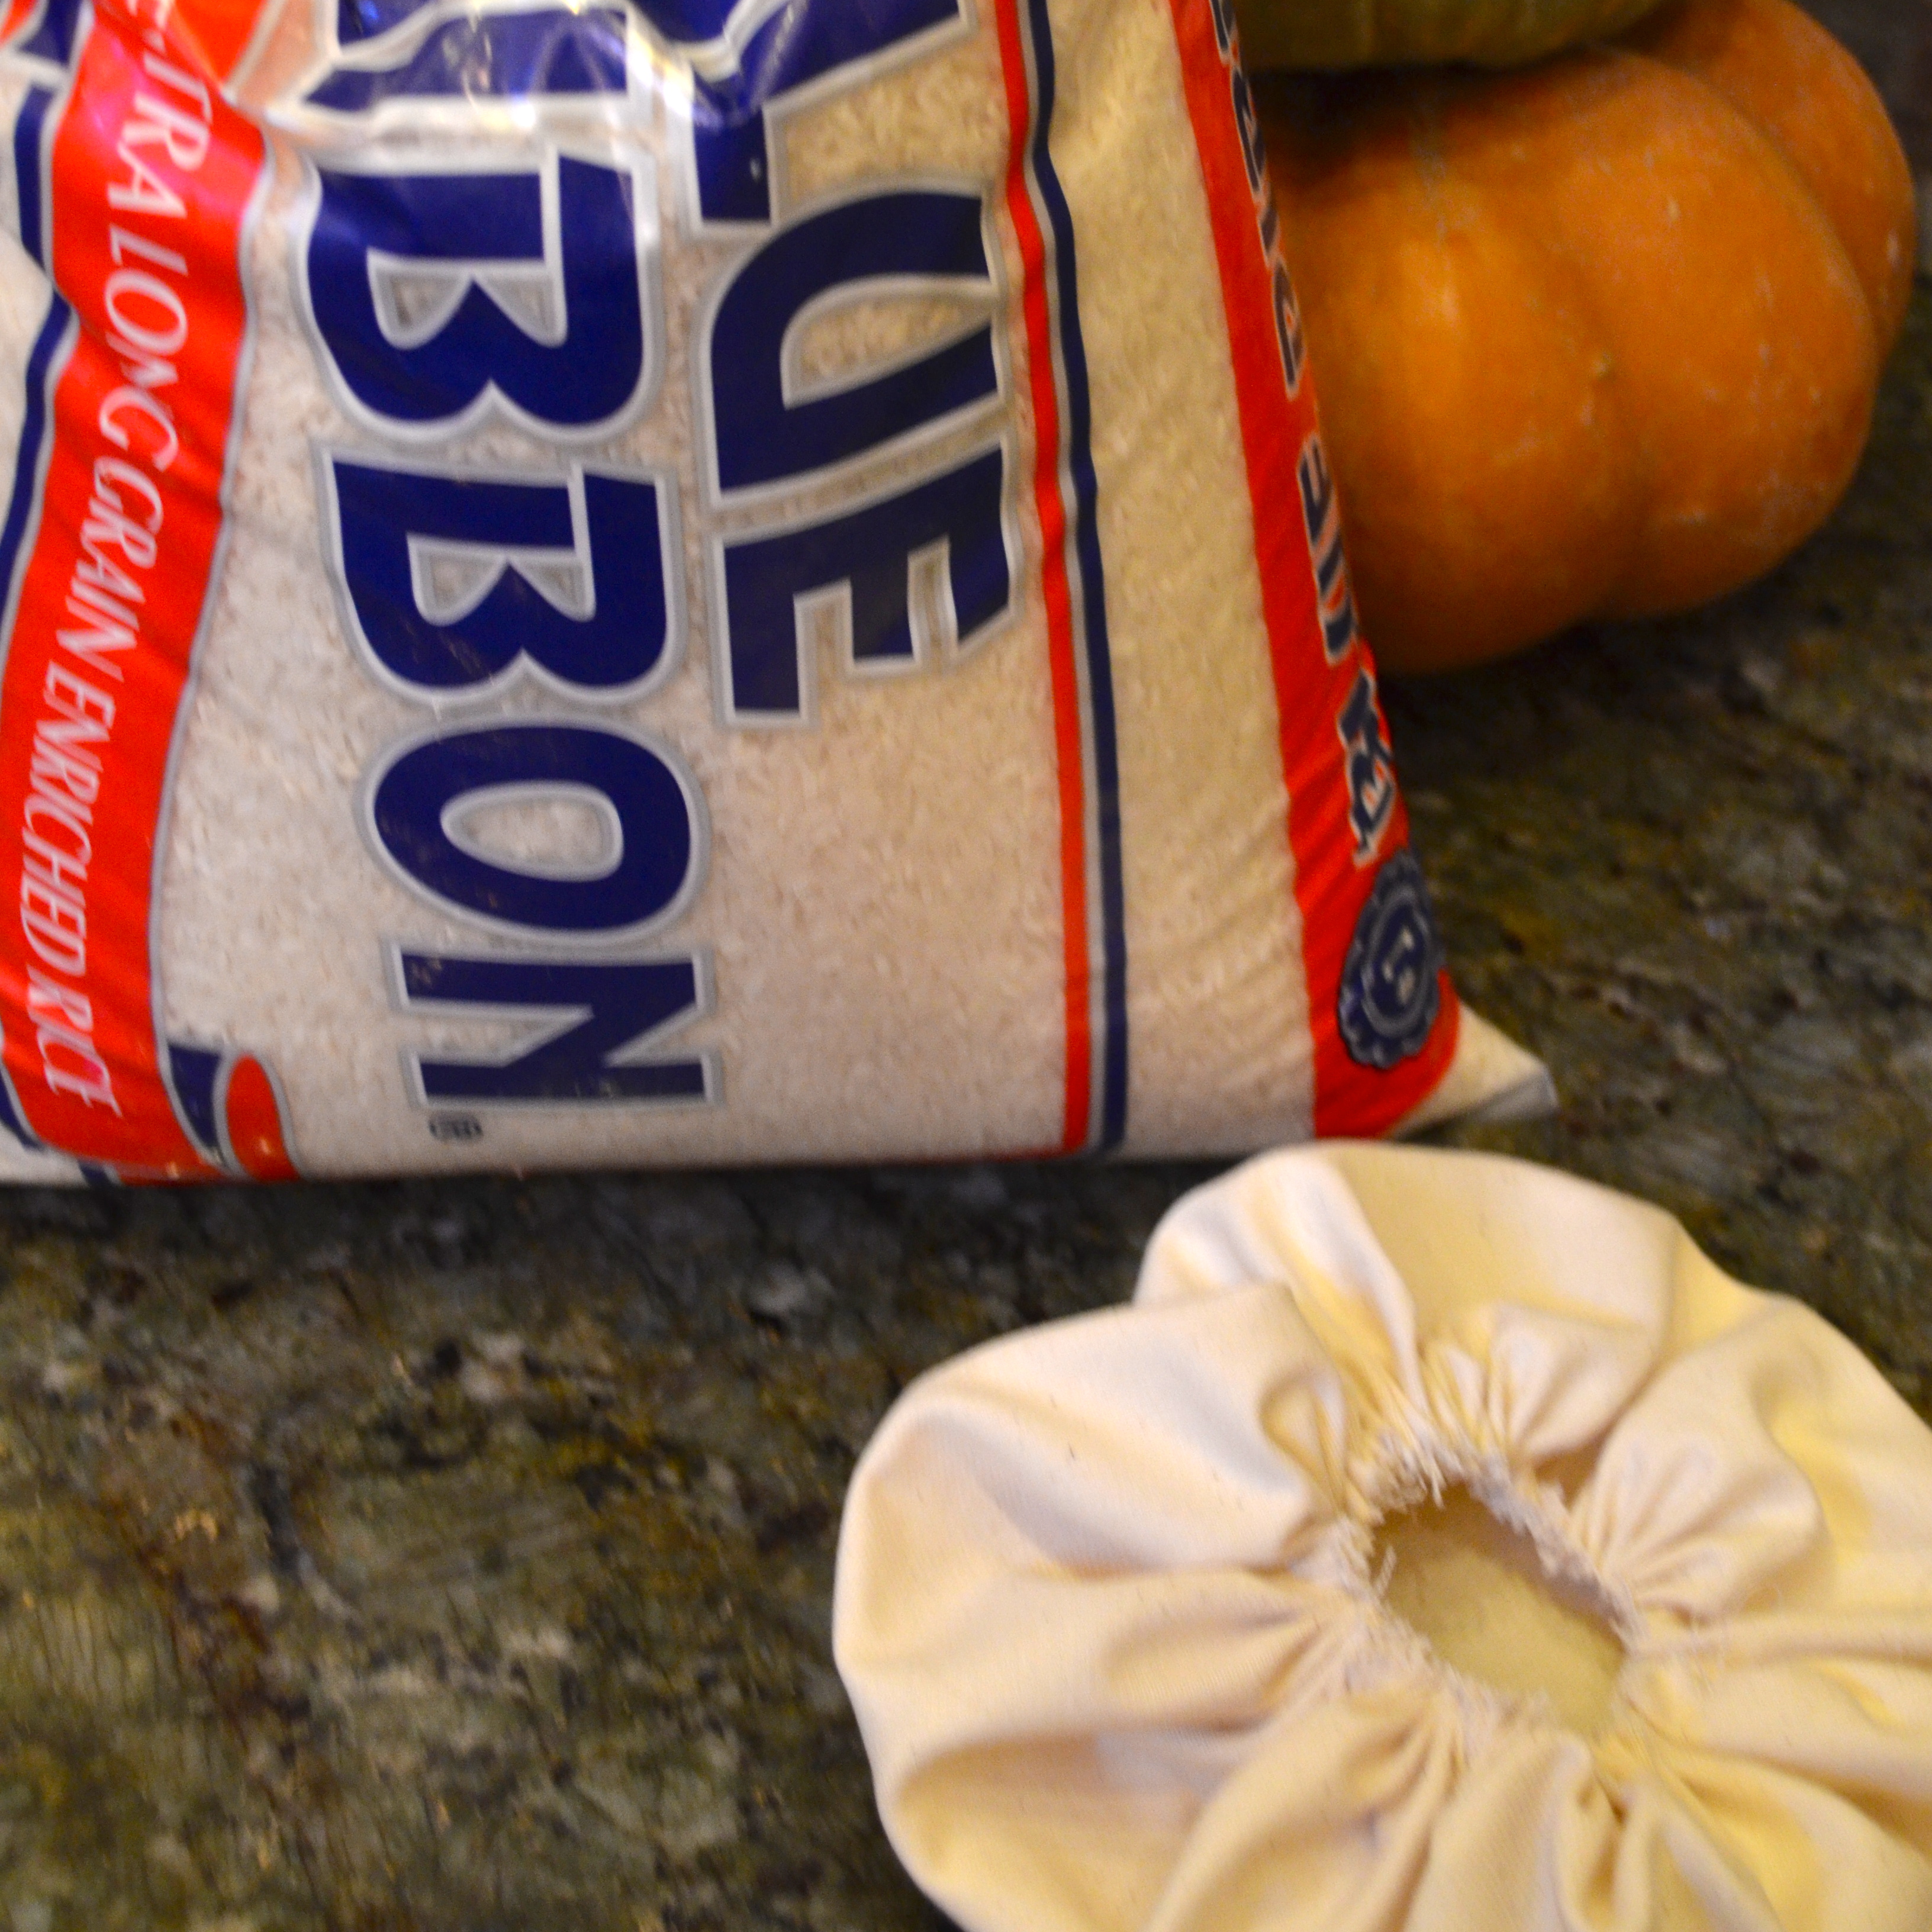
You can also use dried beans. I have used both and prefer rice, as it gives the pumpkin a smoother texture. Rice is also cheaper than beans.
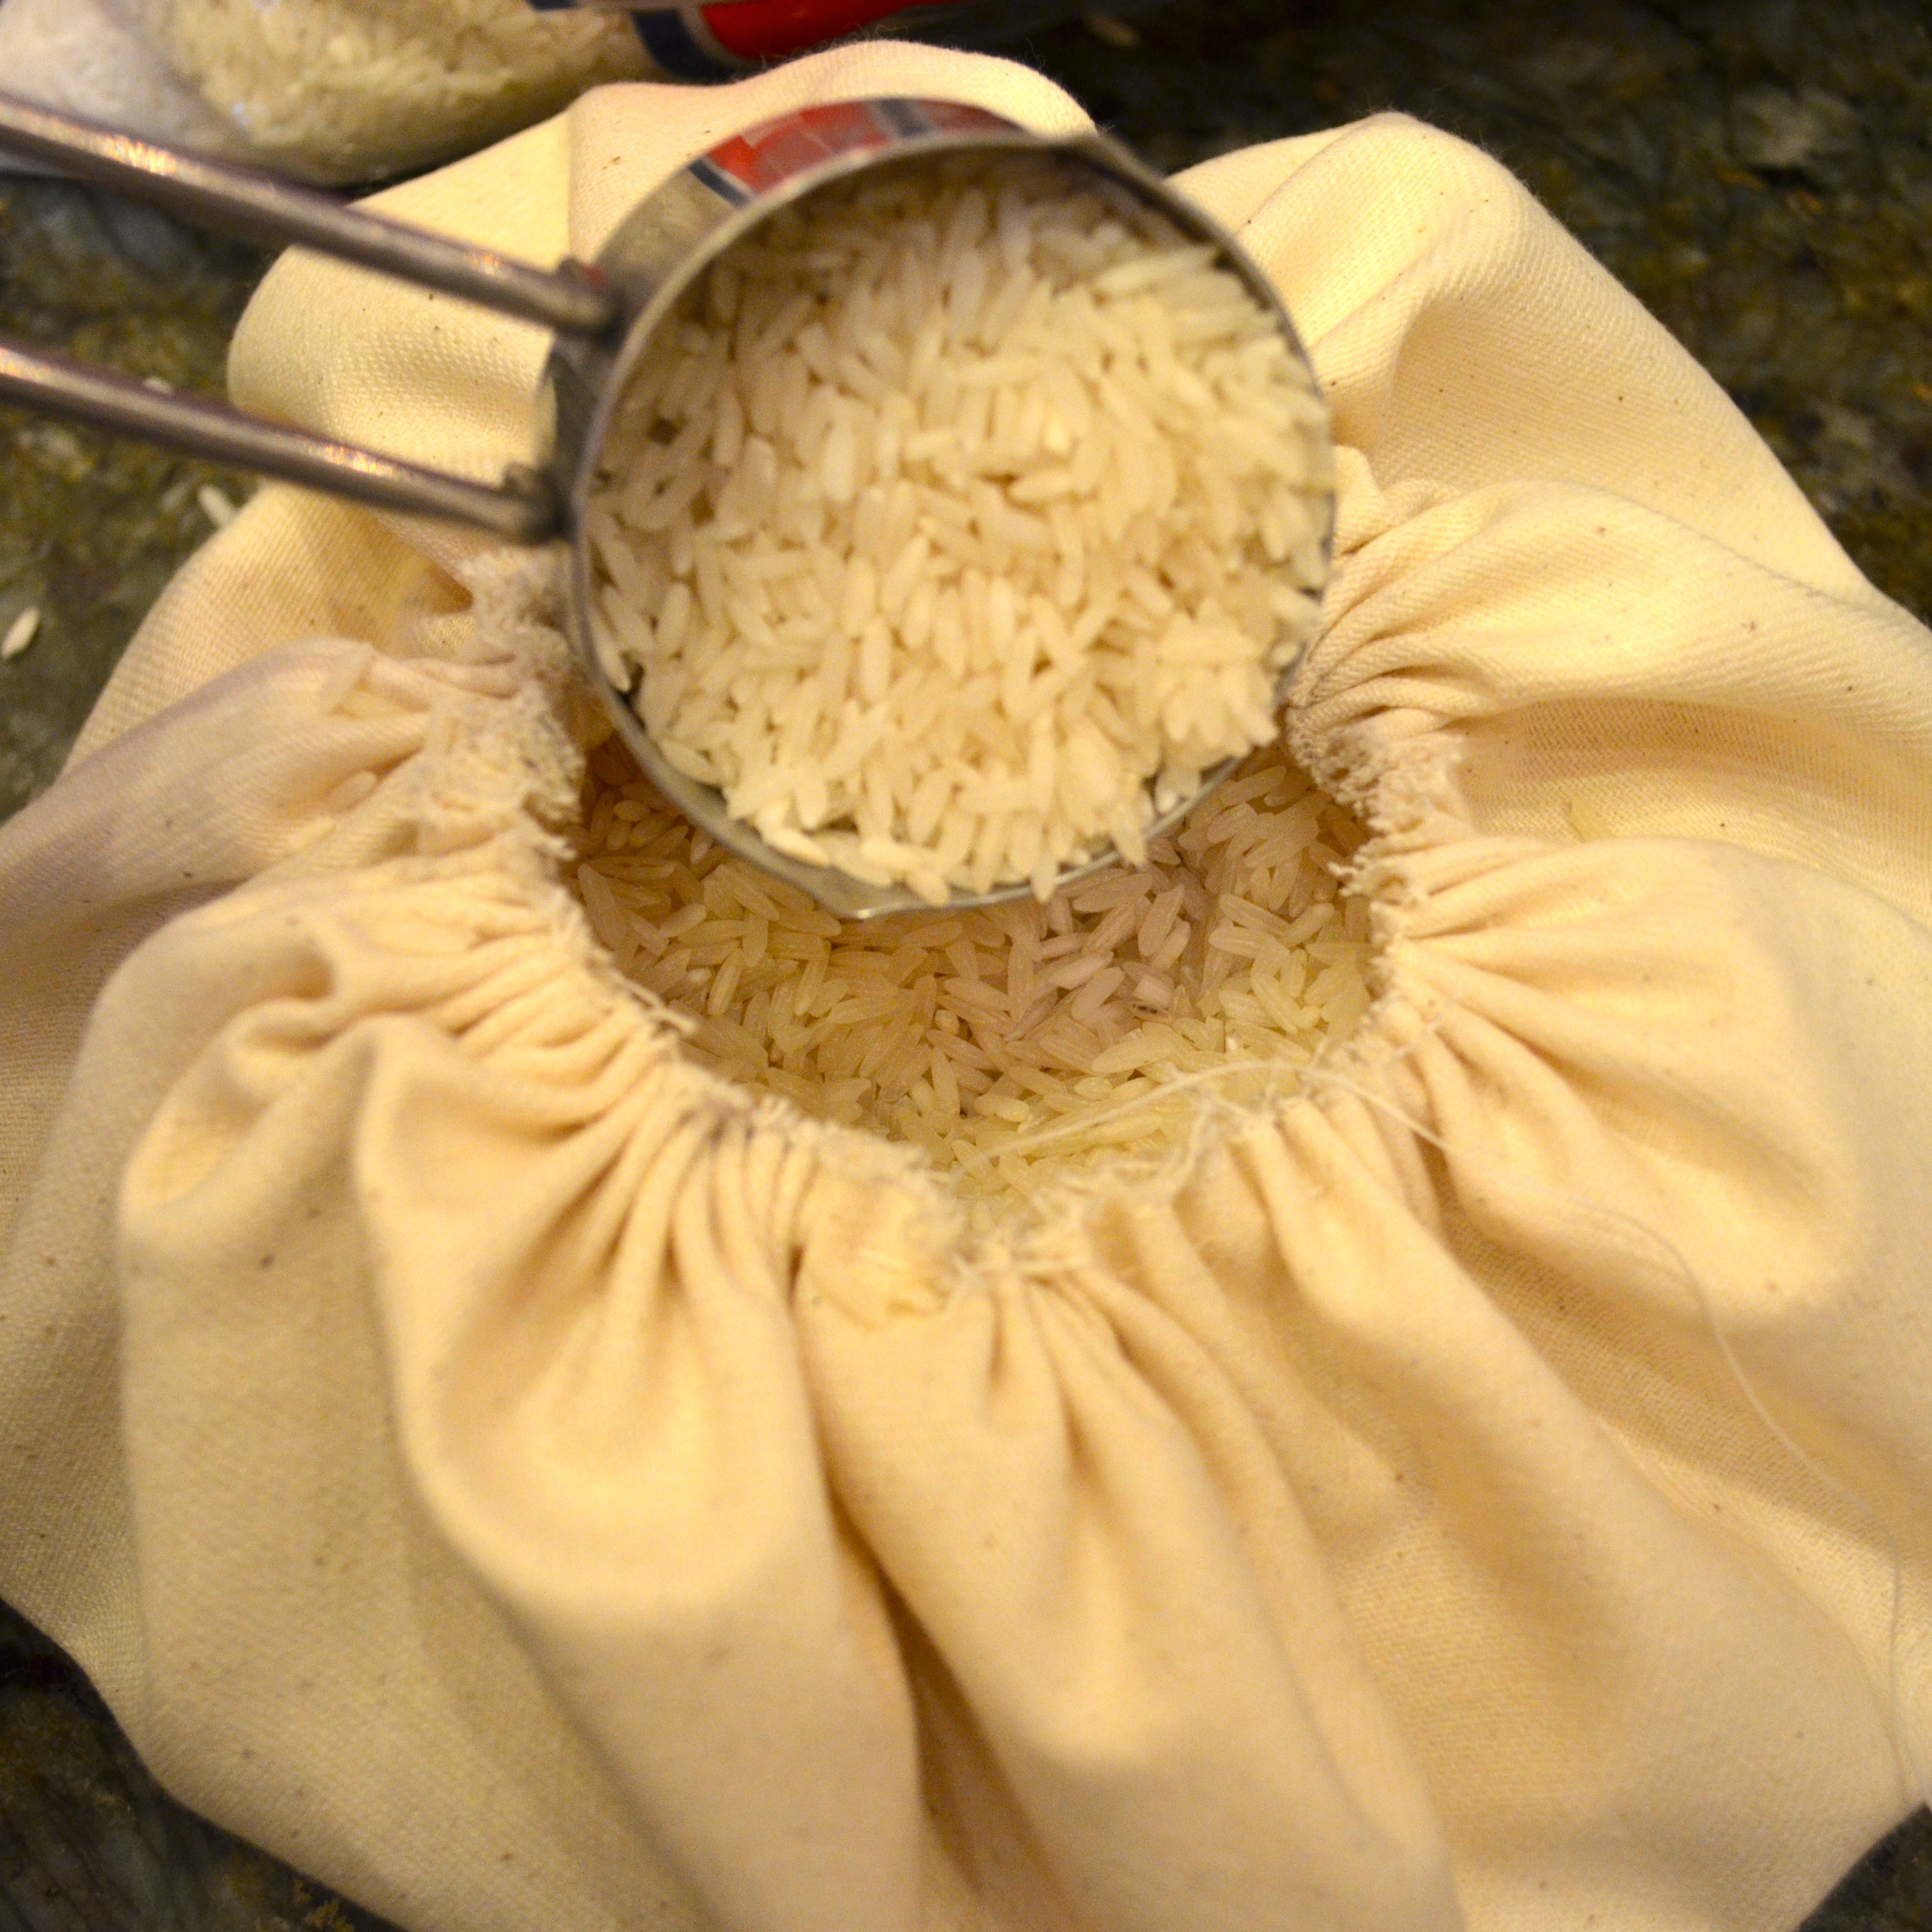
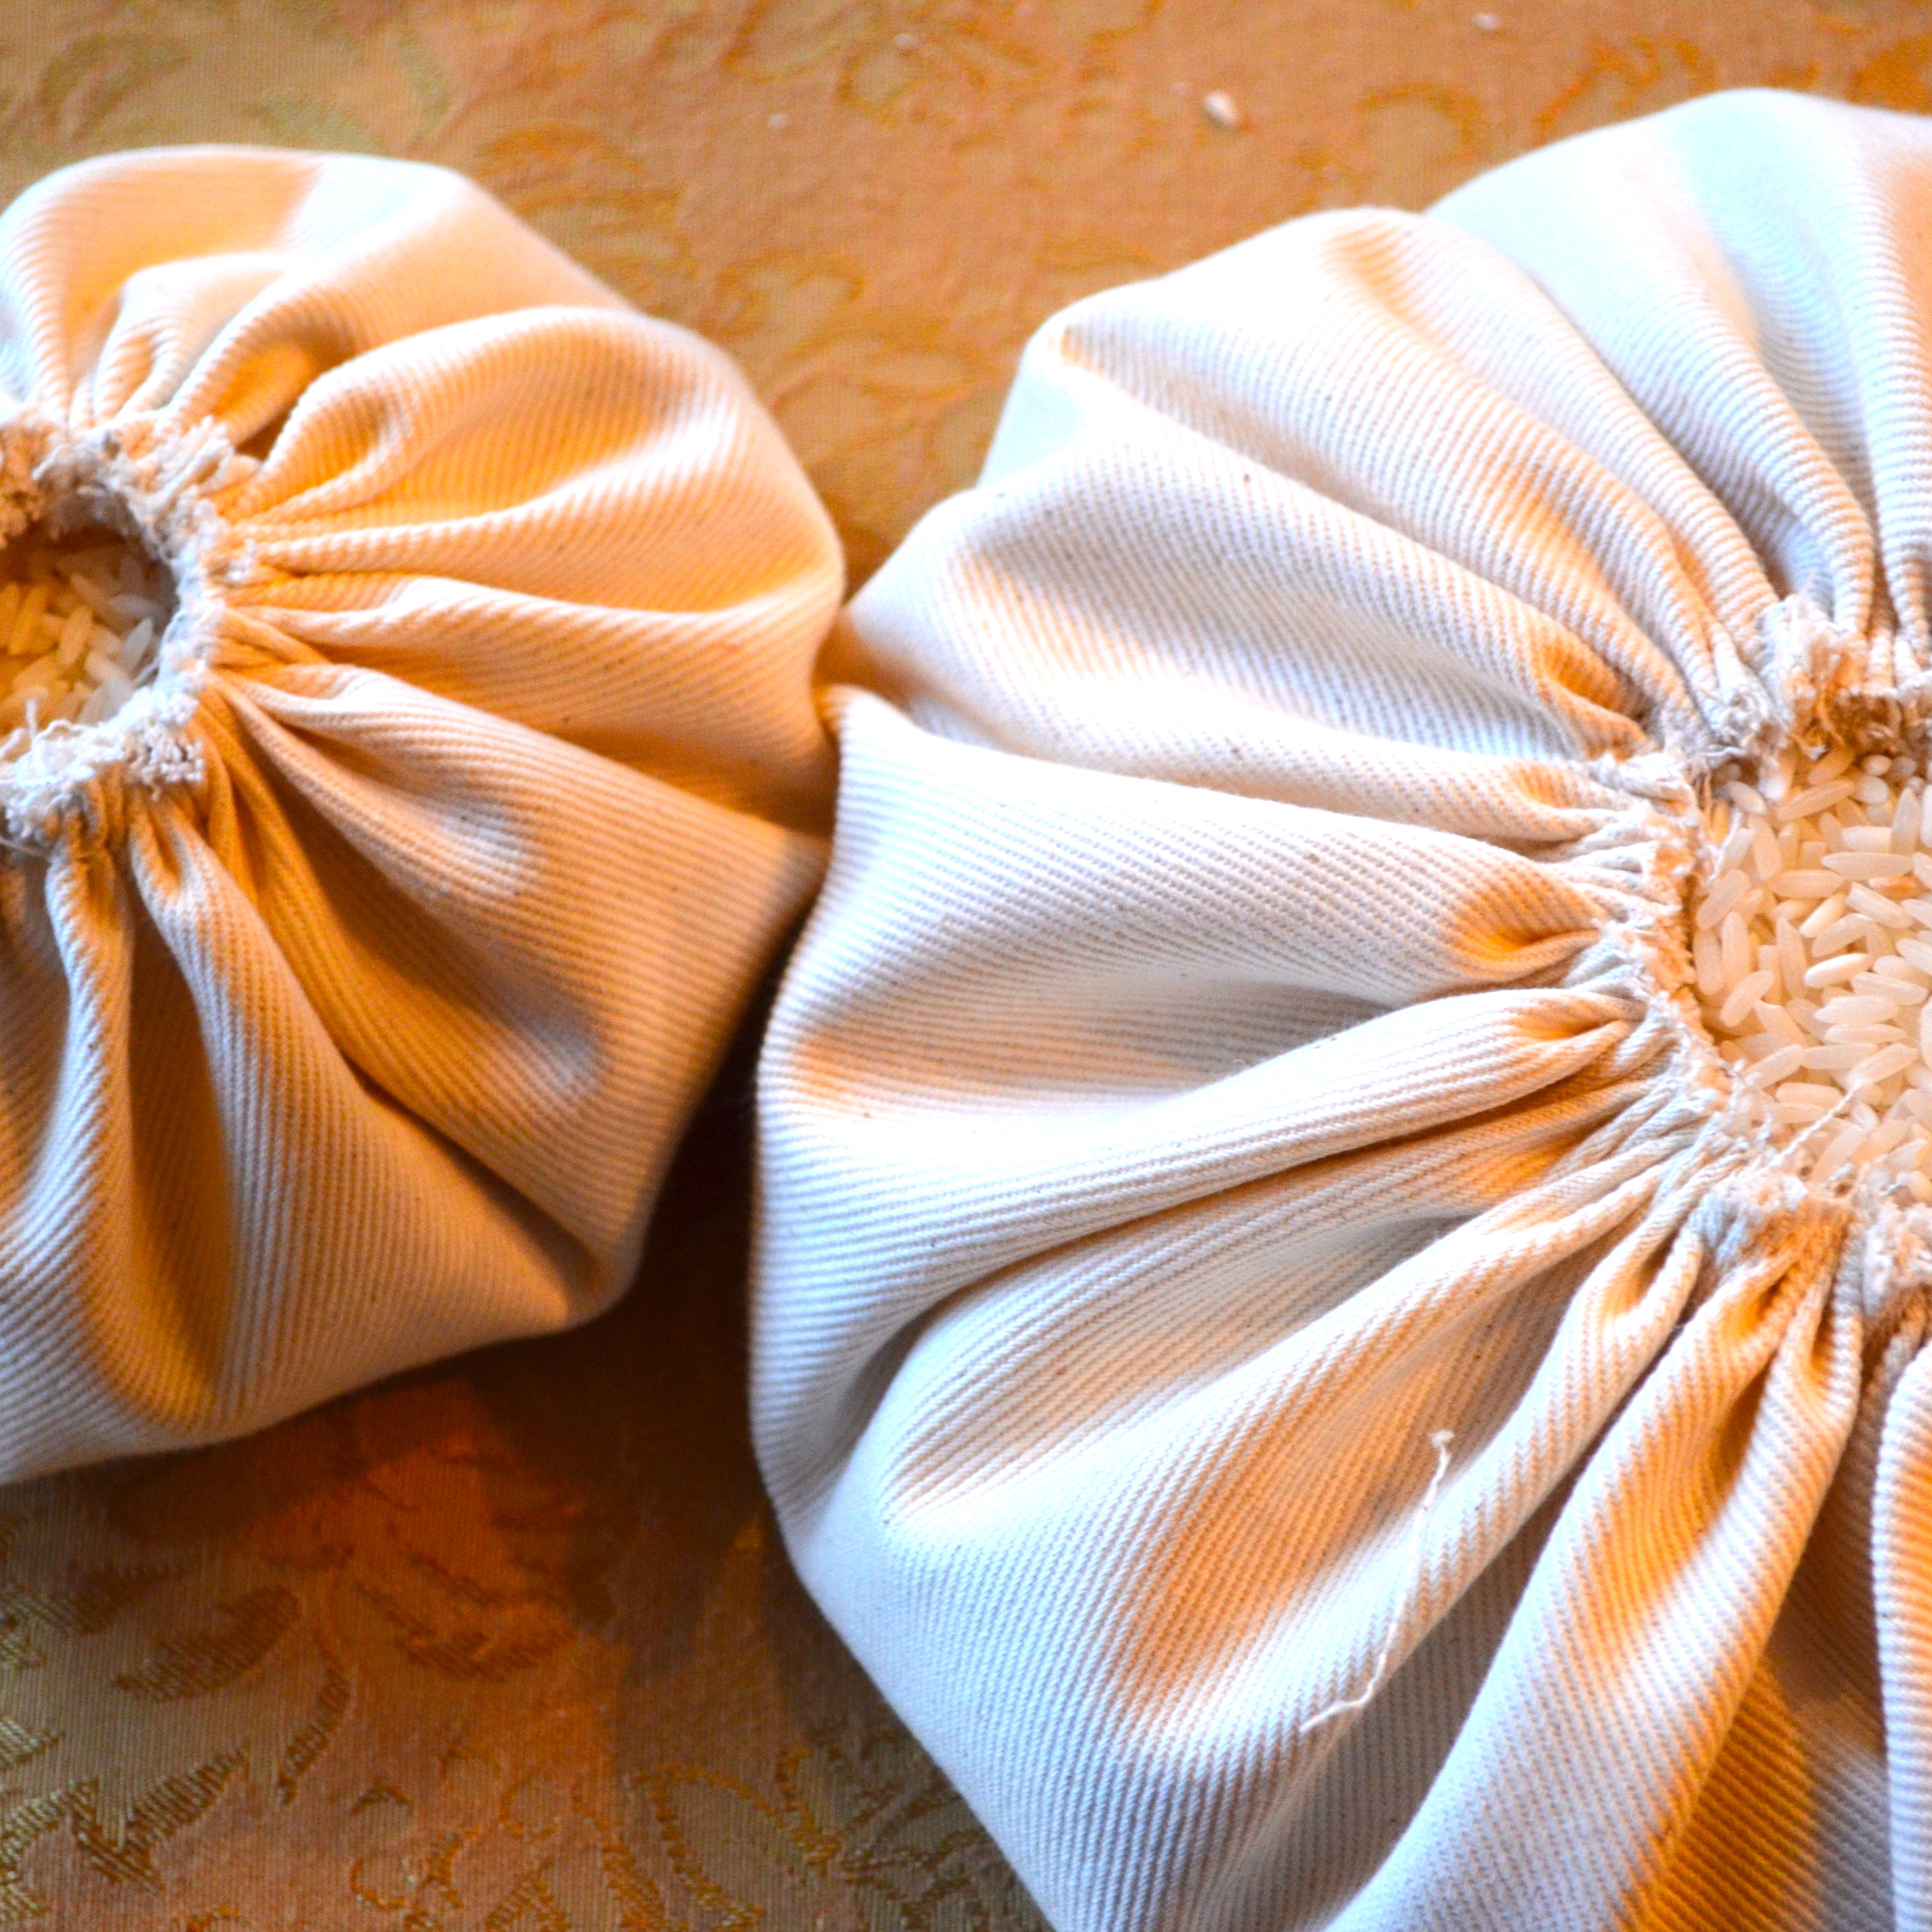
Now, just start scooping rice into the opening of your cloth. It takes a surprising amount of rice. For this pumpkin I used about 6 cups. Keep filling it with rice until you have achieved the desired fullness, leaving enough slack to sew the opening closed.
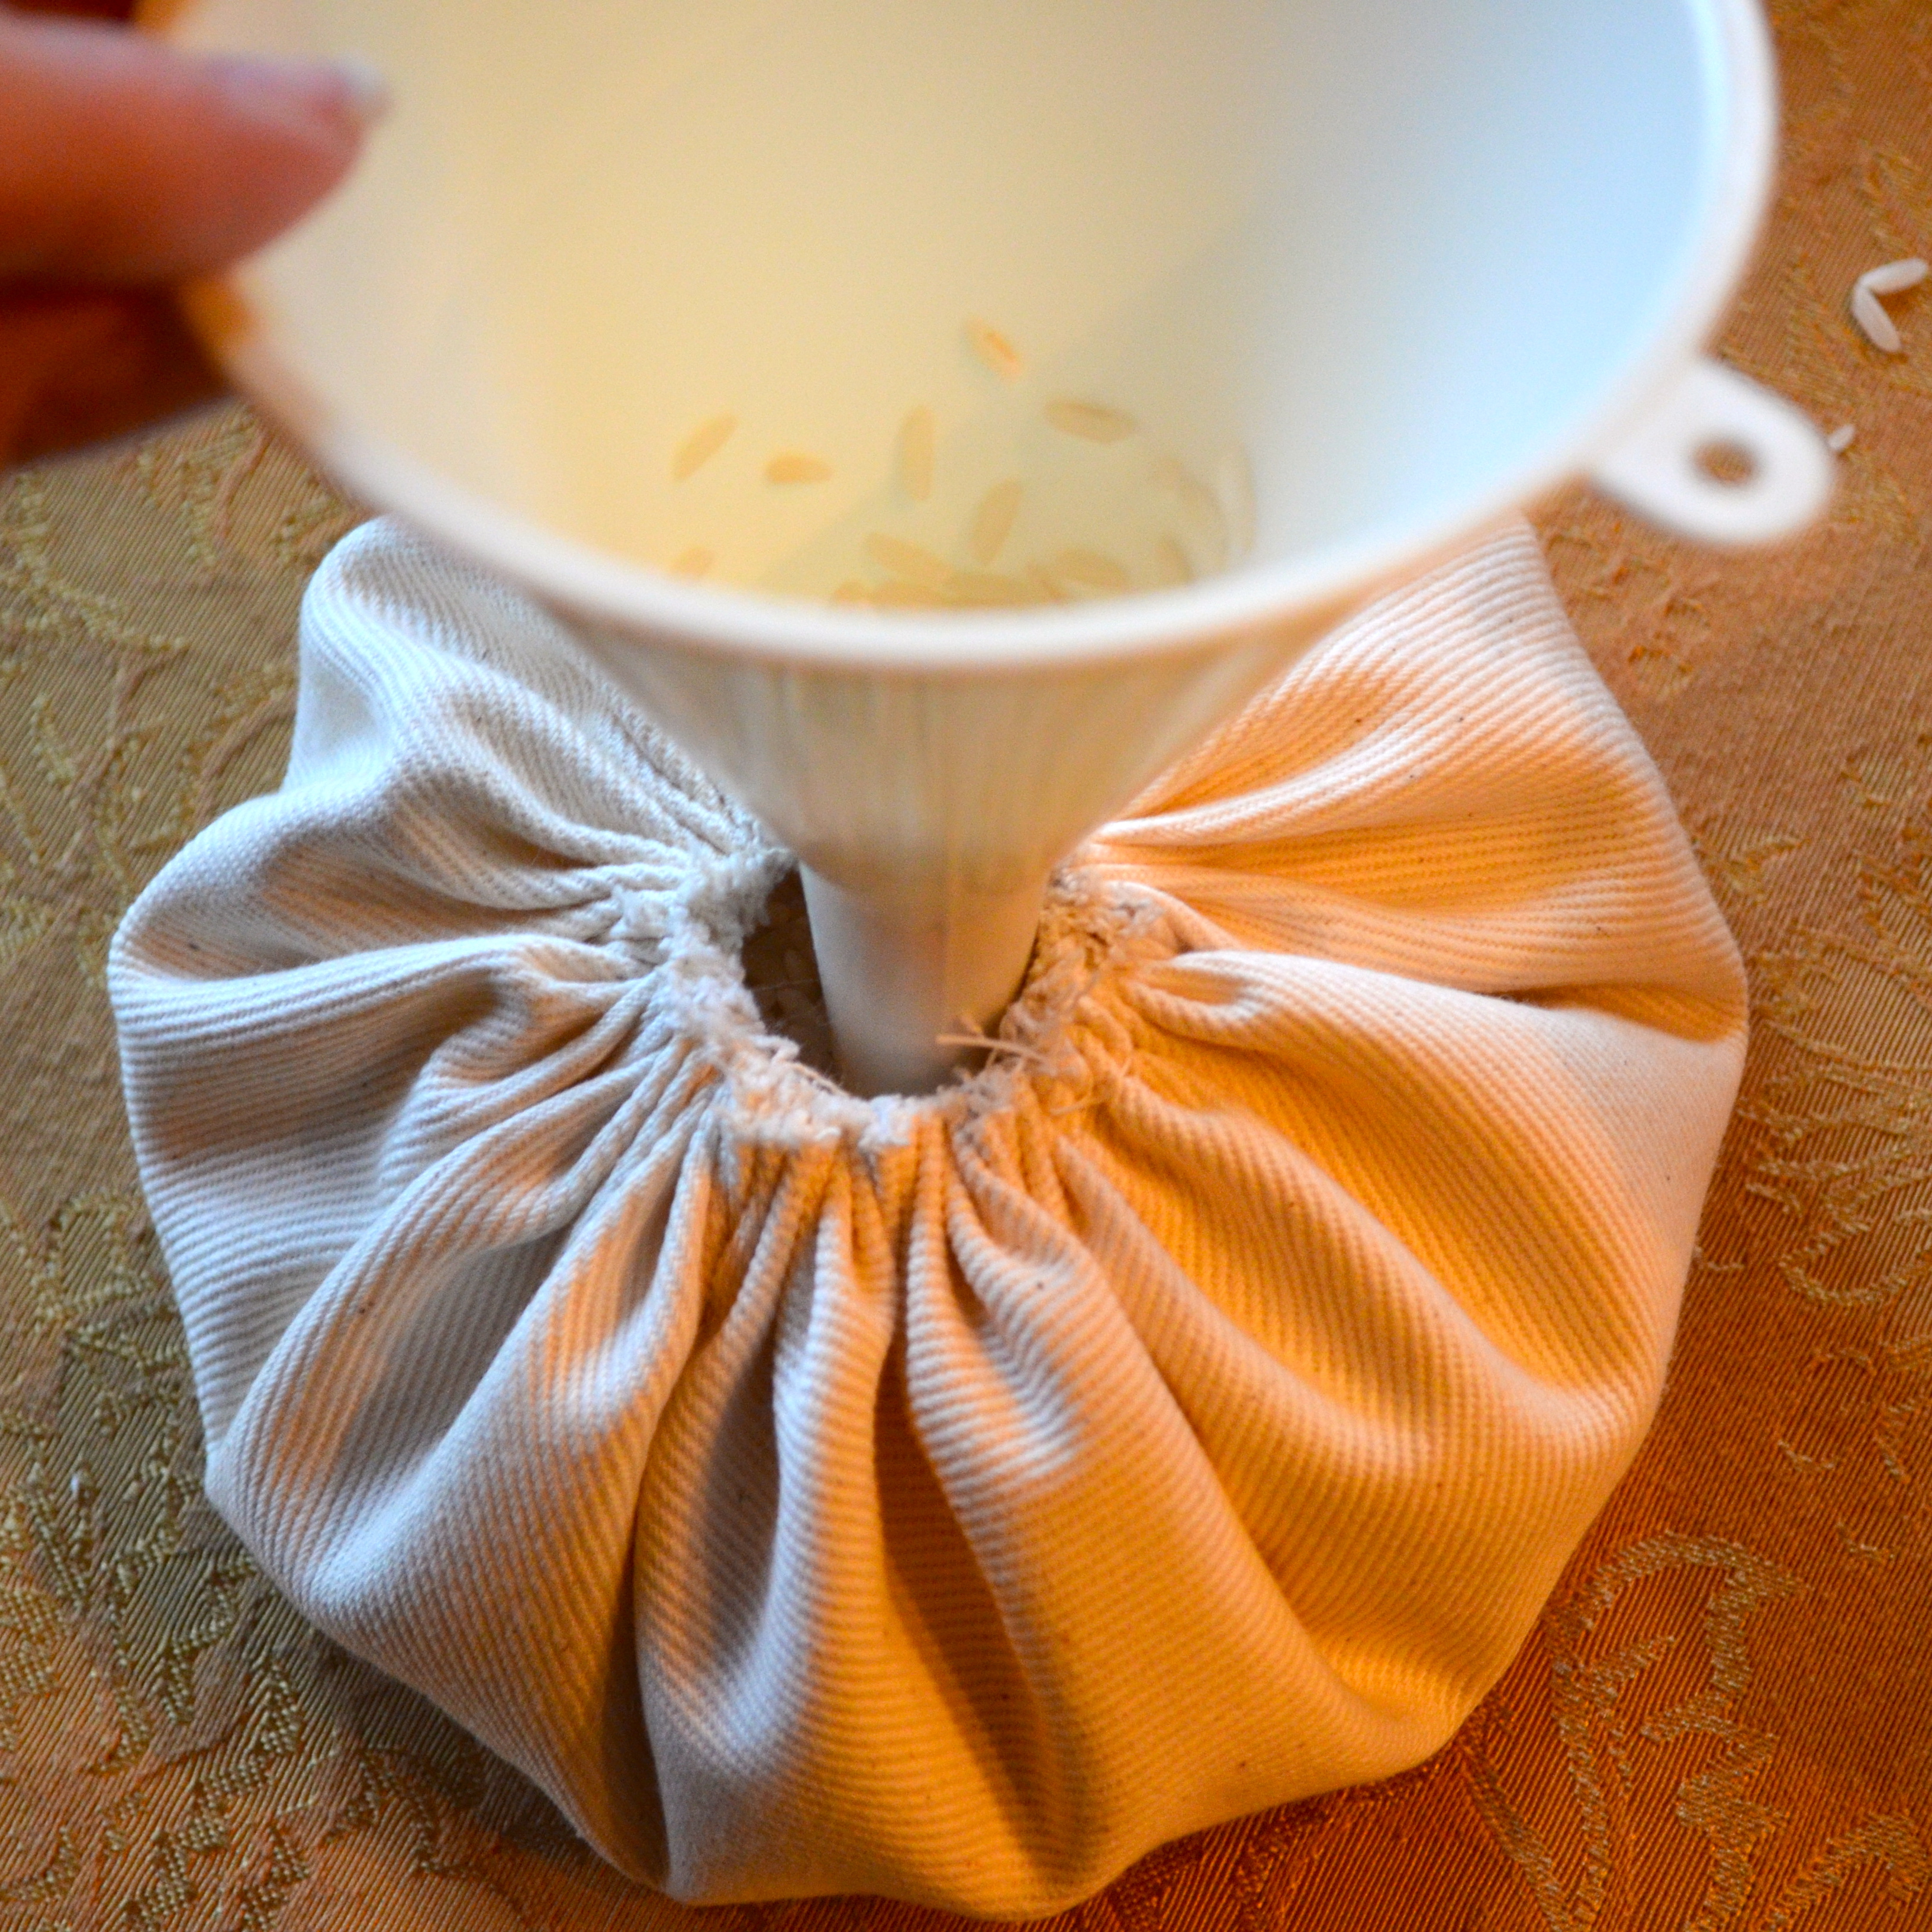
For smaller sized pumpkins you can use a funnel to guide the rice into the opening.
Try not to get rice all over your sewing room floor like I do.
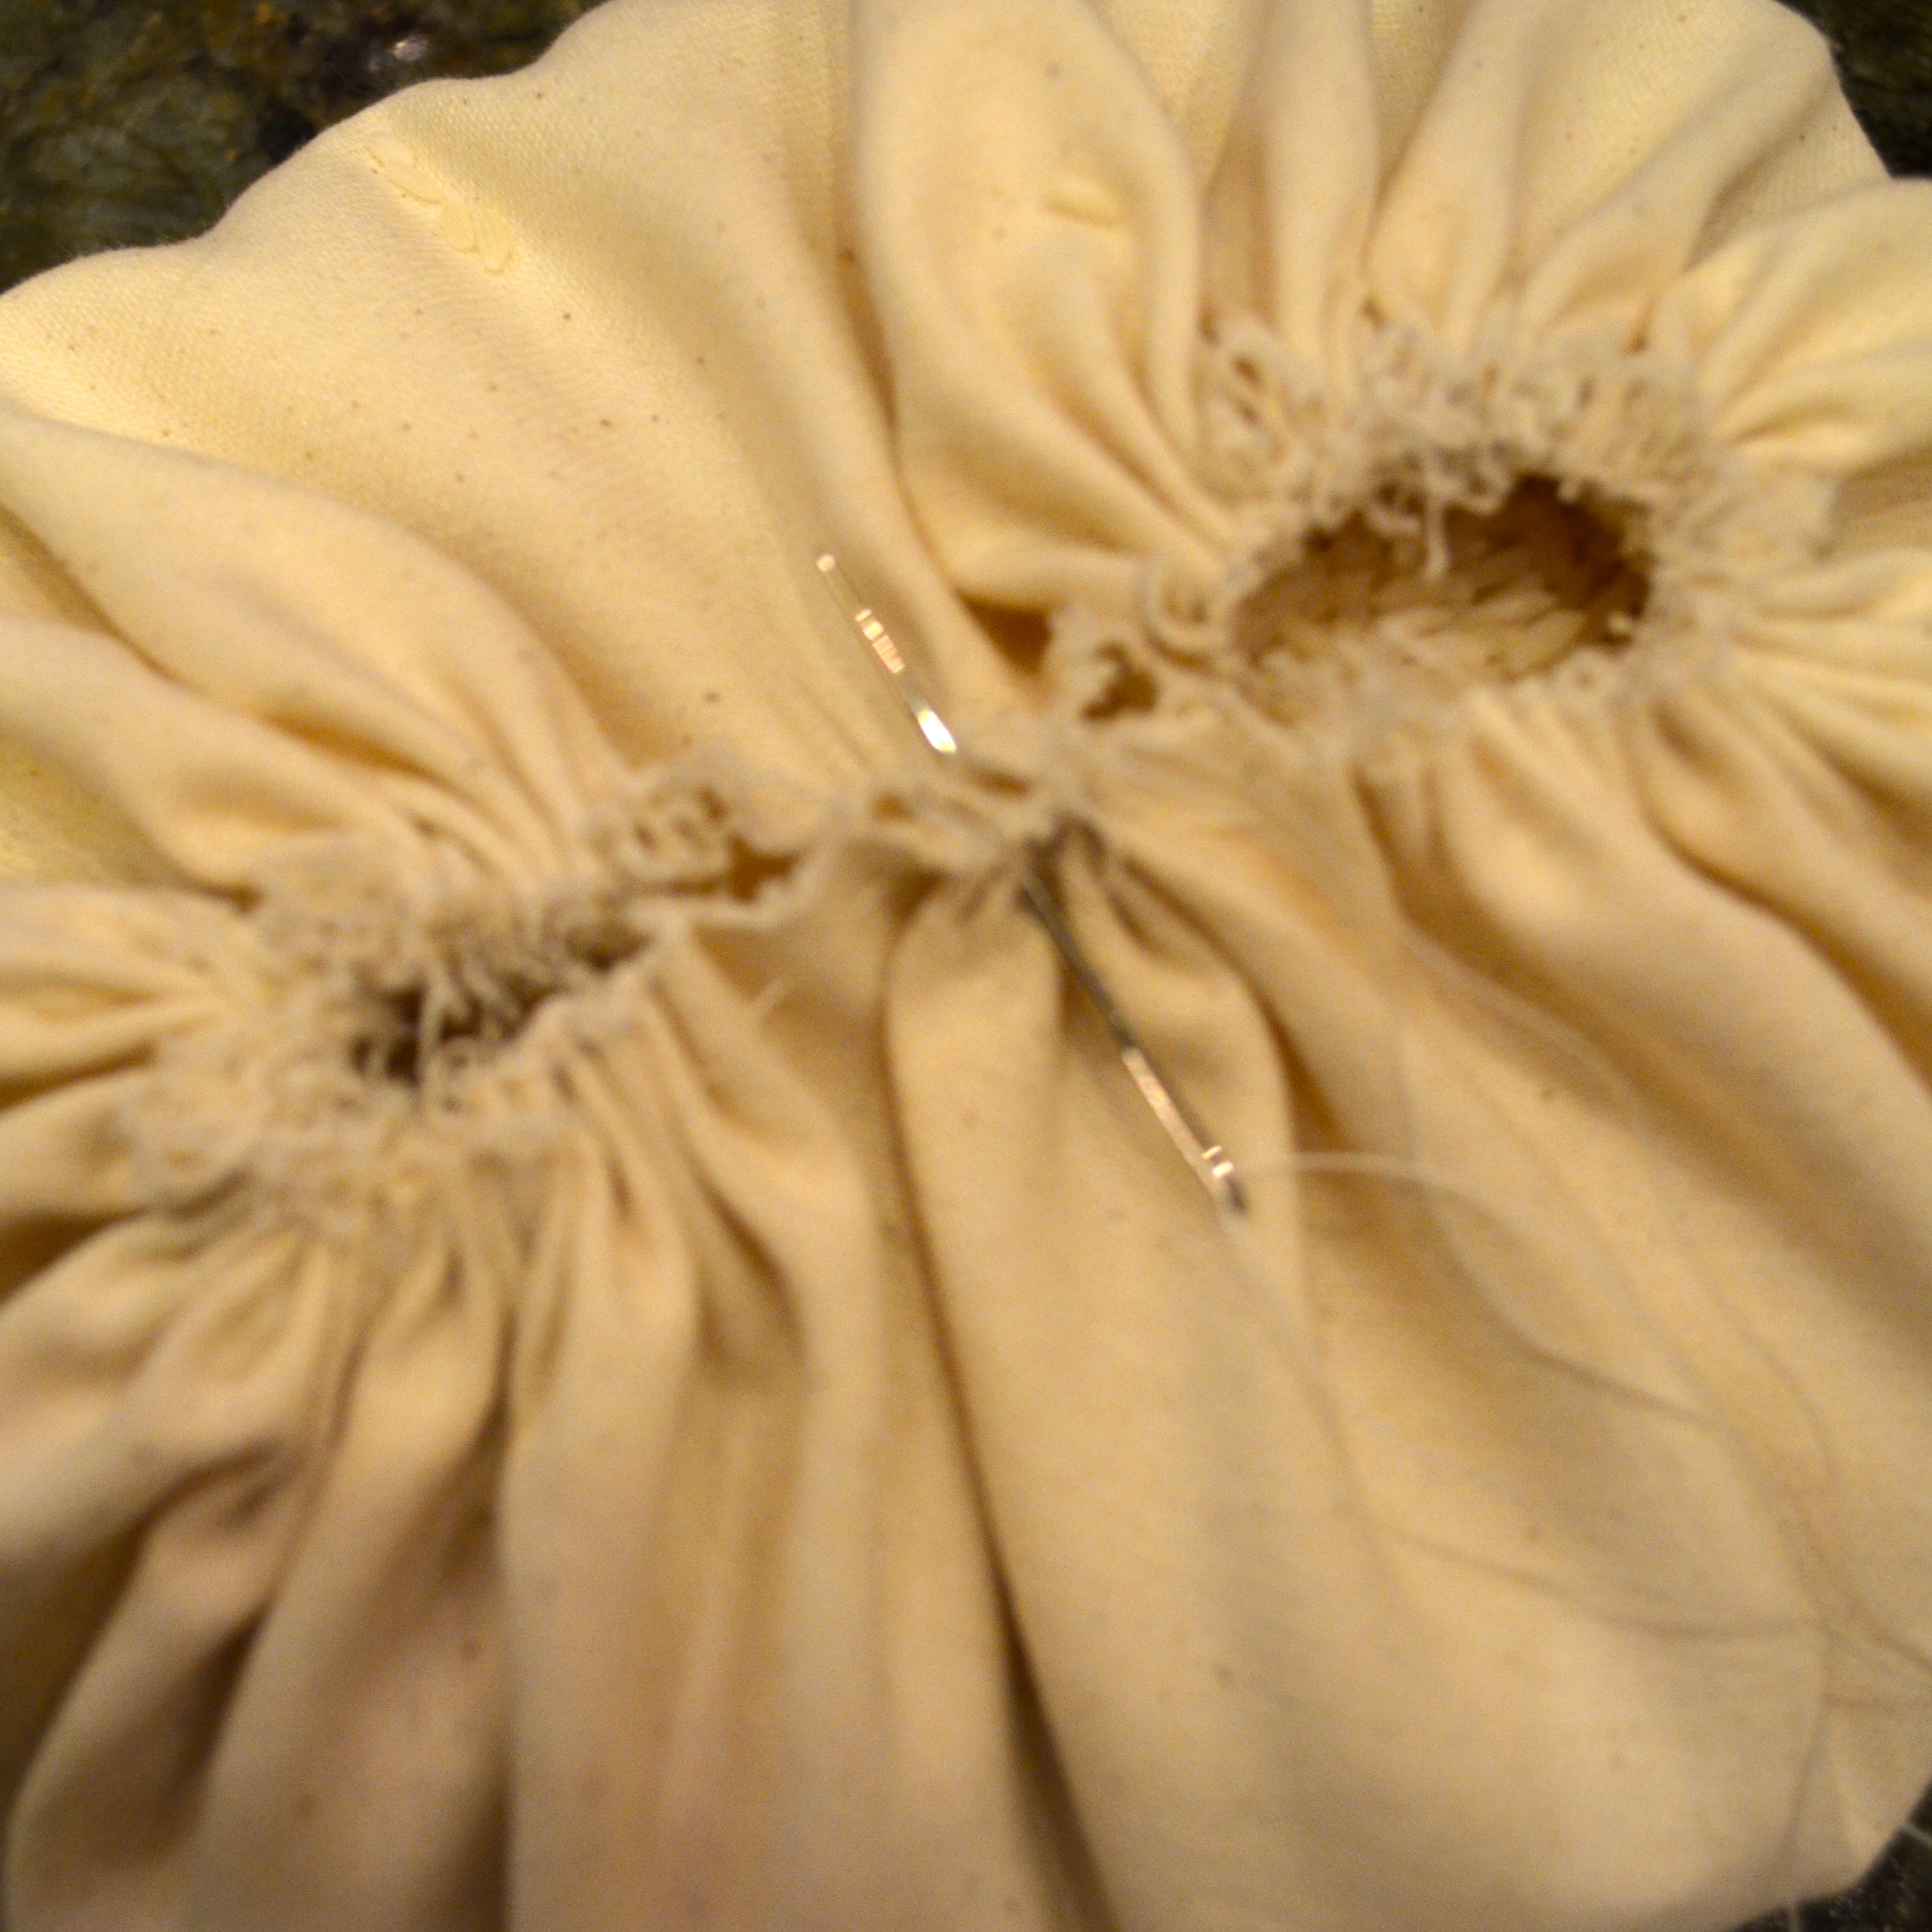
Now, using your needle and thread, sew one side of cloth to the other side, taking several stitches to insure that it is tight and secure.
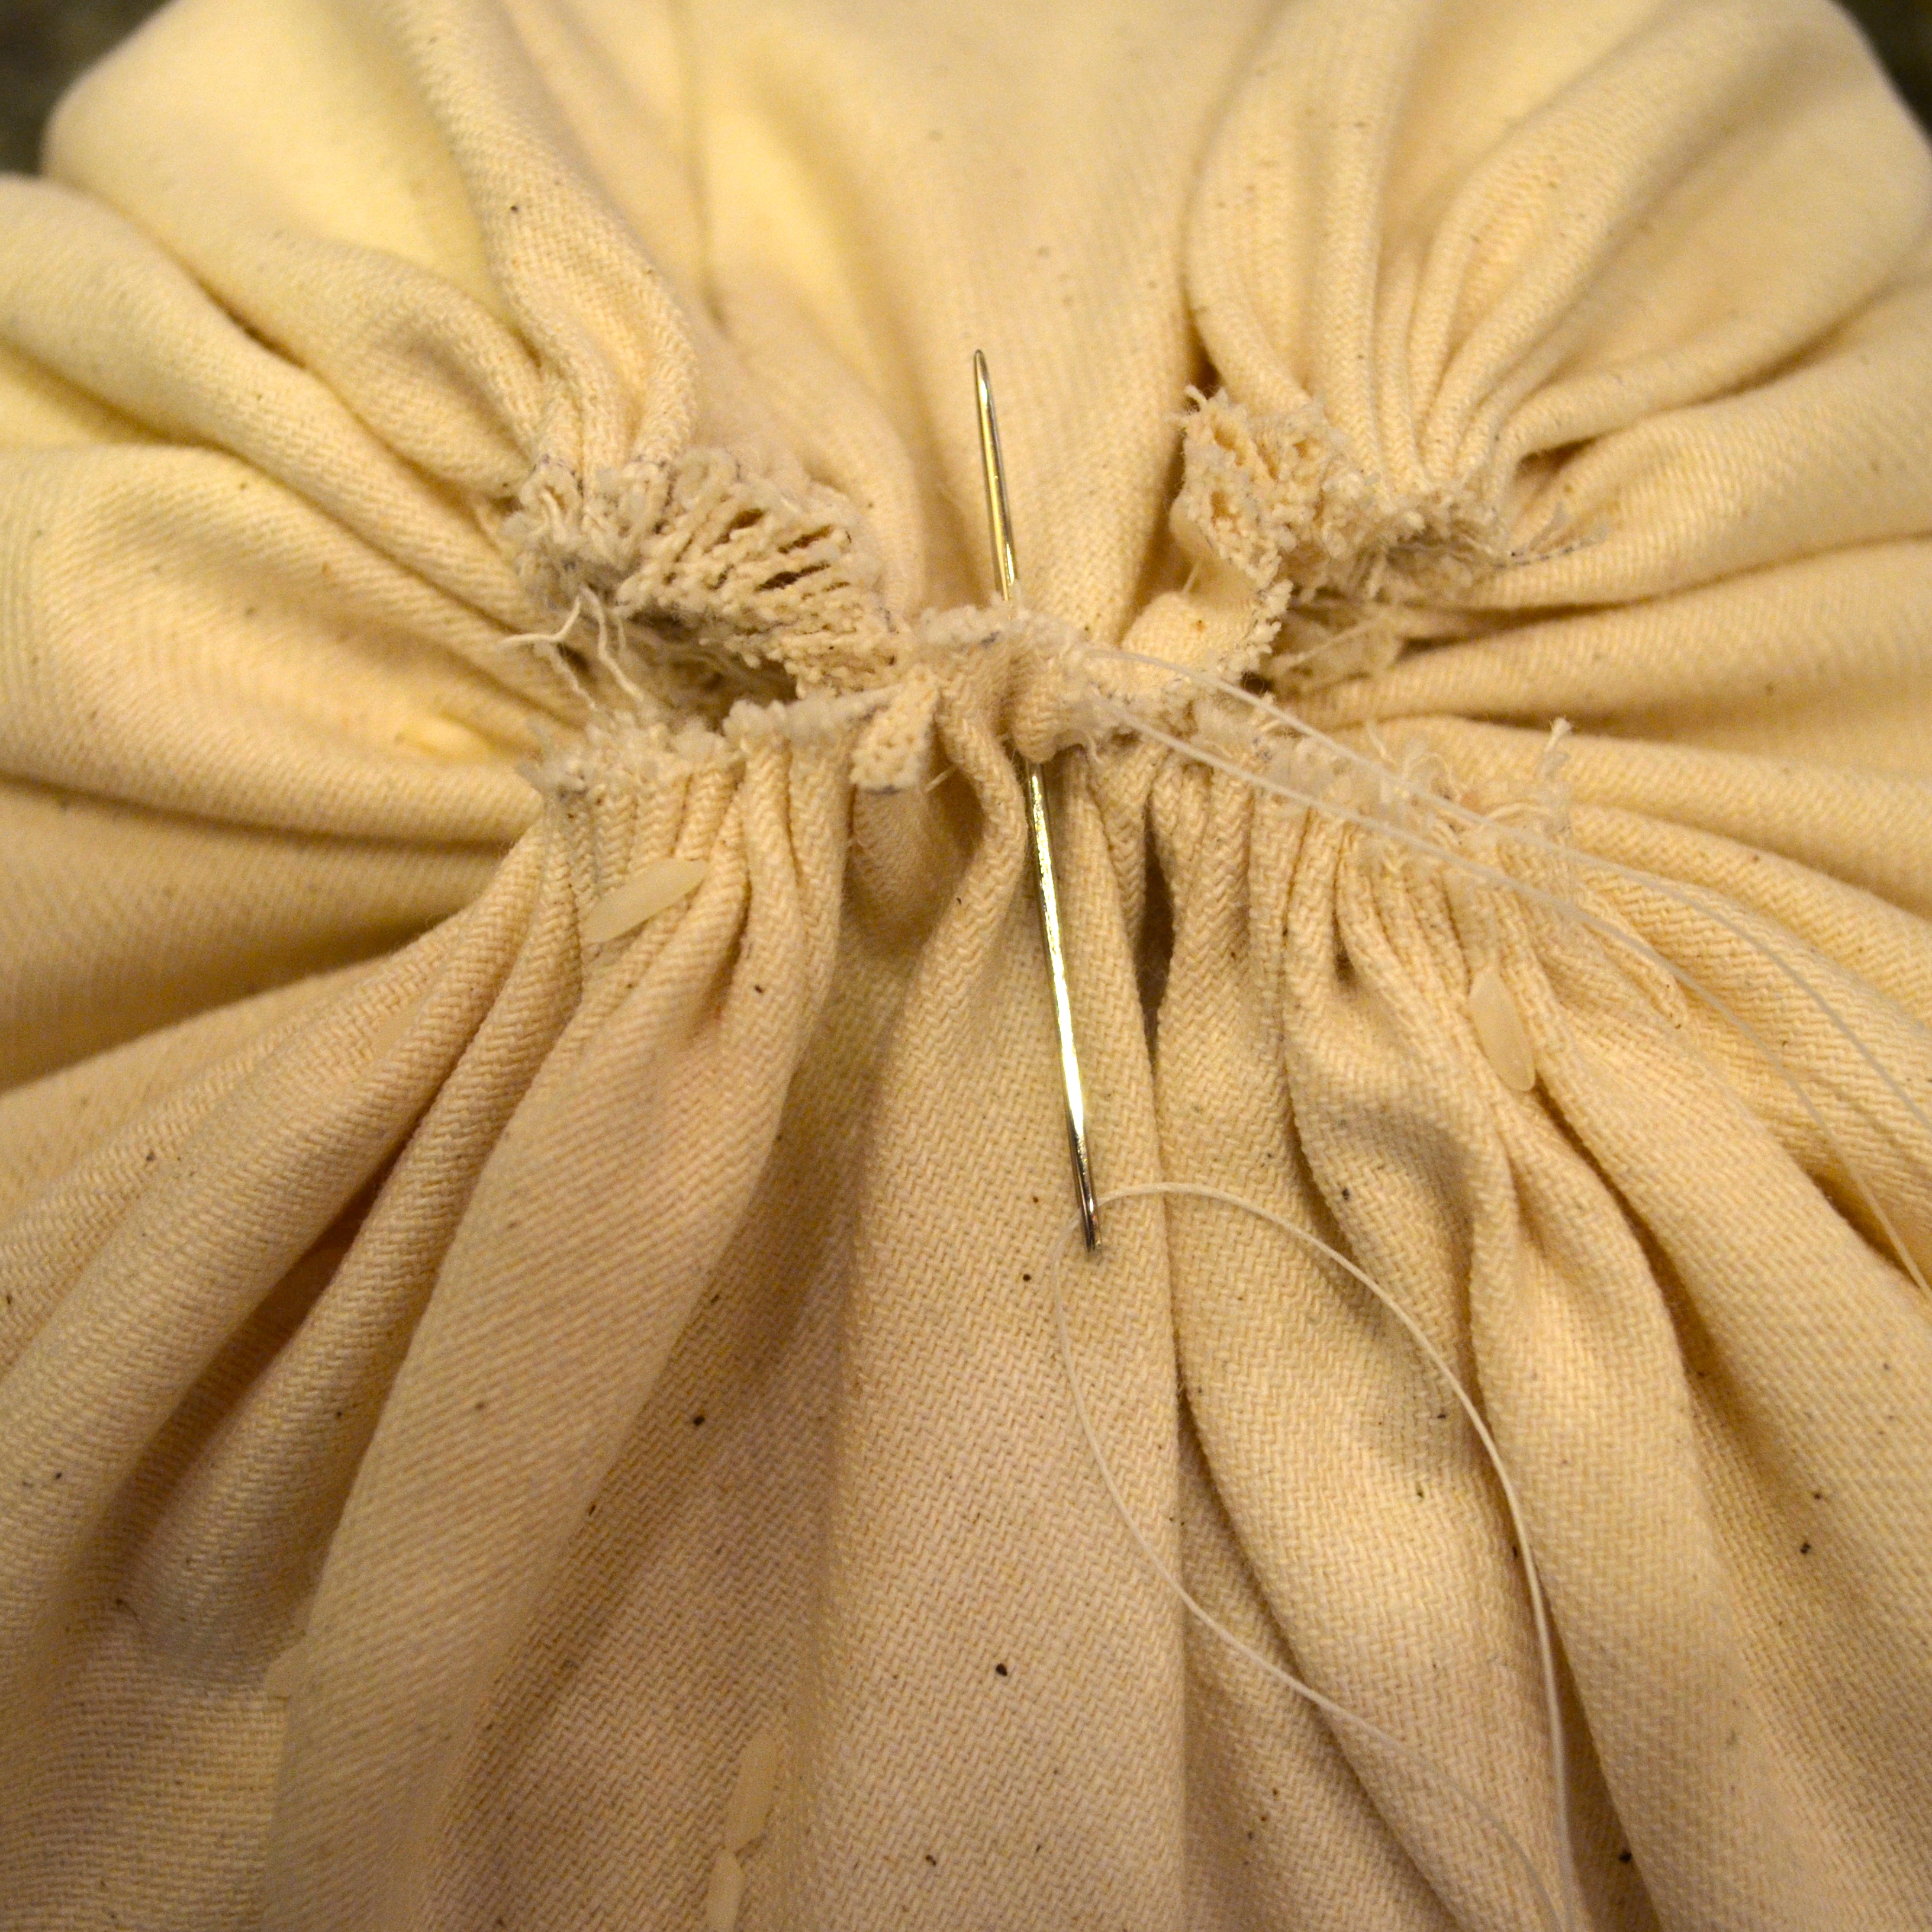
Do it again to the two opposite sides. Sew it over and over again to make sure it is good and tight and secure. After all, you don’t want your pumpkin to explode and cause a ricey mess one day!
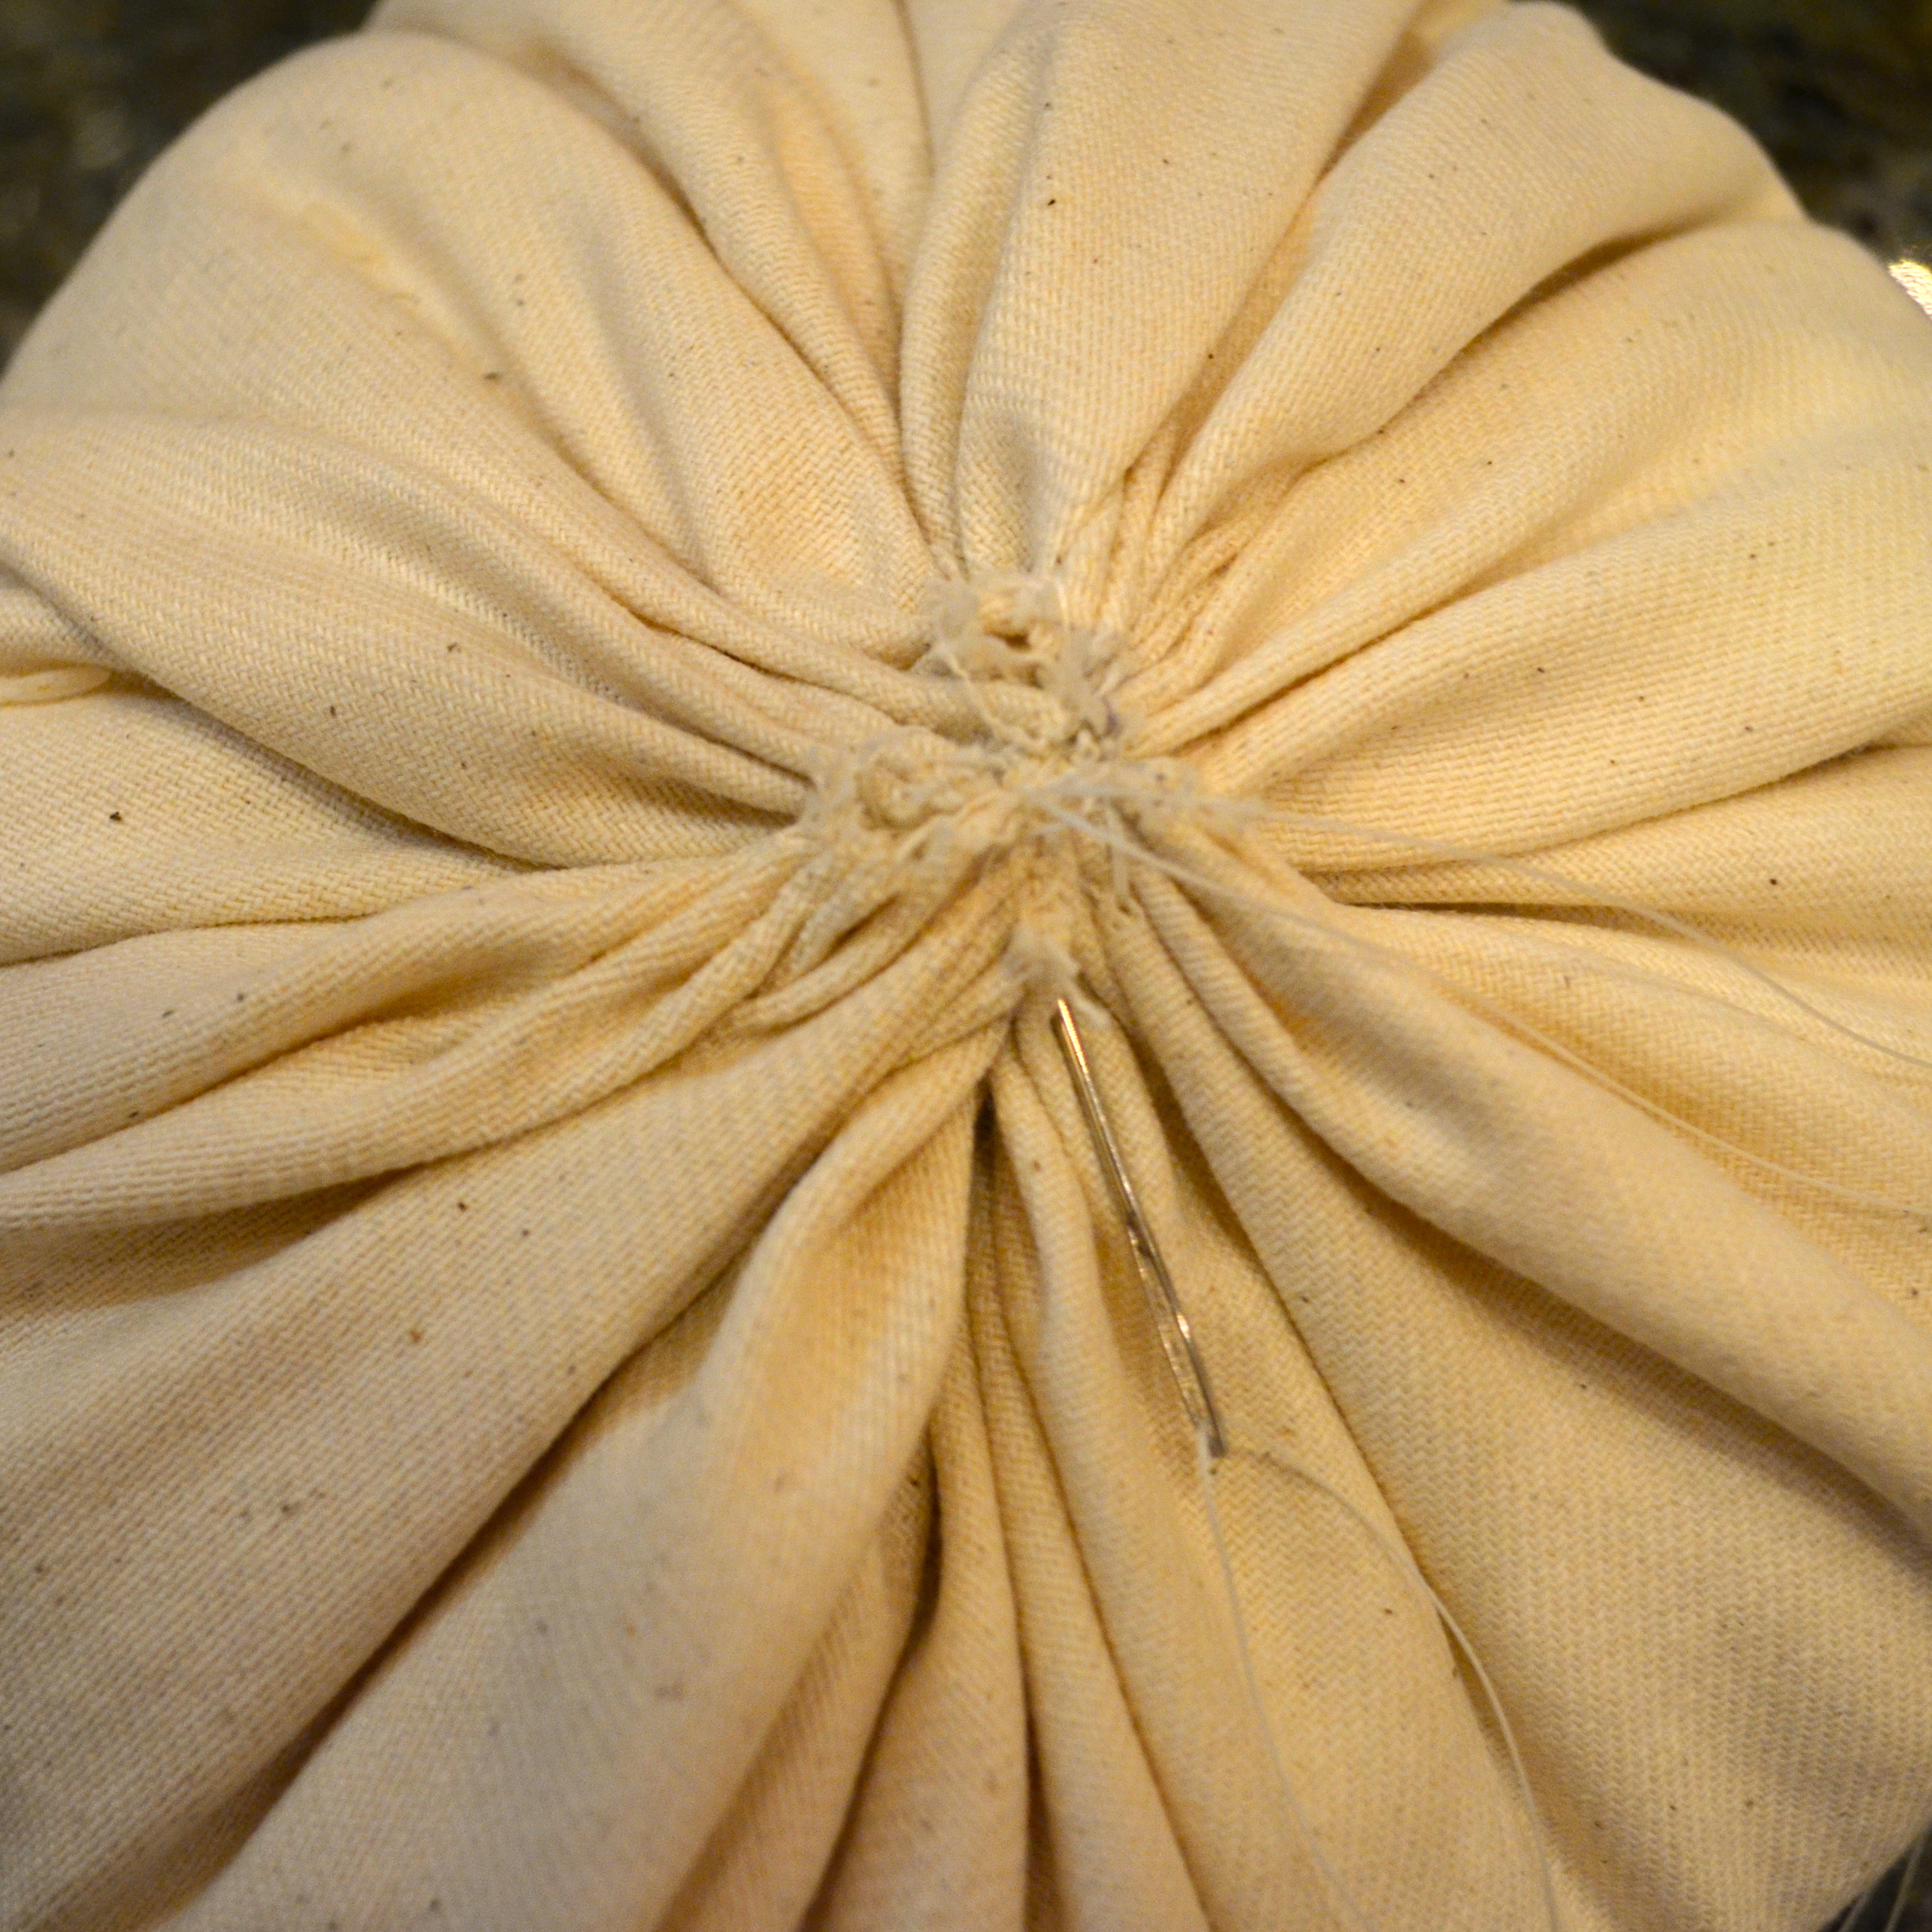
Keep sewing opposite sides together until you have completely closed up the hole, never to be opened again.
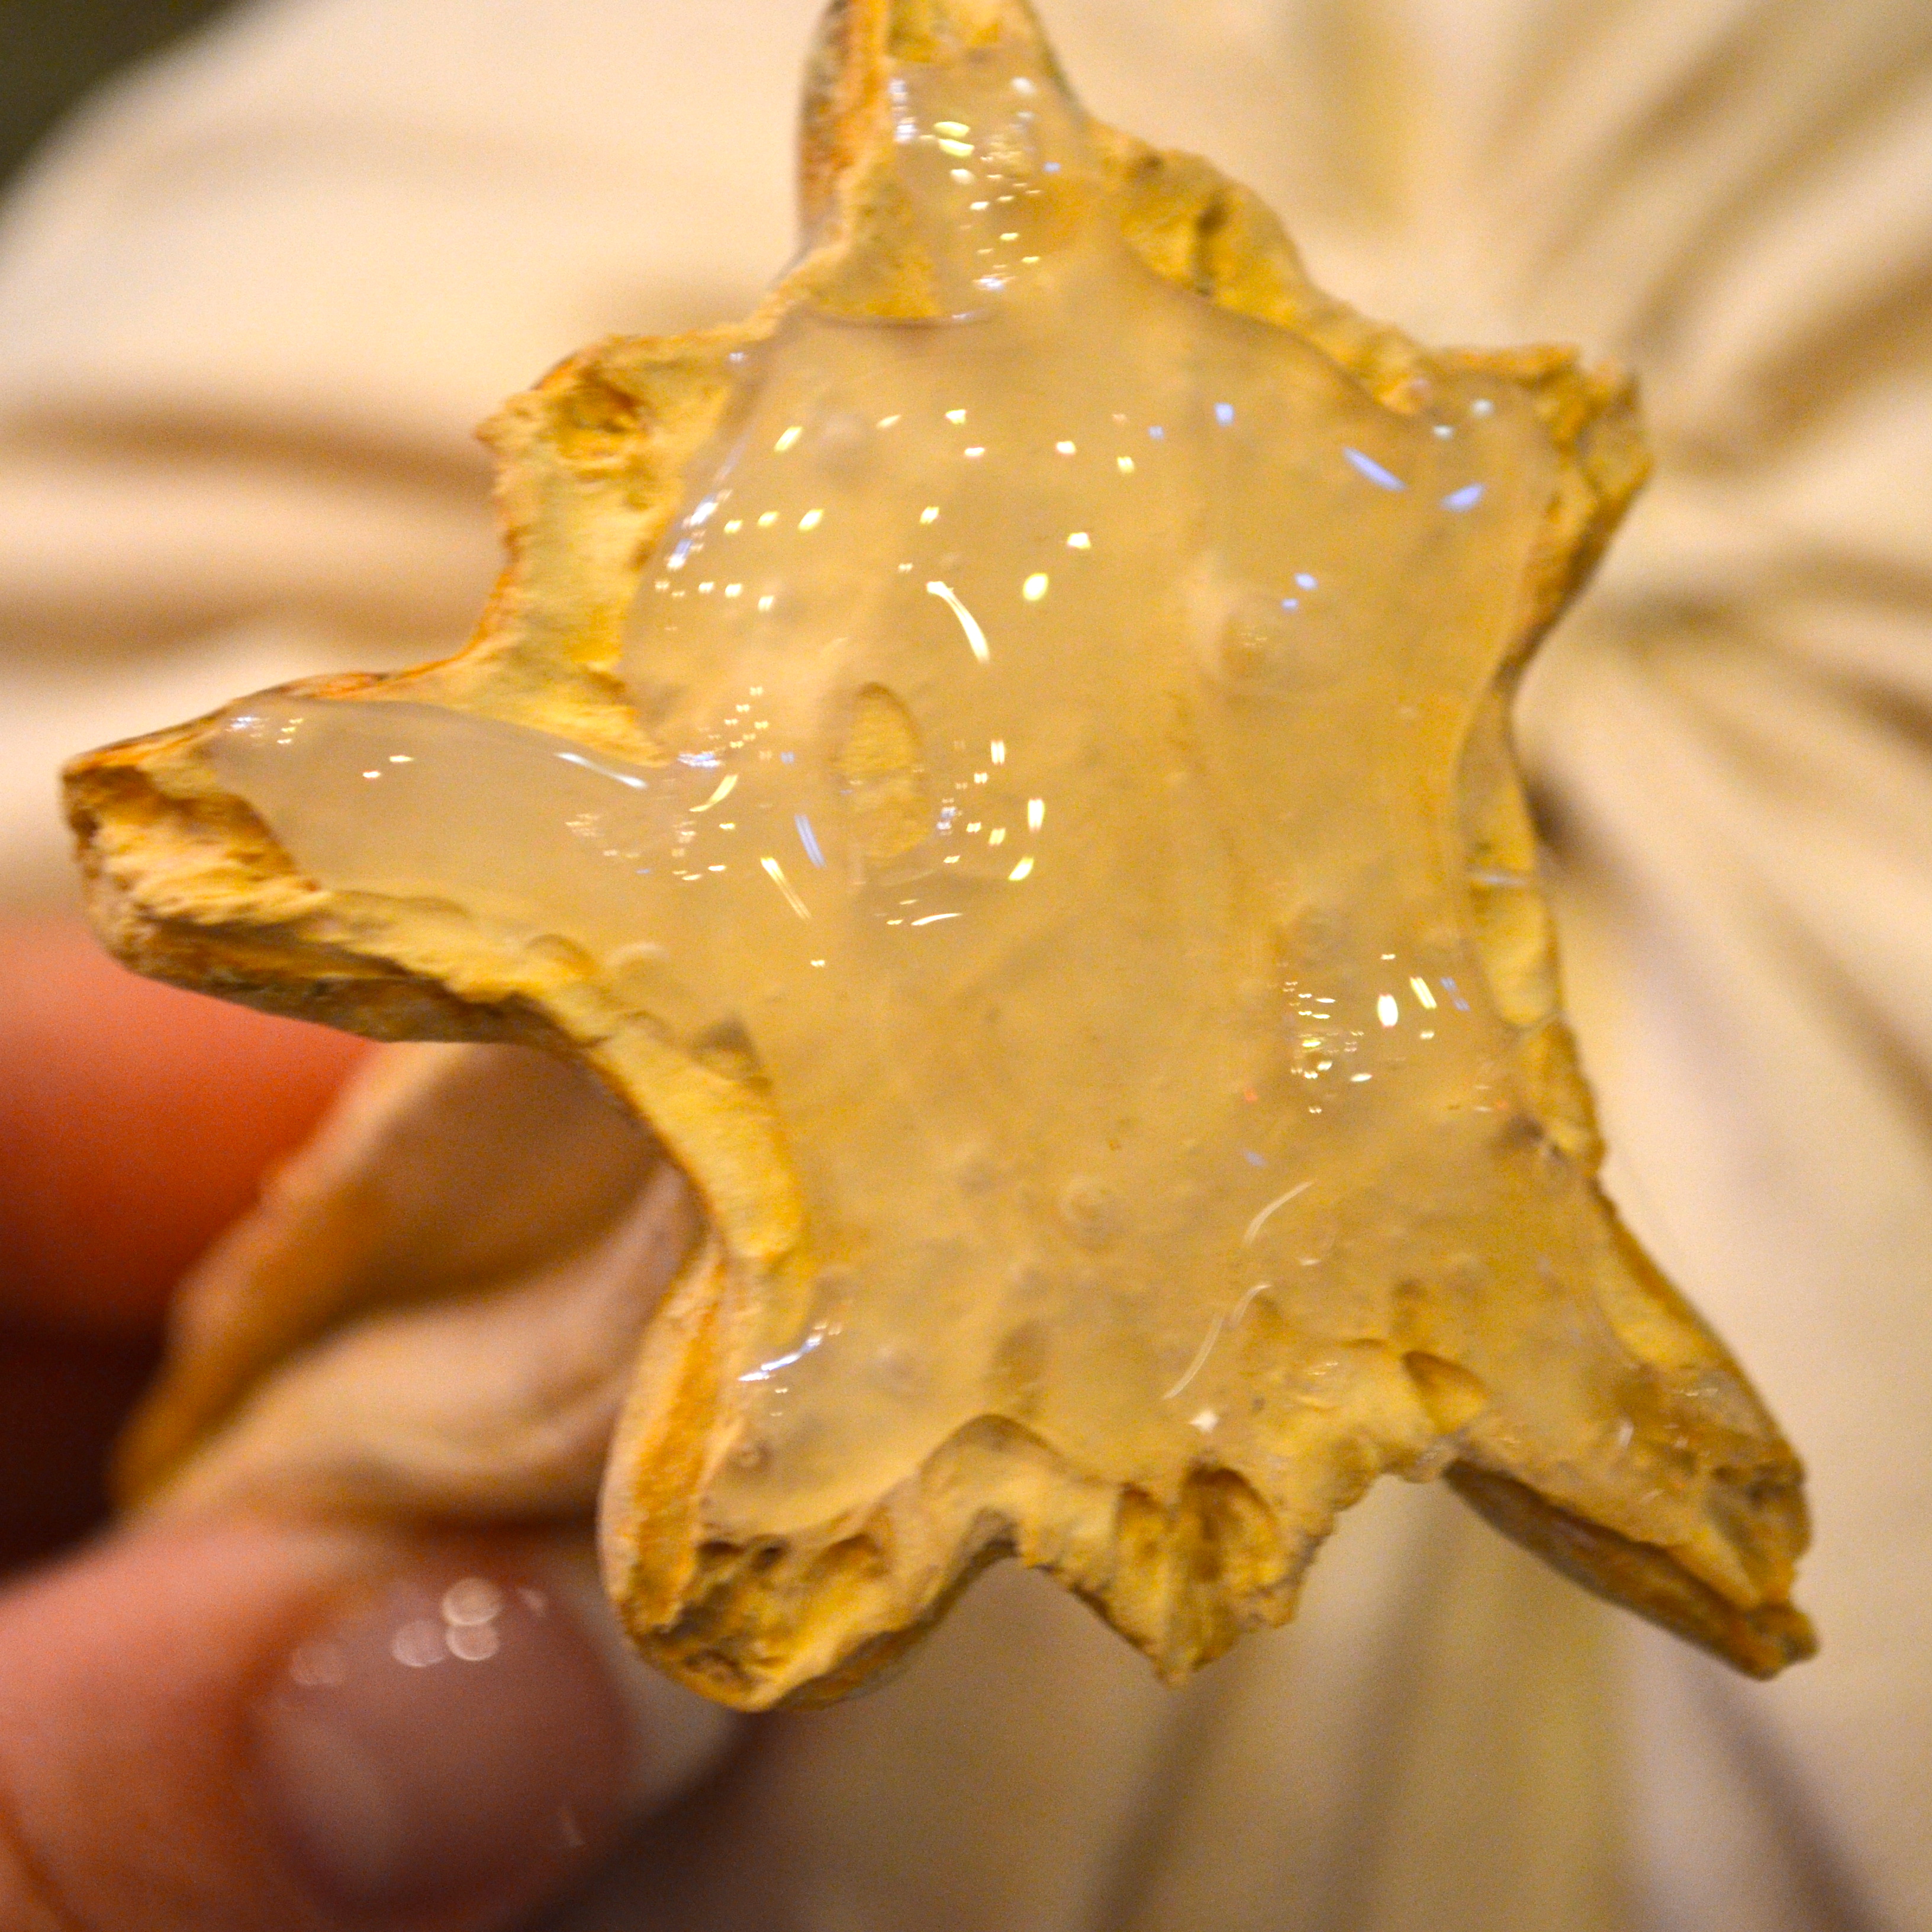
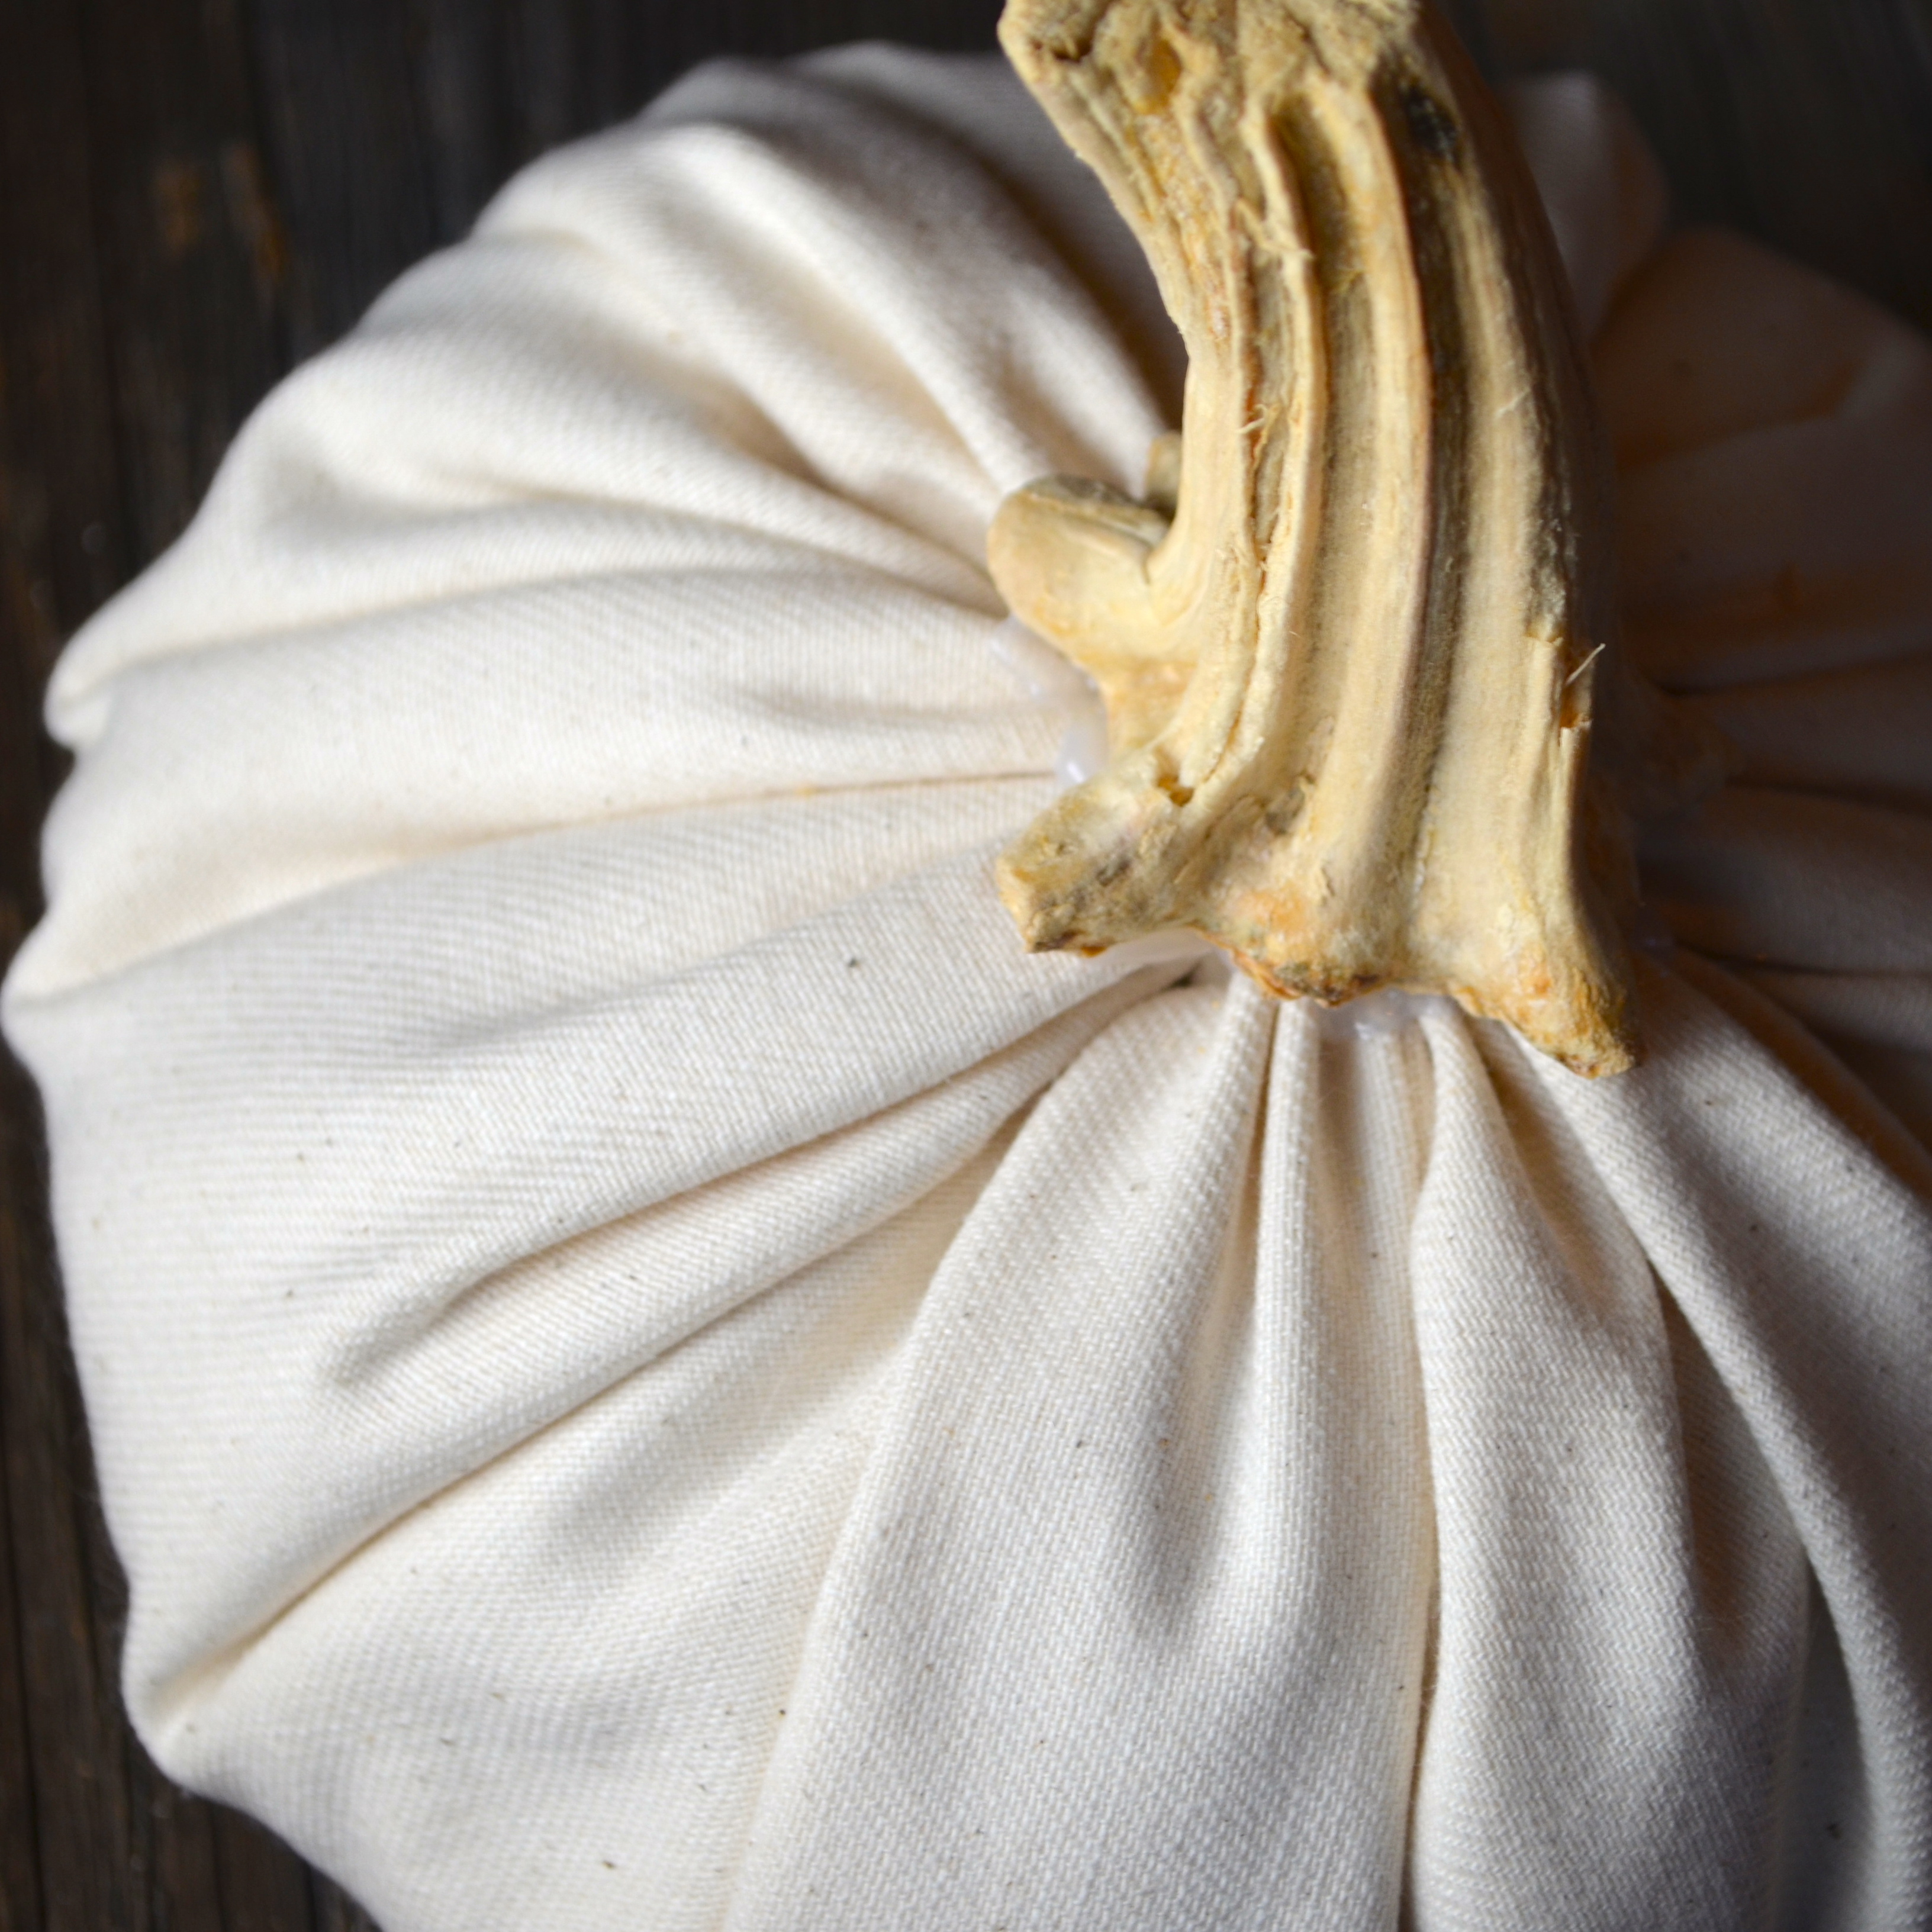
Now, select a pumpkin stem that fits nicely to the size of your pumpkin. Using a hot glue gun, apply a generous amount of hot glue to the bottom surface of your stem. Do this quickly because the glue dries fast and you want a secure connection to your pumpkin. Finding a good balance of just the right amount of glue also takes some practice.
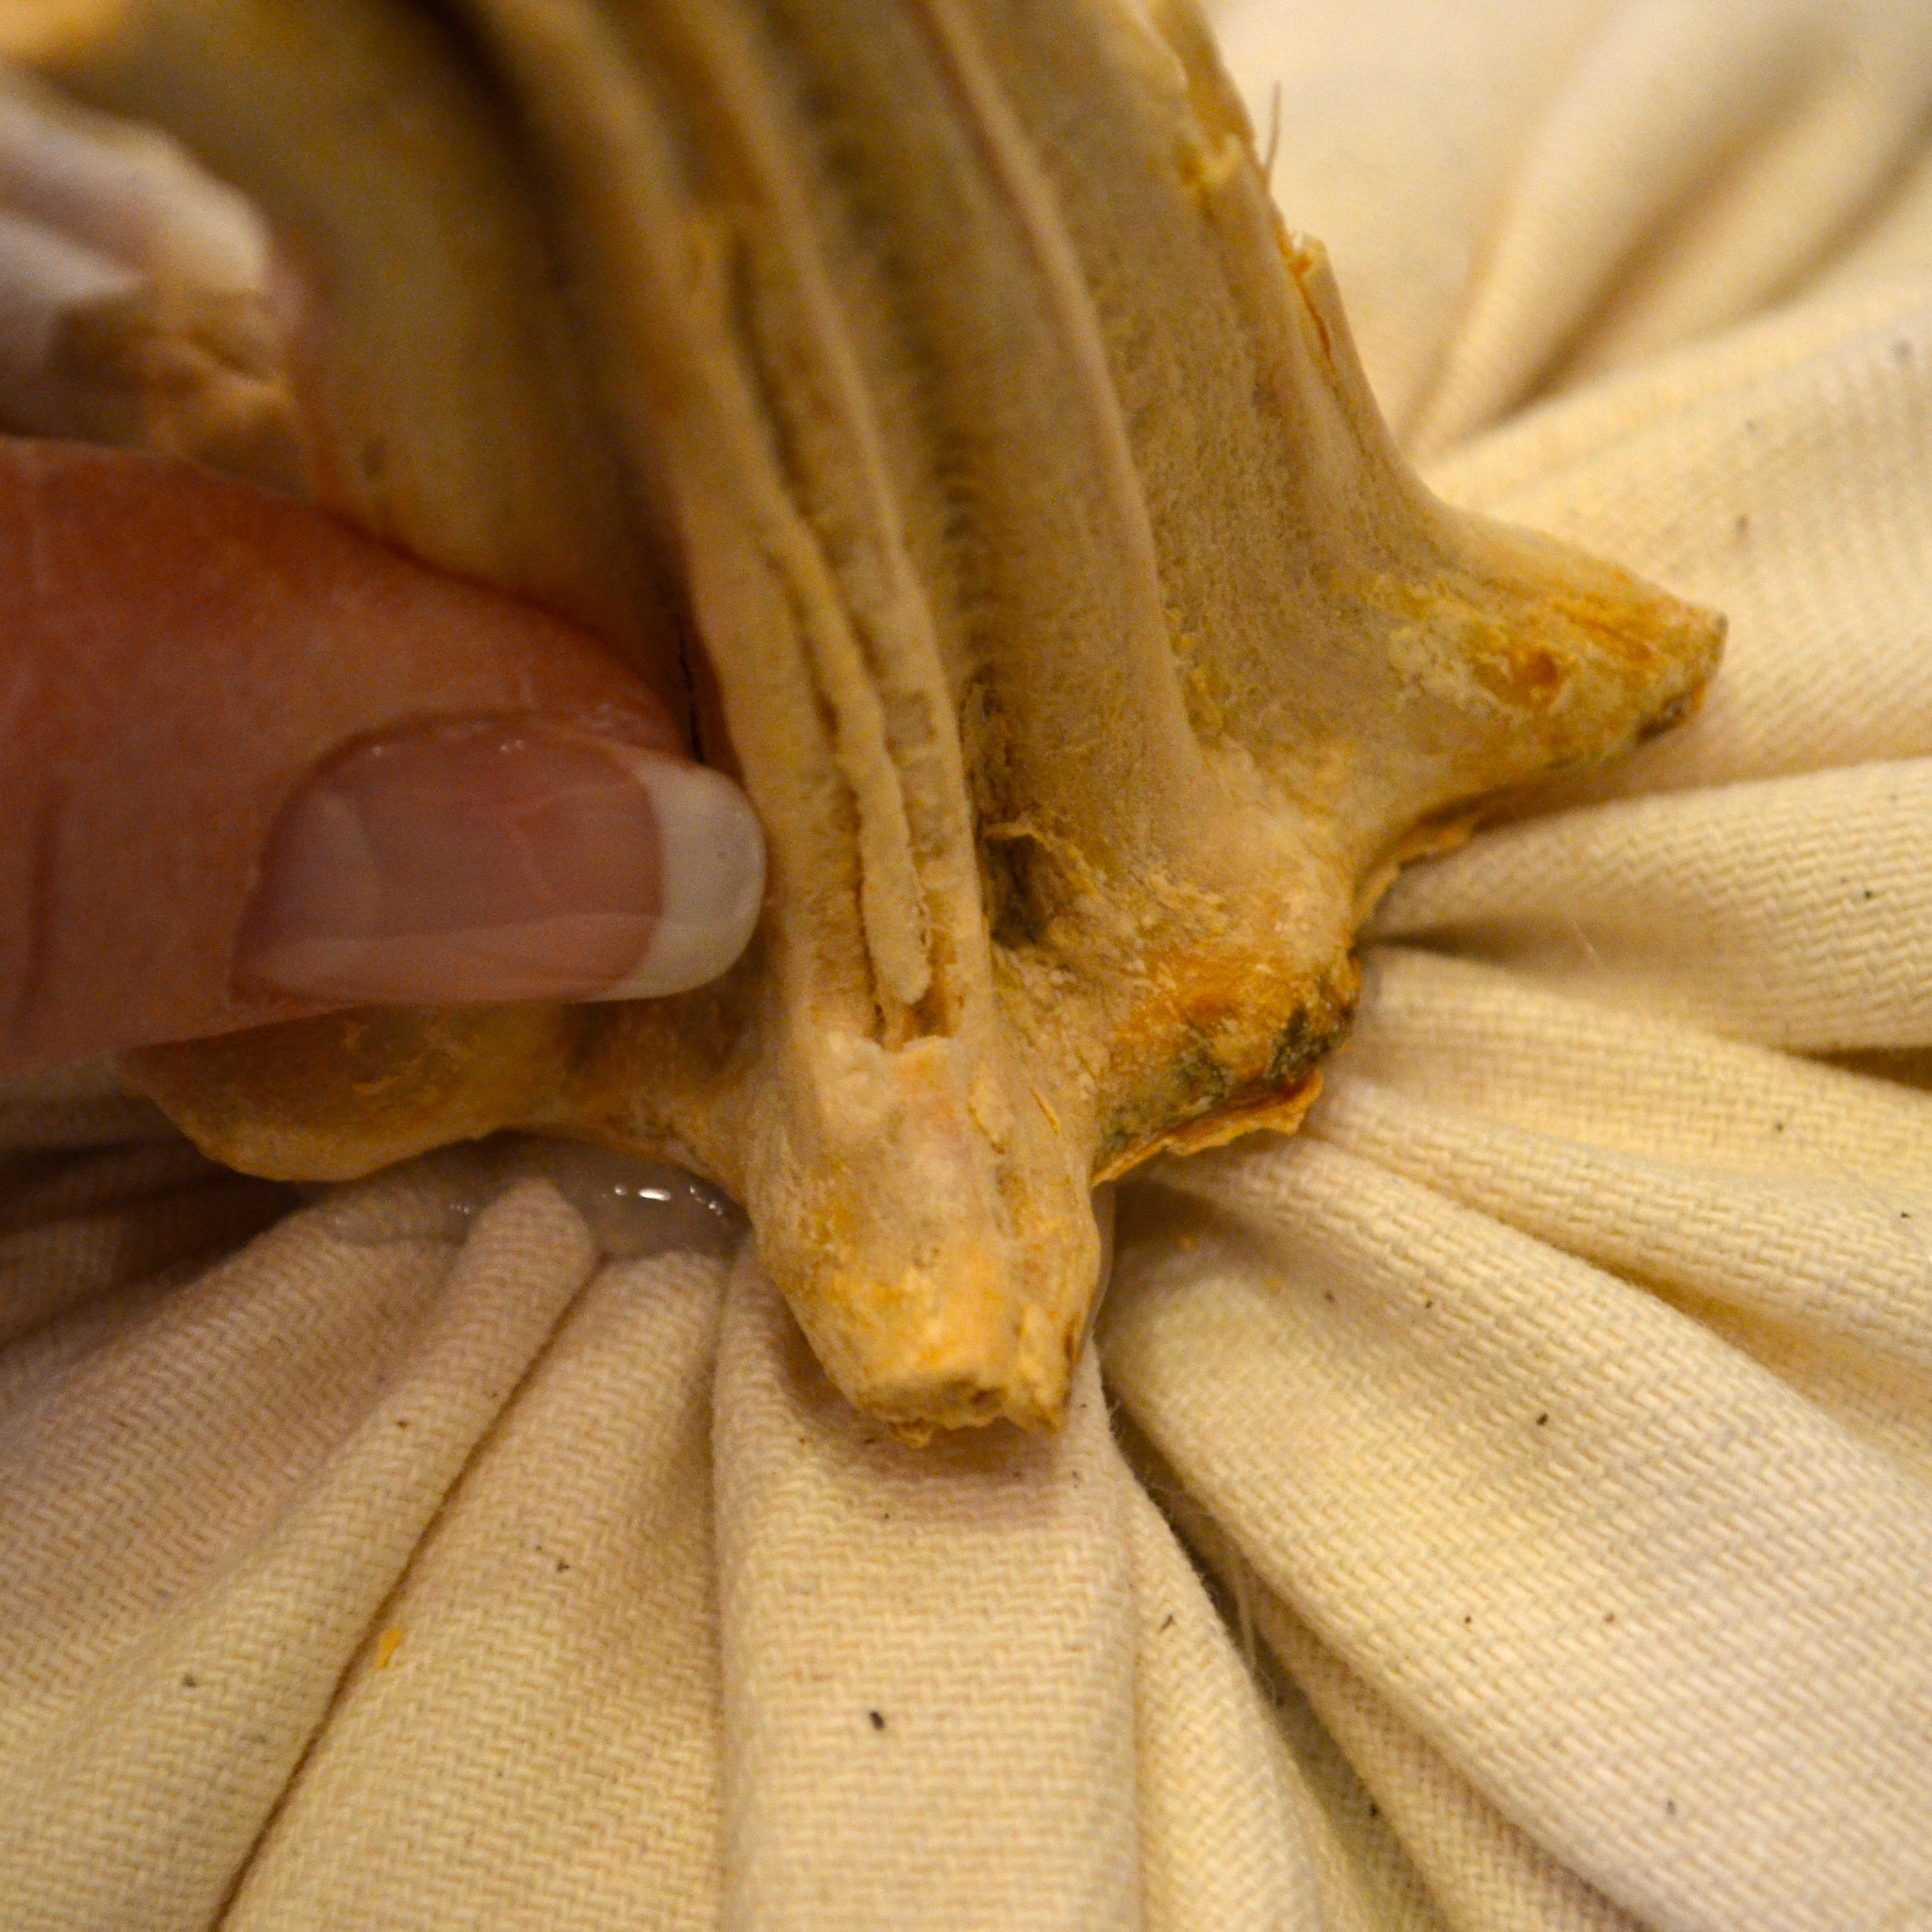
If you use too much glue it will ooze out the sides of the stem and this does not look pretty.
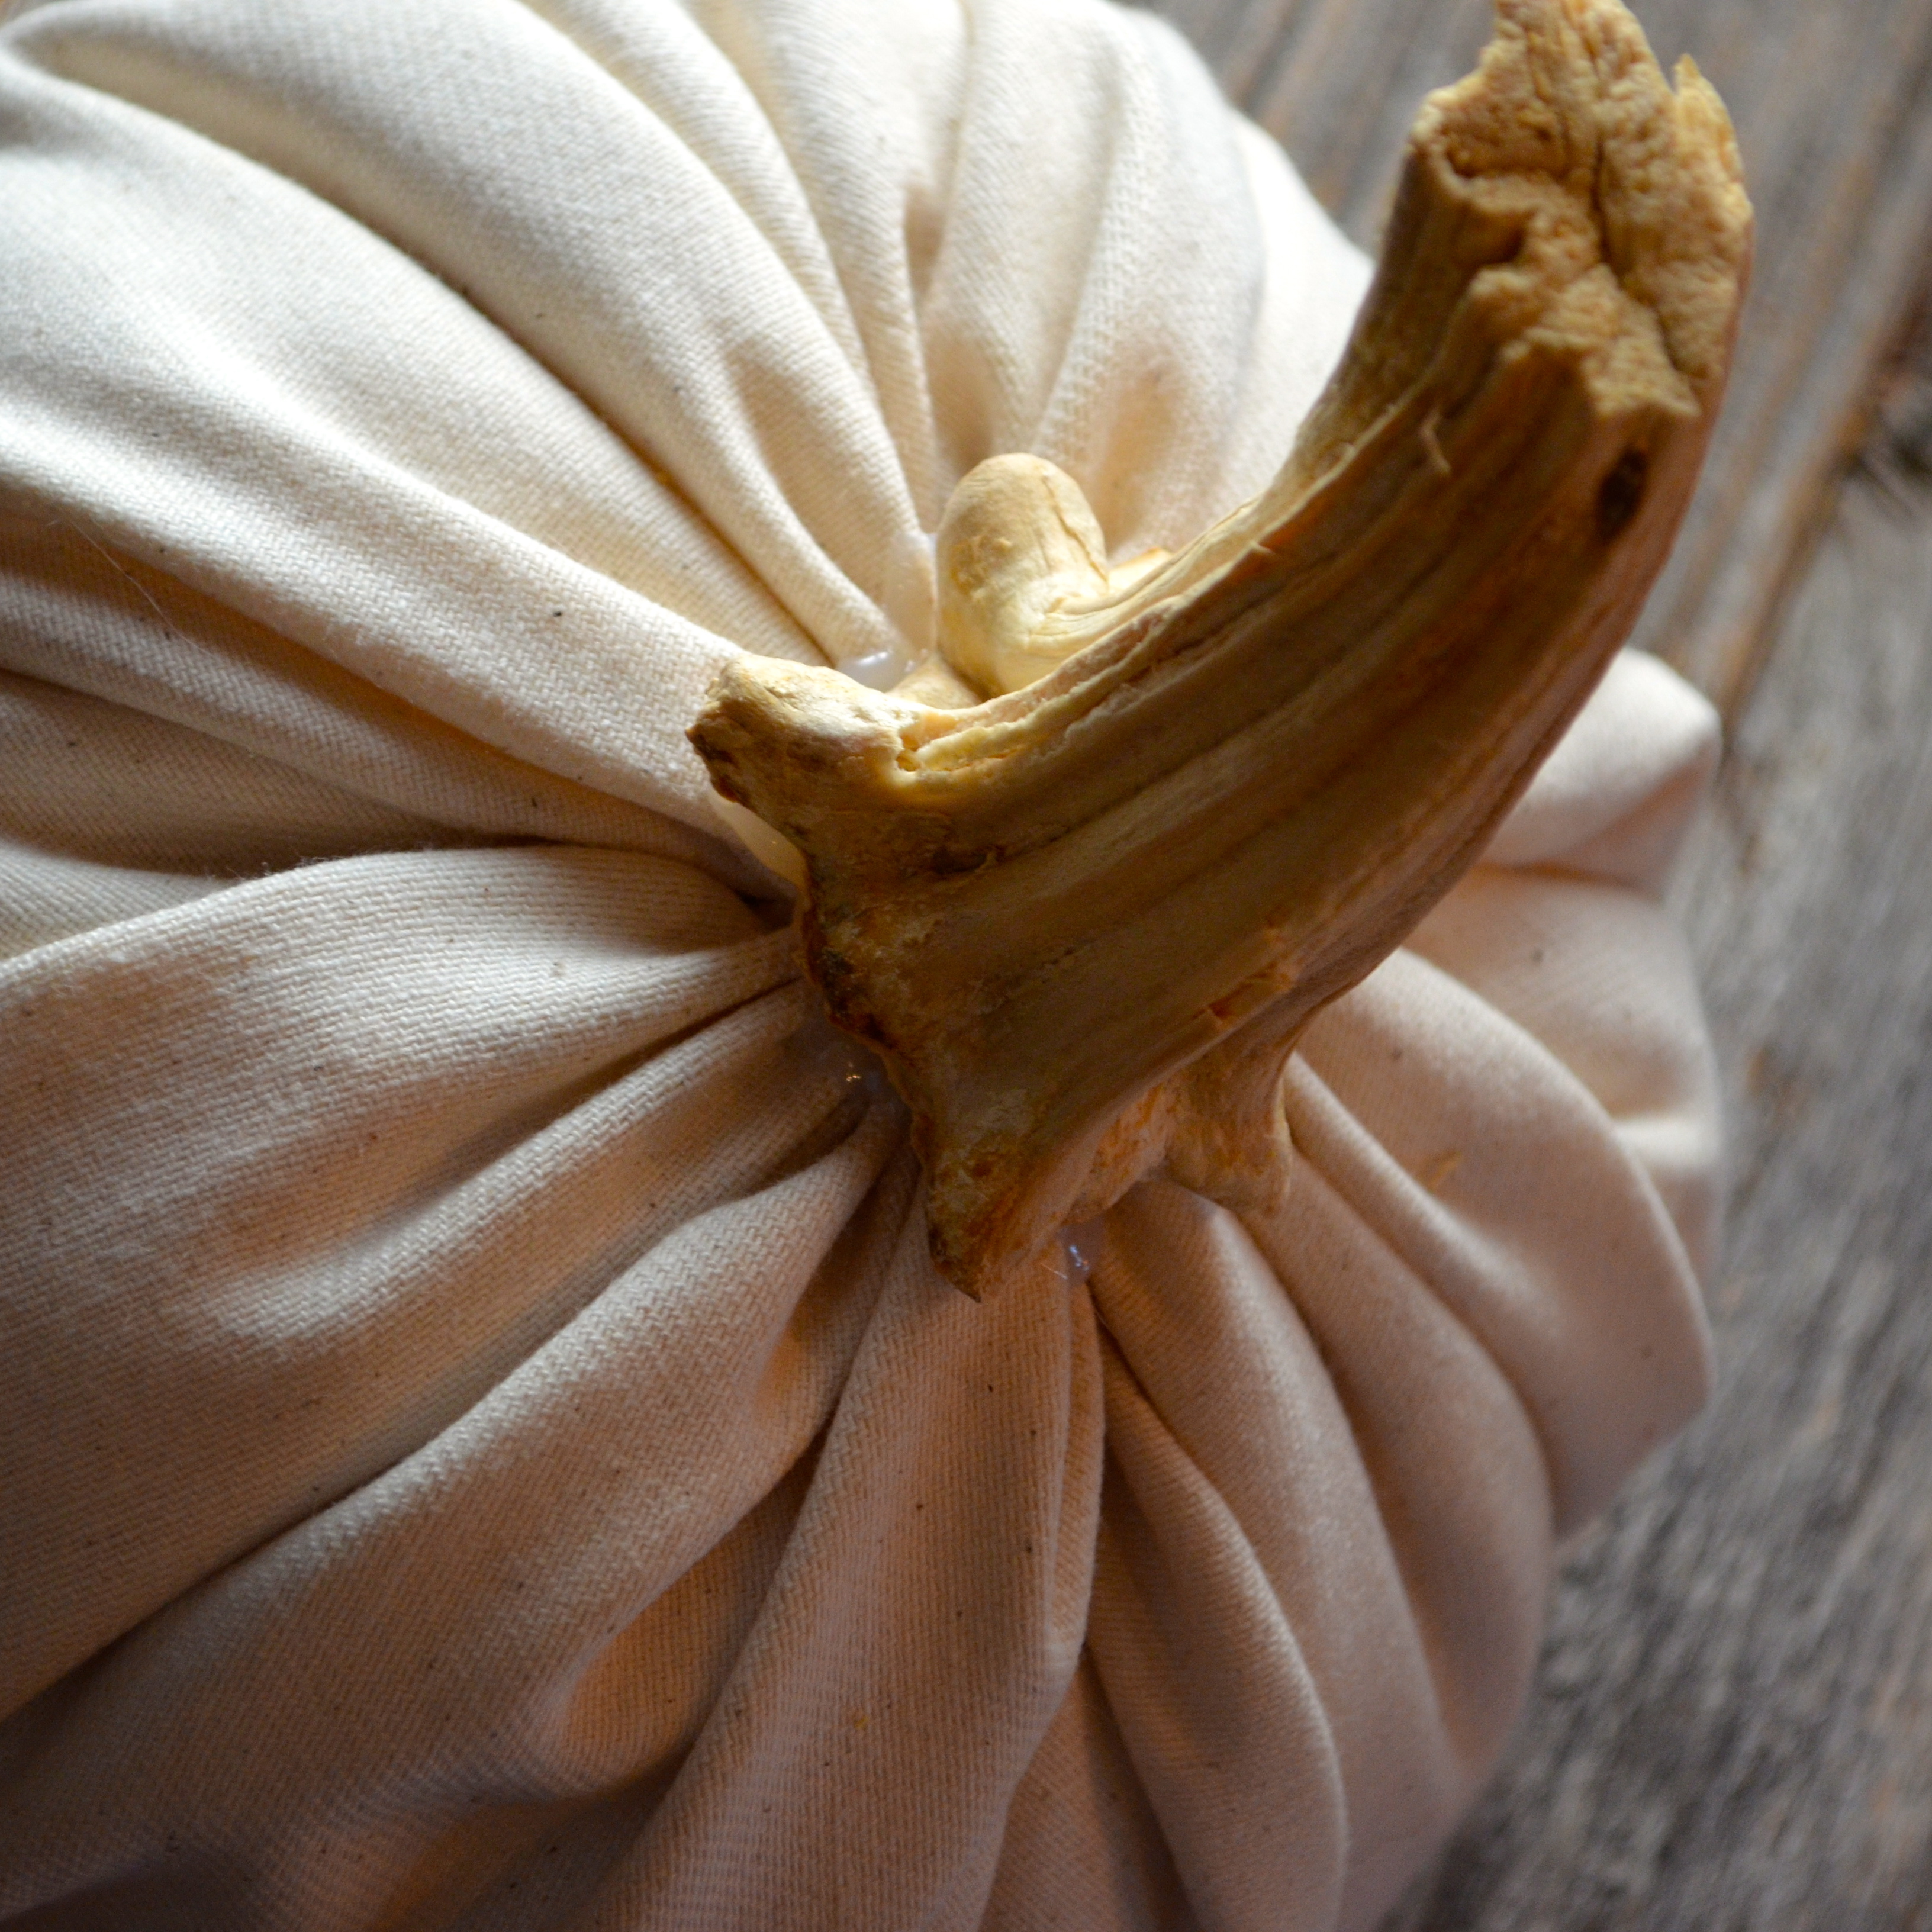
Hold the stem in place for a minute or two, pushing down firmly so your stem makes a good, secure connection to the fabric. Don’t let go until you are sure the glue has cooled enough to hold the stem securely in place. Now, stand back and admire your handiwork! And give yourself a nice pat on the back. You did good!
Now go make a whole bunch more.
Display them all around your house and you’ll see how people will begin to admire your creativity. Be sure to tell them you learned everything you know from me;)
So there you have it: DIY CLOTH PUMPKIN TUTORIAL
Thanks for dropping in! Do please leave a comment below. I’d love to hear from you!
- If you’d like to read After Orange County every time a new article is posted, please “Subscribe” to the blog using the Subscription Box above.
- If you’d like to continue to see my work please follow me on Instagram.
- If you enjoyed this post, please help me spread the word by sharing it on your Facebook Page. You can “Like” my Facebook Page here.
- If you enjoyed the photos, please “Pin Them” on your Pinterest page. You can follow my Pinterest Page here.
- Do you Tweet? Please follow my Twitter Page here.
- Follow my blog on BlogLovin.com
All opinions expressed in this post are my own. Unless otherwise credited, all photos are the original property of Celia Becker @ www.AfterOrangeCounty.com and may not be reproduced without specific permission.