ESSENTIAL TIPS FOR MAKING THE BEST FRIED CHICKEN
Hi there.
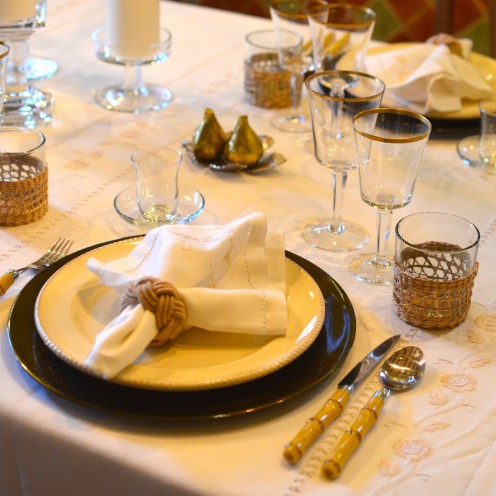
As you may know from following After Orange County, my husband and I get together once a month with a few close friends to enjoy the simple pleasures of our enduring friendships and good, down-to-earth comfort food. We so value nourishing both our bodies and our souls around the community of our table, sharing food and sharing friendship. It is what makes both our lives and our stomachs full.
Our mission is to simply enjoy eachothers company in the comfort of our homes, without expending a lot of effort. The idea is to make the kind of food we’d make for a weeknight supper with family. Nothing fancy. In fact, we started off calling it “Meatloaf Wednesday” but eventually decided we needed to expand our meal repertoire beyond every type of meatloaf known to man, so now we just call it our “Comfort Food Group”. We keep the group small so it’s easy to host and everyone contributes to the meal.
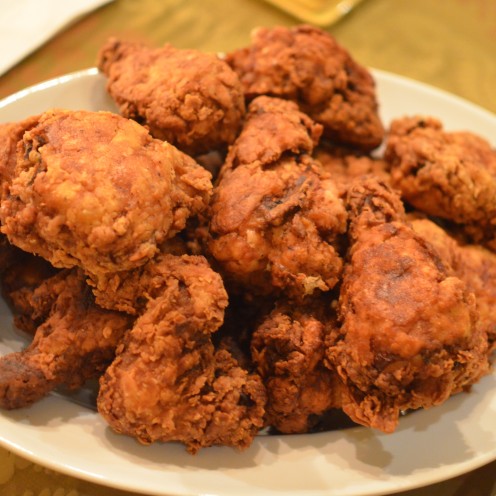
Brad and I hosted the group recently and I decided to prepare fried chicken. We had actually never had fried chicken at our Comfort Food Dinner and I thought it was about time we did. It doesn’t get any more comfort food than that.
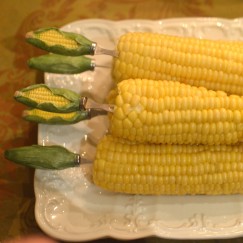
To accompany the fried chicken I prepared mashed potatoes and corn on the cob.
There is always excellent wine involved as well, usually provided by our own wine aficionado, Dave. For this dinner he brought over a flight of 3 Carlisle wines, all produced with grapes from some of the finest old-vine Somoma County vineyards that were planted between 1885 and 1952.
One wine came from vines first planted in 1888, the next was planted in 1910, and the final wine was produced from grapes still being grown from vines planted in 1927. It was a lot of fun comparing them and picking our favorites.
But lets get back to the matter at hand, fried chicken. For us fried chicken is a luxury not indulged in very often. However, I’ve worked hard at perfecting my recipe each time we do indulge in this guilty pleasure and I believe I’ve acquired a certain expertise in the matter. In fact, I think I have mastered it to the point that I can now offer you some essential tips for making the best fried chicken. So, lets get started making some chicken, shall we?
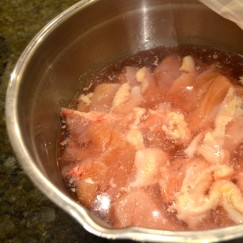
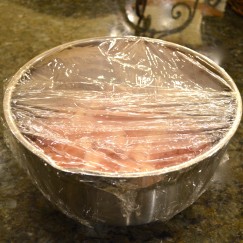
Making the best fried chicken involves advanced planning, as it is a 2 day process. That’s because the key to great fried chicken is first brining the chicken overnight. Start with one whole “Fryer” chicken (about 5 lbs), cut up. I cut the chicken breasts in half in order to have more uniformed size pieces. Place the chicken in a large bowl, fill it up with enough cold water to cover the chicken, then add 1/4 cup of Kosher salt and give it a quick mix. Cover the bowl with plastic wrap and place it in the refrigerator to soak overnight.
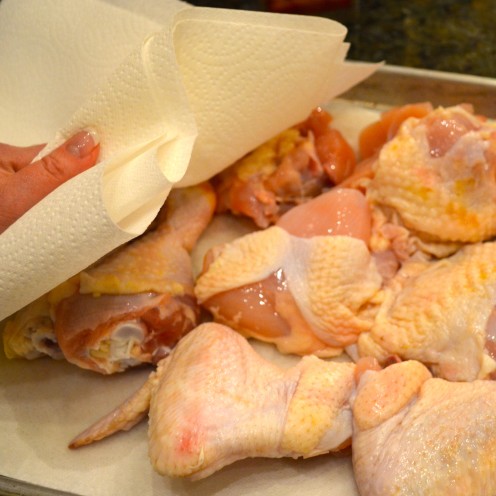
The following morning remove the chicken from the refrigerator and drain the salted liquid. Line a sheet pan with paper towels and transfer the chicken to the pan. Using more paper towels, thoroughly pat each piece of chicken dry.
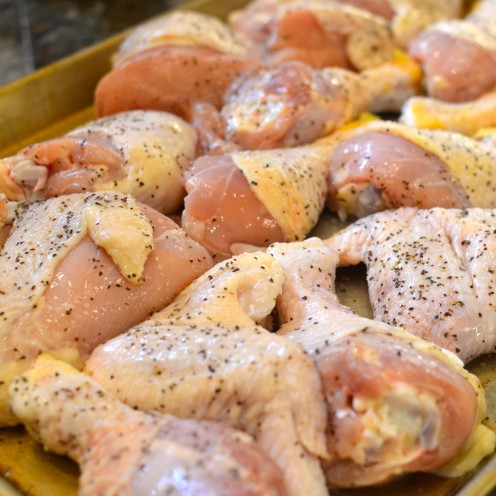
Remove the paper towels from the sheet pan and generously salt and pepper each piece of chicken on all sides. I suggest you use Kosher salt and coarse ground pepper.
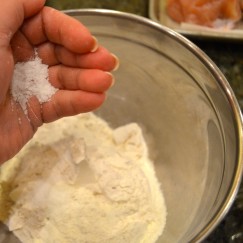
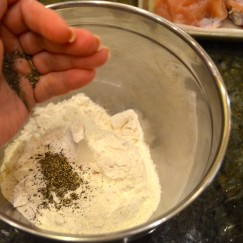
Next, add the following ingredients to a medium sized mixing bowl:
- 3 Cups All-Purpose Flour
- 2 Teaspoons Kosher Salt
- 1-1/2 Teaspoons Coarse Ground Pepper
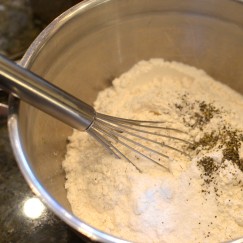
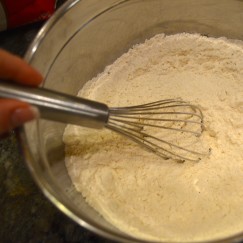
Using a whisk, mix to combine.
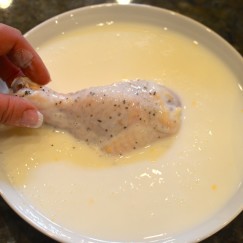
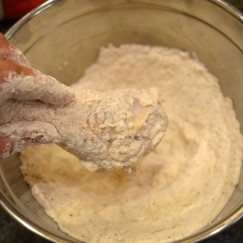
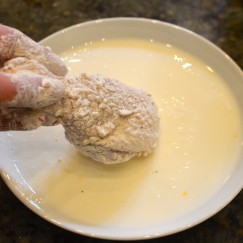
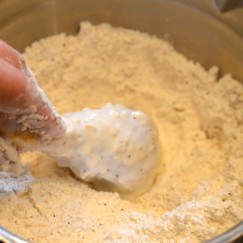
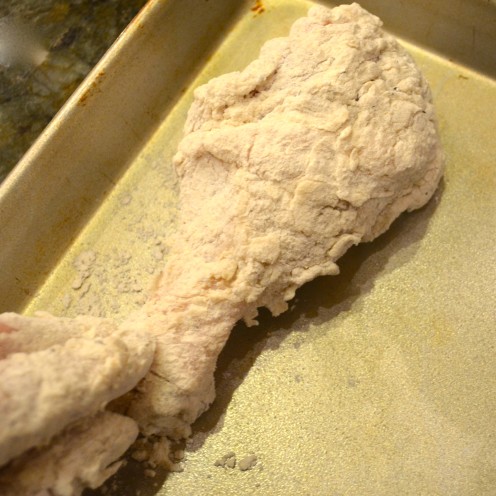
Now, pour 3 cups of buttermilk (whole milk may also be used) into a low sided bowl. Then set up a dredging station by placing your buttermilk, then flour mixture, then sheet pan in a line from left to right. One by one dredge each piece of chicken in the buttermilk, then in the seasoned flour, pressing down gently so the flour sticks. Then it’s back into the buttermilk, and finally, back into the flour mixture for a second time. If you prefer less breading, dredge the chicken only once.
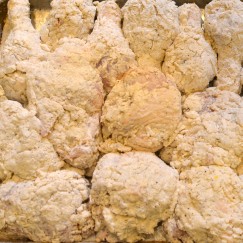
Shake off the excess flour and place the chicken on a sheet pan. You could also line the sheet pan with a wire rack if you wish which allows any excess flour to collect below the chicken. By the way, since I was taking pictures I needed to have one clean hand. Otherwise, to avoid getting your hands covered in batter, I suggest dredging the chicken using 2 hands. One hand stays wet for dipping in the buttermilk, the other hand stays dry for dipping in the flour mixture.
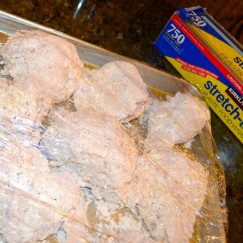
Repeat this process until you have coated all of the chicken. Now, cover the sheet pan with plastic wrap and return the tray of chicken to the refrigerator for a minimum of 1 hour before you begin to fry the chicken. I suggest doing this the morning before you plan to cook the chicken for an evening meal. This step is important because it allows the breading to get wet and sticky, which in turn will produce a crunchy, crispy skin that locks in the moisture and creates a barrier to the absorption of excess grease.
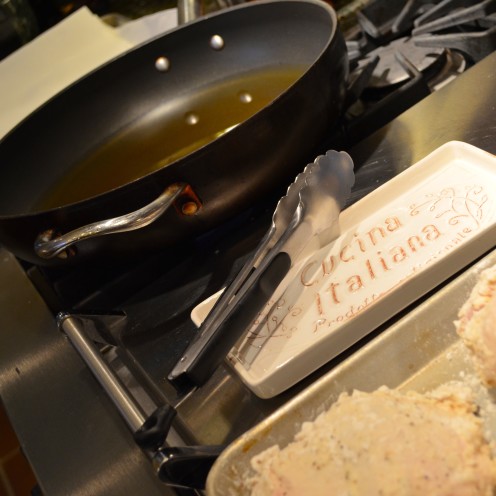
About 30 minutes before you plan to fry your chicken remove it from the refrigerator and allow it to take some of the chill off. I then set up a workstation/assembly line of sorts consisting of my tray of chicken, my frying pan, long tongs and a spoon rest, and finally a sheet pan lined with paper towels.
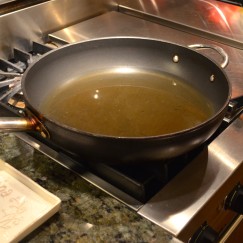
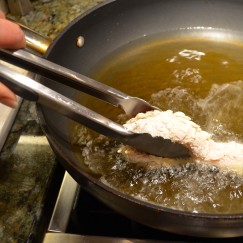
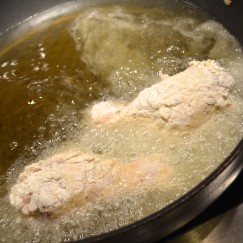
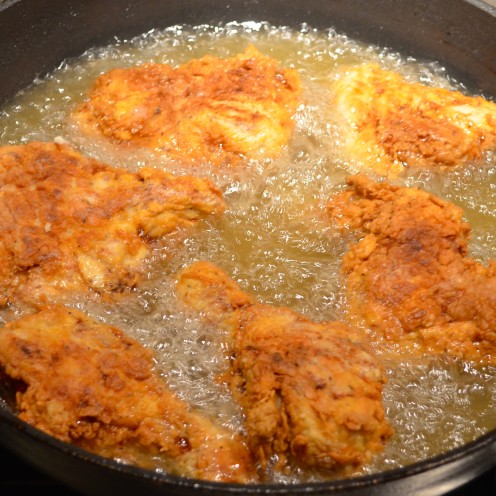
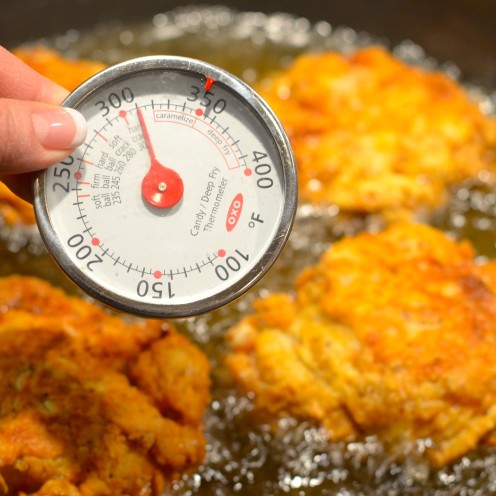
I use canola oil to fry my chicken. If you really want to get serious you could use lard, which I understand adds a lot of flavor, but by the same token is certainly not as good for you. In any case, into a large, heavy skillet, Dutch oven or cast iron frying pan add about 1 inch of oil. Clip a frying thermometer to the side of your pan and heat the oil to 350 º F before adding the first piece of chicken. It is important to start with hot oil, otherwise the chicken will absorb the oil and you’ll end up with soggy, oily chicken. Carefully place about half of the chicken pieces skin side down in the pan using long tongs. The temperature of the oil will drop with the addition of the chicken. Adjust the burner to maintain the optimum temperature of 325º F. Cook the chicken without turning for about 8 minutes until it is dark golden brown. Fry the chicken in batches so as not to overcrowd the pan.
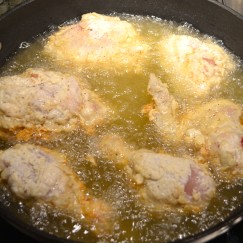
After about 8 minutes turn the chicken over and continue to fry it for an additional 6 to 8 minutes.
Periodically check the temperature of the oil to insure that it maintains the optimum temperature of 325º F . Adjust the heat as necessary.
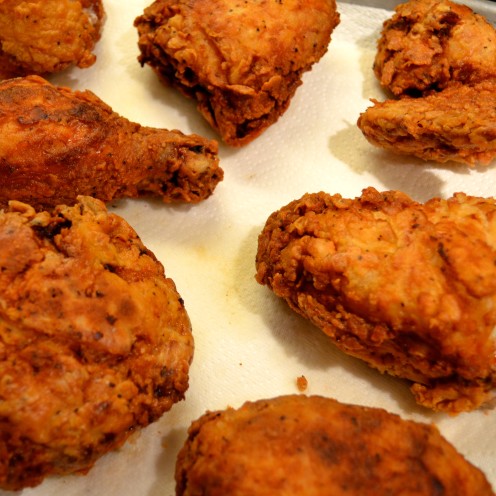
Finally, using an instant read thermometer check the interior temperature of the chicken to determine if it is done. The chicken should be at least 170º F at the thickest part. Dark meat takes longer to cook than white meat so check both. When taking the temperature of the chicken be sure that the tip of your thermometer does not touch the bone, as this will give you a false reading. Once the chicken arrives at the desired temperature, remove it from the pan and place it on your prepared sheet pan that has been lined with paper towels to absorb any excess grease. Transfer the chicken to a sheet pan lined with a wire rack and place it in the oven or warming drawer, preheated to 200ºF to keep the chicken hot while you cook the remaining pieces of chicken.
Now, go enjoy the very best fried chicken you will ever taste!
By the way, if you’re tired of the same old Bunko or Book Clubs for a reason to get together with friends, and you’d like to start your own Member’s Only Club of some sort, the website Pure Wow has a good article with suggestions for 7 new types of clubs to start. Of course you can always follow our lead and start a Comfort Food Group or follow the lead of Pure Wow and start one of the following:
- Skill & Tell Club
- Money Club
- NetFlix Movie Club
- Wine Club
- Charity Club
- Fitness Club
- Cake Club
- 1 Whole Fryer Chicken, about 5 lbs, Cut Up (Cut the breasts in half)
- ¼ cup Kosher Salt (for the brine)
- 3 Cups All-Purpose Flour
- 2 Teaspoons Kosher Salt
- 1-1/2 Teaspoons Coarse Ground Pepper
- 3 Cups Buttermilk (whole milk may also be used)
- Canola Oil
- Place chicken pieces in a large bowl, fill with enough cold water to cover the chicken, add ¼ cup Kosher salt and give it a quick mix.
- Cover bowl with plastic wrap and place in the refrigerator to soak overnight.
- The following morning remove chicken from refrigerator and drain the salted liquid.
- Line a sheet pan with paper towels and transfer the chicken to the pan.
- Using more paper towels, thoroughly pat each piece of chicken dry.
- Remove the paper towels from the sheet pan and generously salt and pepper (kosher salt & fresh ground pepper is best) each piece of chicken on all sides.
- Add the flour, Kosher salt and pepper to a medium sized mixing bowl and whisk to combine.
- Pour the buttermilk (whole milk may also be used) into a low sided bowl.
- Set up a dredging station by placing the buttermilk, then flour mixture, then paper-towel lined sheet pan in a line from left to right.
- Using 2 hands, one for wet, one for dry ingredients, dredge each piece of chicken in the buttermilk, then in the seasoned flour, pressing down gently so the flour sticks.
- Then it's back into the buttermilk, and finally, back into the flour mixture for a second time.
- If you prefer less breading, dredge the chicken only once.
- Shake off the excess flour and place the chicken on a sheet pan lined with a wire rack which allows any excess flour to collect below the chicken.
- Repeat this process until you have coated all the chicken.
- Cover the sheet pan with plastic wrap and return the tray of chicken to the refrigerator for a minimum of 1 hour. I suggest doing this the morning before you plan to cook the chicken for an evening meal. This step is important because it allows the breading to get wet and sticky, which in turn will produce a crunchy, crispy skin that locks in the moisture and creates a barrier to the absorption of excess grease.
- About 30 minutes before you plan to fry your chicken remove it from the refrigerator and allow it to take some of the chill off.
- Then set up a workstation/assembly line consisting of the tray of chicken, a large frying pan, long tongs and a sheet pan lined with paper towels.
- Into a large, heavy skillet, Dutch oven or cast iron frying pan add about 1 inch of oil.
- Clip a frying thermometer to the side of the pan and heat the oil to 350ºF before adding the first piece of chicken.
- It is important to start with hot oil, otherwise the chicken will absorb the oil and you'll end up with soggy, oily chicken.
- Carefully place about half of the chicken pieces skin side down in the pan using long tongs.
- Fry the chicken in batches so as not to overcrowd the pan.
- The temperature of the oil will drop with the addition of the chicken so adjust the burner to maintain the optimum temperature of 325º F.
- Cook the chicken without turning for about 8 minutes until the chicken is dark golden brown.
- After about 8 minutes turn the chicken over and continue to fry it for an additional 6 to 8 minutes.
- Periodically check the temperature of the oil to insure that it maintains the optimum temperature of 325º F . Adjust the heat as necessary.
- Using an instant read thermometer check the interior temperature of the chicken to determine if it is done. The chicken should be at least 170º F at the thickest part. Dark meat takes longer to cook than white meat. When taking the temperature of the chicken be sure that the tip of your thermometer does not touch the bone, as this will give you a false reading.
- Once the chicken arrives at the desired temperature, remove it from the pan and place it on a prepared sheet pan that has been lined with paper towels to absorb any excess grease.
- Transfer the chicken to a sheet pan lined with a wire rack and place it in the oven or warming drawer, preheated to 200º F to keep the chicken hot while you cook the remaining pieces of chicken.
- Finally, go enjoy the very best fried chicken you will ever taste!
So there you have it: ESSENTIAL TIPS FOR MAKING THE BEST FRIED CHICKEN
Thanks for dropping in! Do please leave a comment below. I’d love to hear from you!
- If you’d like to read After Orange County every time a new article is posted, please “Subscribe” to the blog using the Subscription Box above.
- If you enjoyed this post, please help me spread the word by sharing it on your Facebook Page. You can “Like” my Facebook Page here.
- If you enjoyed the photos, please “Pin Them” on your Pinterest page. You can follow my Pinterest Page here.
- Do you Tweet? Please follow my Twitter Page here.
- Follow my blog on BlogLovin.com
All opinions expressed in this post are my own. Unless otherwise credited, all photos are the original property of Celia Becker @ www.AfterOrangeCounty.com and may not be reproduced without specific permission.
