LIVING ROOM RENO UPDATE ON THE HOUSE ON COTTAGE GROVE
Welcome to Day 2 of a week’s worth of updates on the renovation of my latest fixer upper. Yesterday I shared with you the progress we have made so far on the kitchen. Click here to view it if you missed it. Today I’m sharing the living room reno update on The House On Cottage Grove. And all this week I’ll be giving you a look at several other areas of the home so you can see how it’s coming along.
Taking A Look Back
Below is a photo of what the living room looked like when I bought the cottage. YIKES, right?
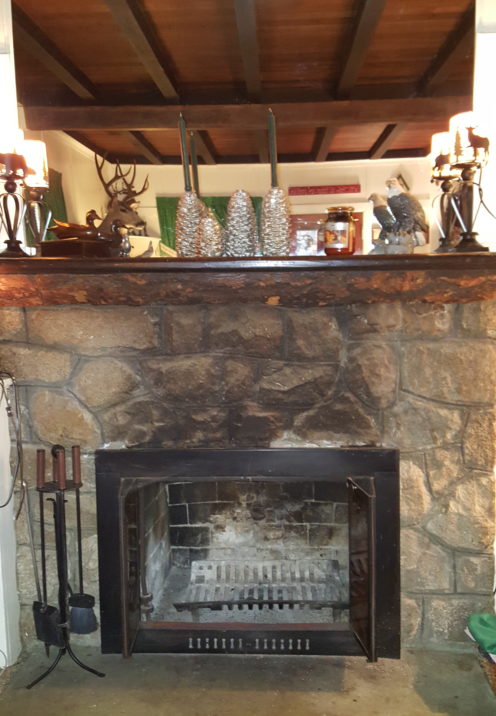
But, it did have a lovely exposed beam ceiling and an impressive stone fireplace. In fact, one of the things I loved about the original cottage was the fact that it had a true masonry fireplace. They just don’t build ’em like this anymore, instead most builders opt for the cheaper, prefab fireplace boxes. However, after having the chimney cleaned and inspected we discovered that some of the firebricks needed to be replaced. We got that done of course, otherwise it would have been a fire hazard. The stone fireplace facade is made with granite indigenous to the San Bernardino mountains. It was used extensively in the old “Charmers” of Lake Arrowhead. And, it still needs to be cleaned, a dirty job my husband has promised to tackle.
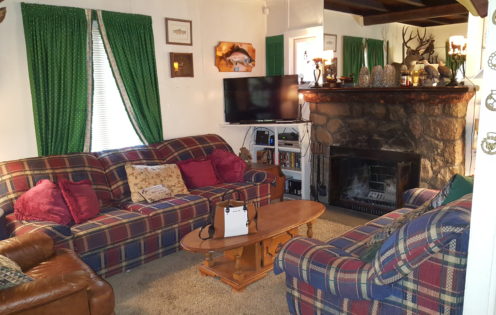
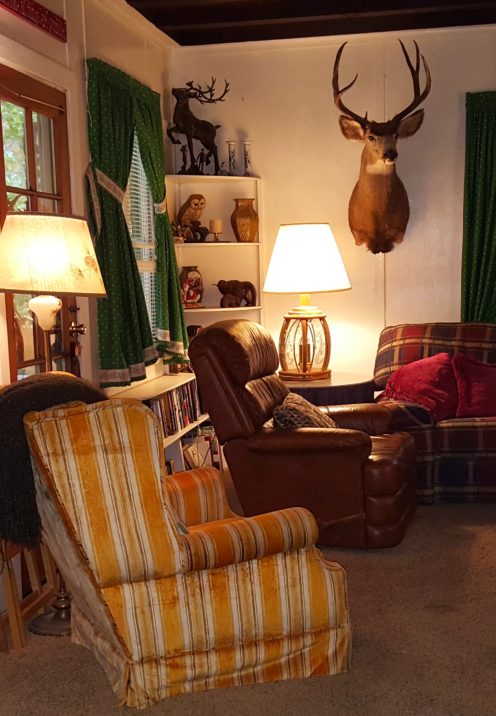
In the photo below you can see what the overall living room looked like, basically a decorating nightmare. We discarded the plaid couches and coffee table and tore out the rickety built in bookshelves that flanked the fireplace. And it was one happy day when I ripped down those horrible green curtains.
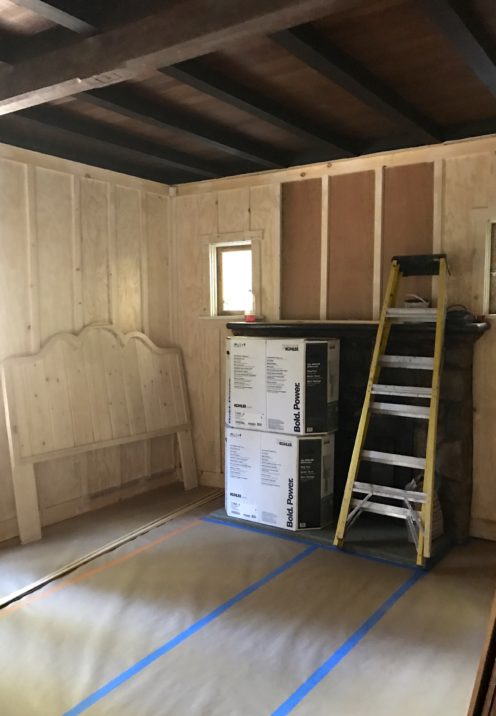
The walls had been constructed of flimsy plywood and they were not insulated, so we ripped out the walls…

and added new insulation.
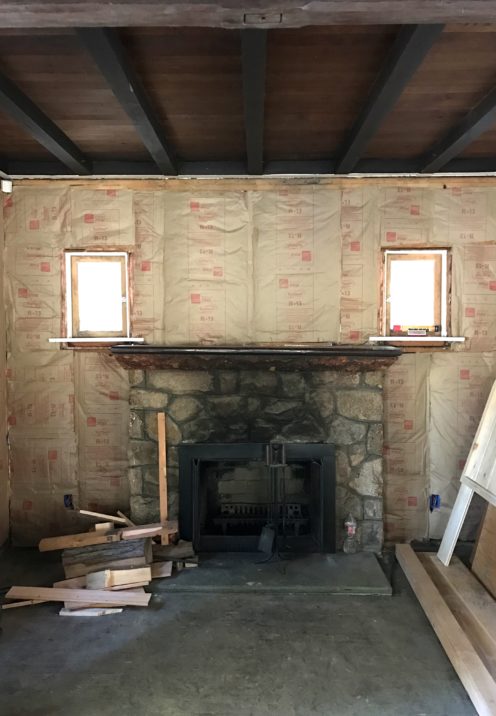
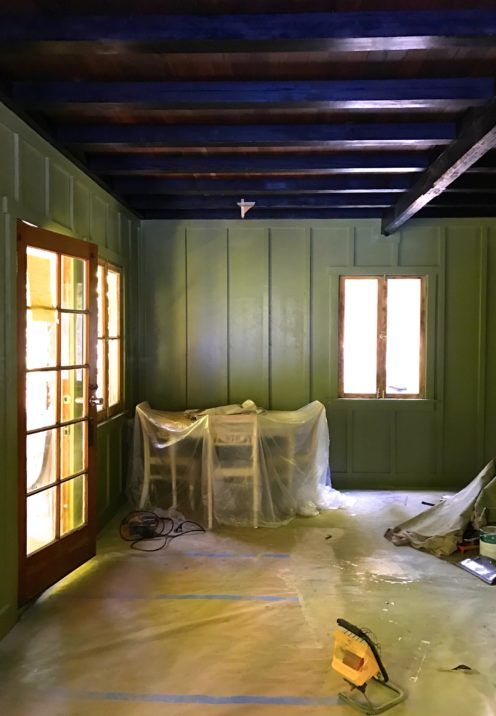
We then constructed new walls using a board & batten style. And, after removing old linoleum tiles we sanded down the floors, revealing the beauty of old hardwood. The newly sanded floors got covered up before I could take a photo.
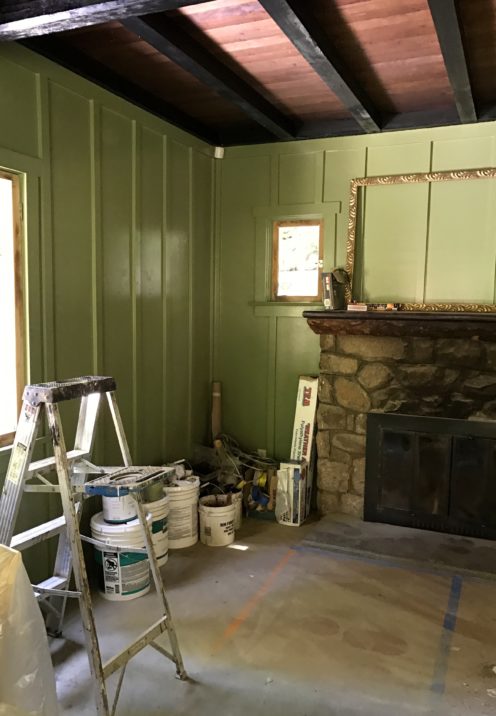
A fresh coat of stain was applied to the old beams and the walls were painted in a monochromatic style, meaning we painted the walls, window trim and baseboards in the same beautiful green paint. The paint is called “YOGI” Behr Premium Plus Ultra from Home Depot.
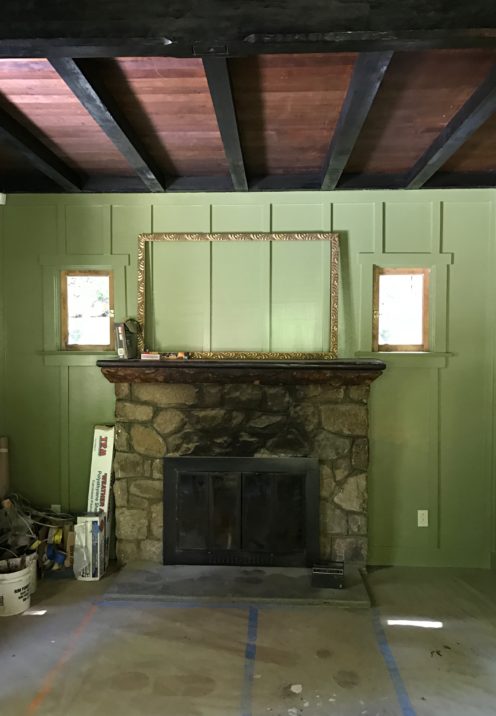
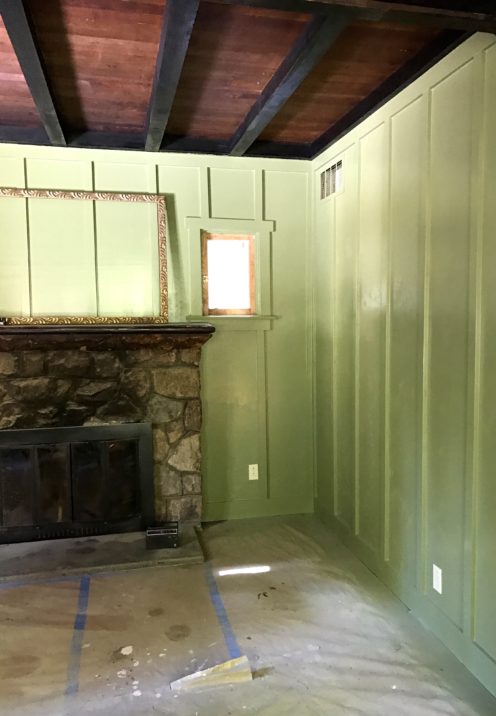
The original wooden windows were covered in many layers of old paint. So, at considerable expense because of the tedious and time consuming effort required, we restored the window frames inside & out to the original raw wood.
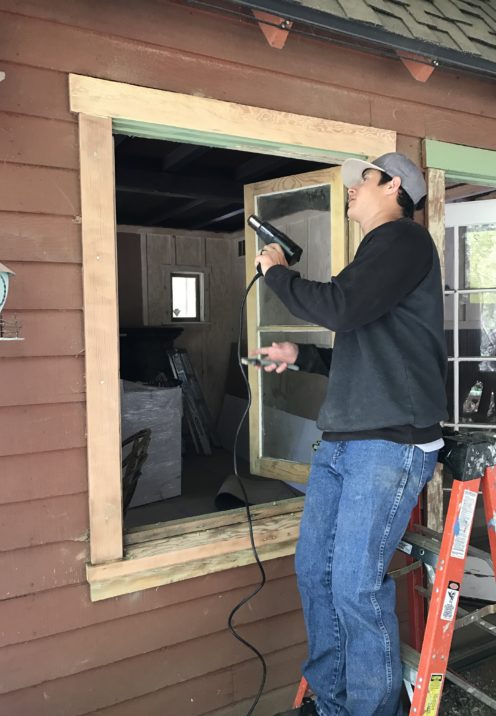
We will be painting the windows and doors in a rich oatmeal color, making that the only contrasting paint color in the room.
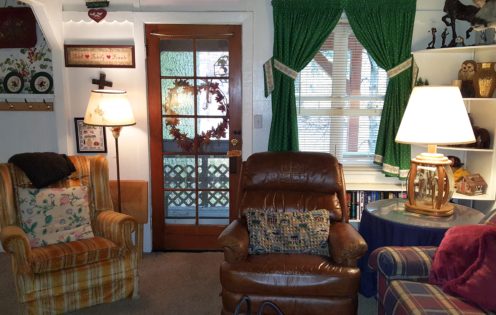
Below is another “Before” photo of the area opposite the fireplace. It is the same area you see in the photo above as it looks today. You can see that a pretty deer once lived there but the previous owners took her with them. Although I really dislike the idea of hunting and I would never kill a deer, (even if they do decimate my garden) I really like deer taxidermy in mountain cabins and I was sad that I didn’t get her with the home purchase.
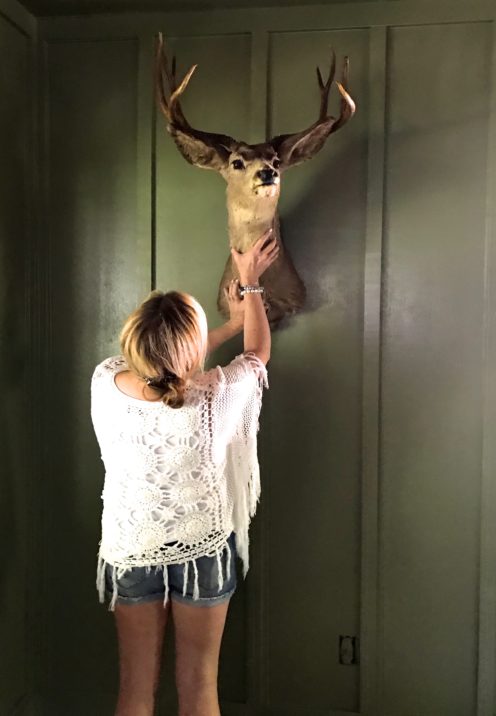
So the other day I happened to run across another pretty deer and I had to make her mine. That’s my girlfriend Lisa holding her up so we could have a look at her in the space. We named her Bambi. I think she will be well loved in The House On Cottage Grove. I think she looks very noble in her new home. OOOpppsss, I guess Bambi must be a boy with those antlers, right?
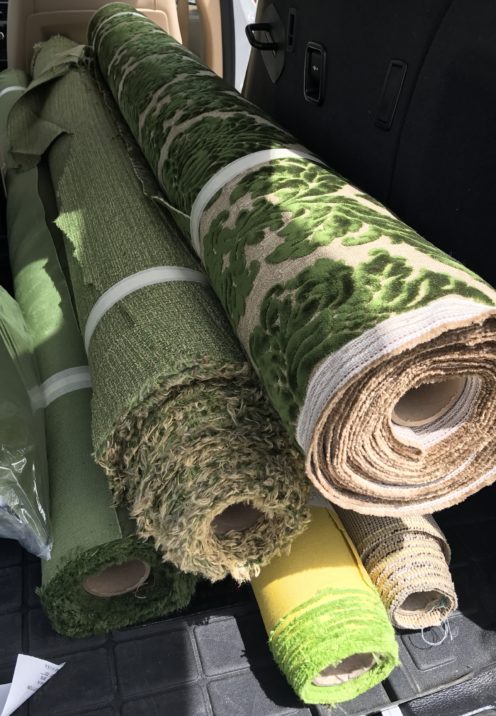
One thing I did get with the purchase of this house was the atrocious yellow striped wingback chair you see in the photo below. I decided she had good enough bones to have her reupholstered using some of the fabric I recently purchased at Dorell Fabric Outlet in Fountain Valley, California.
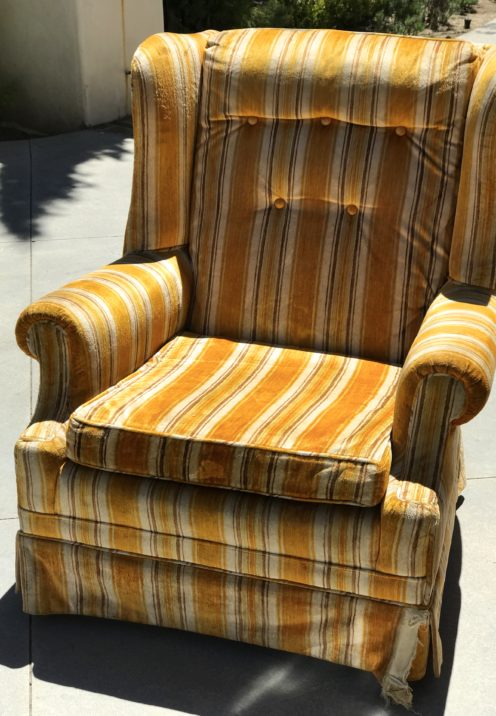
Instead of doing the upholstery work myself, this time I used my favorite upholstery shop, Cook’s Upholstery in San Bernardino, and she is better than new. My new/old chair will be living alongside Bambi in my beautiful new living room very soon.

I hope to have photos of the finished living room to share with you real soon. In the meantime I’m working on a gallery wall like the inspiration photo you see below. I did get a ton of artwork with the purchase of the home; some good, some not so good, and some terrible. I’ve been sorting through them all, chalk painting frames and buying some new art as well. It’s a fun project that I’ll share with you soon.

In the meantime I hope you pop back here tomorrow when I’ll be showing you the progress we’ve made on the Dining Room.
So there you have it: LIVING ROOM RENO UPDATE ON THE HOUSE ON COTTAGE GROVE
Thanks so much for dropping in!
Express Yourself!
No blog post is truly complete without a word from you. I’d be so delighted if you’d leave a comment below.
All opinions expressed in this post are my own. Unless otherwise noted, all photos are the original property of Celia Becker @ www.AfterOrangeCounty.com and may not be reproduced without specific permission. This post contains affiliate links which help to make this blog possible. Thank you for your support.